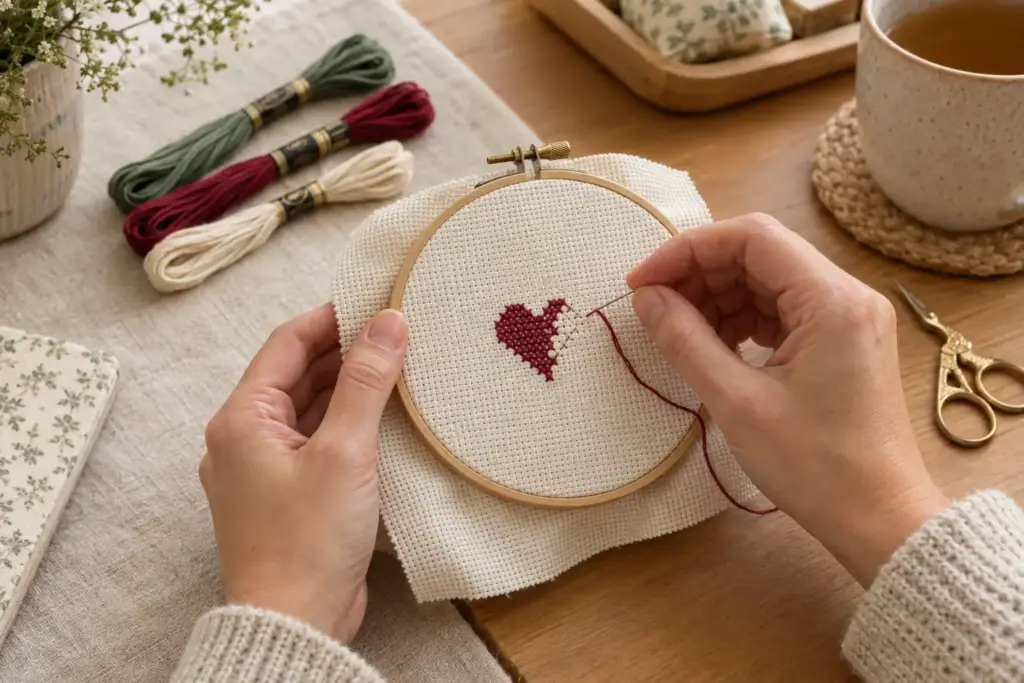
Cross stitch looks much more complicated from the outside than it feels once you make your first few stitches.
At its simplest, you are following a chart and making small X-shaped stitches in specific places on an evenly spaced fabric. Each symbol on the chart tells you which color to use, and each square corresponds to a place on your fabric.
You do not need a large collection of supplies or years of needlework experience to begin.
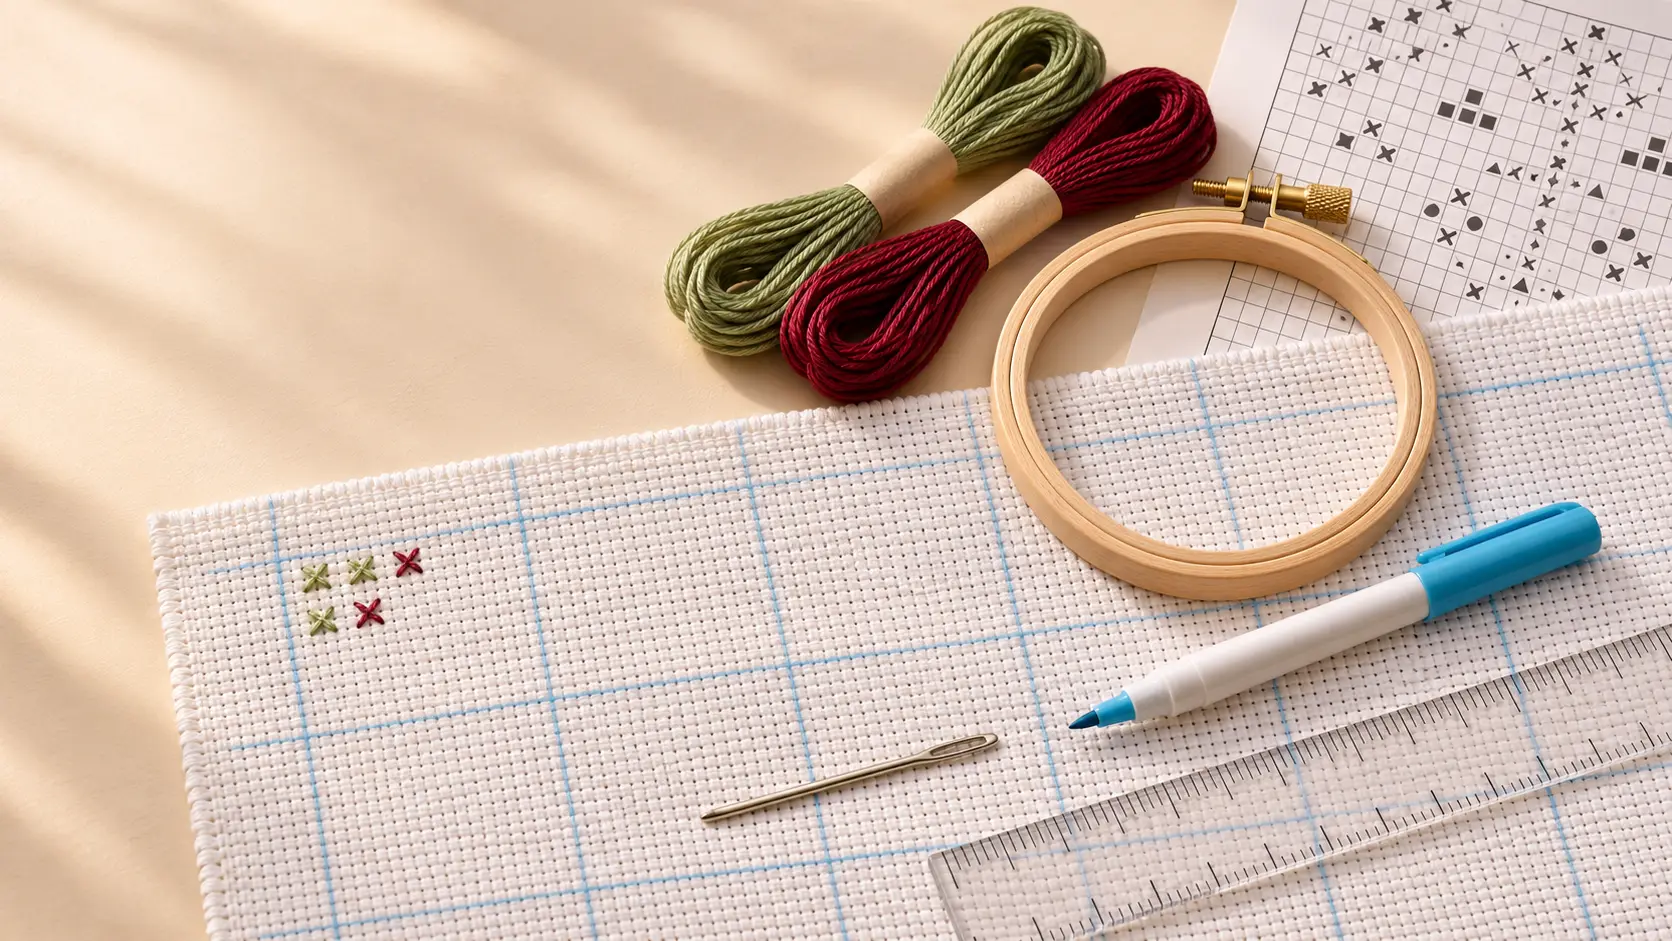
You need a pattern, fabric, embroidery floss, a suitable needle, scissors and a little patience.
 The Quick Answer
For an easy first project, choose a small design worked on 14-count Aida fabric.
Aida has clearly defined holes and stitch squares, which makes counting easier. DMC recommends 14-count Aida for beginners, and Zweigart describes Aida’s clearly formed stitch squares as making counted cross stitch easier to follow.
Choose a simple pattern with relatively few colors and mostly full cross stitches.
Then follow the chart one symbol at a time.
 What You Need
A beginner cross-stitch project usually requires:
- Cross-stitch pattern
- Aida fabric
- Six-strand embroidery floss
- Tapestry needle
- Small scissors
- Embroidery hoop or other tensioning device, if desired
A basic learning kit from DMC, for example, includes 14-count Aida, embroidery floss, a needle, hoop and instructions—so your first setup really can be simple.
Cross stitch is normally worked with a tapestry needle. These needles have a relatively blunt point and a larger eye, allowing them to pass through the existing holes in Aida rather than piercing new holes in the fabric.
1Step 1: Find the Center of Your Fabric
Fold the fabric gently in half horizontally, then vertically.
The point where those folds meet is approximately the center.
Many cross-stitch charts also identify the center of the design. Starting at the center of both the chart and fabric is a simple way to keep the finished design properly positioned. DMC recommends this approach for beginners.
You do not have to begin in the exact center forever. Experienced stitchers develop many different working methods.
For a first project, however, the center is reassuring.
2Step 2: Prepare Your Floss
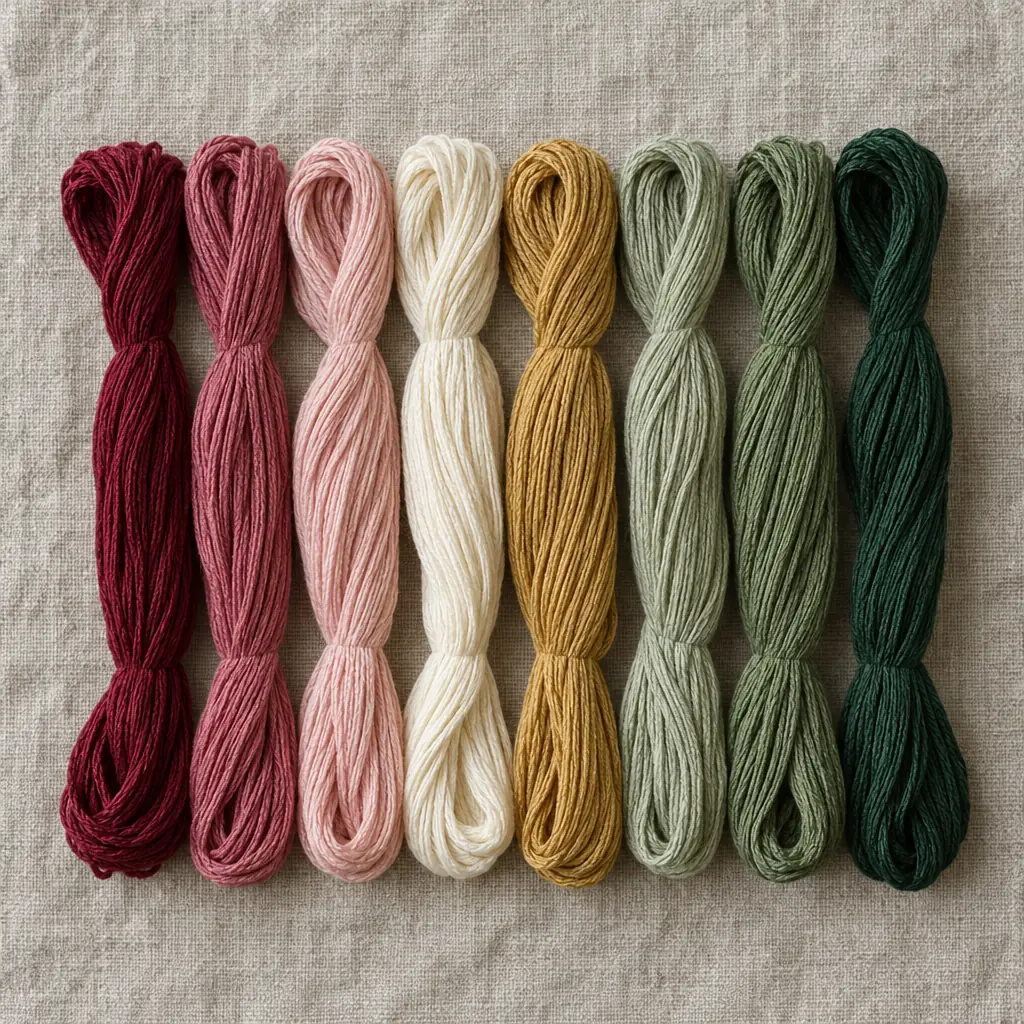
Standard stranded embroidery floss is made from several individual strands twisted together. DMC’s commonly used cotton embroidery floss contains six separable strands.
Your pattern should tell you how many strands to use.
On 14-count Aida, two strands are a common starting point for full cross stitches, but always follow the instructions supplied with your pattern when they specify something different.
Pull out the number of strands you need rather than trying to stitch with the entire six-strand bundle.
3Step 3: Thread Your Needle
Cut a comfortable working length of floss.
Very long thread may seem efficient, but it becomes more prone to twisting, fraying and tangling as it repeatedly passes through the fabric. DMC recommends a working length roughly from your fingertips to your elbow as a general starting point.
Thread the required strands through the eye of your tapestry needle.
You are ready to stitch.
4Step 4: Make Your First Cross Stitch
Look at your chart and identify the symbol at your starting point.
Find the matching symbol in the color key.
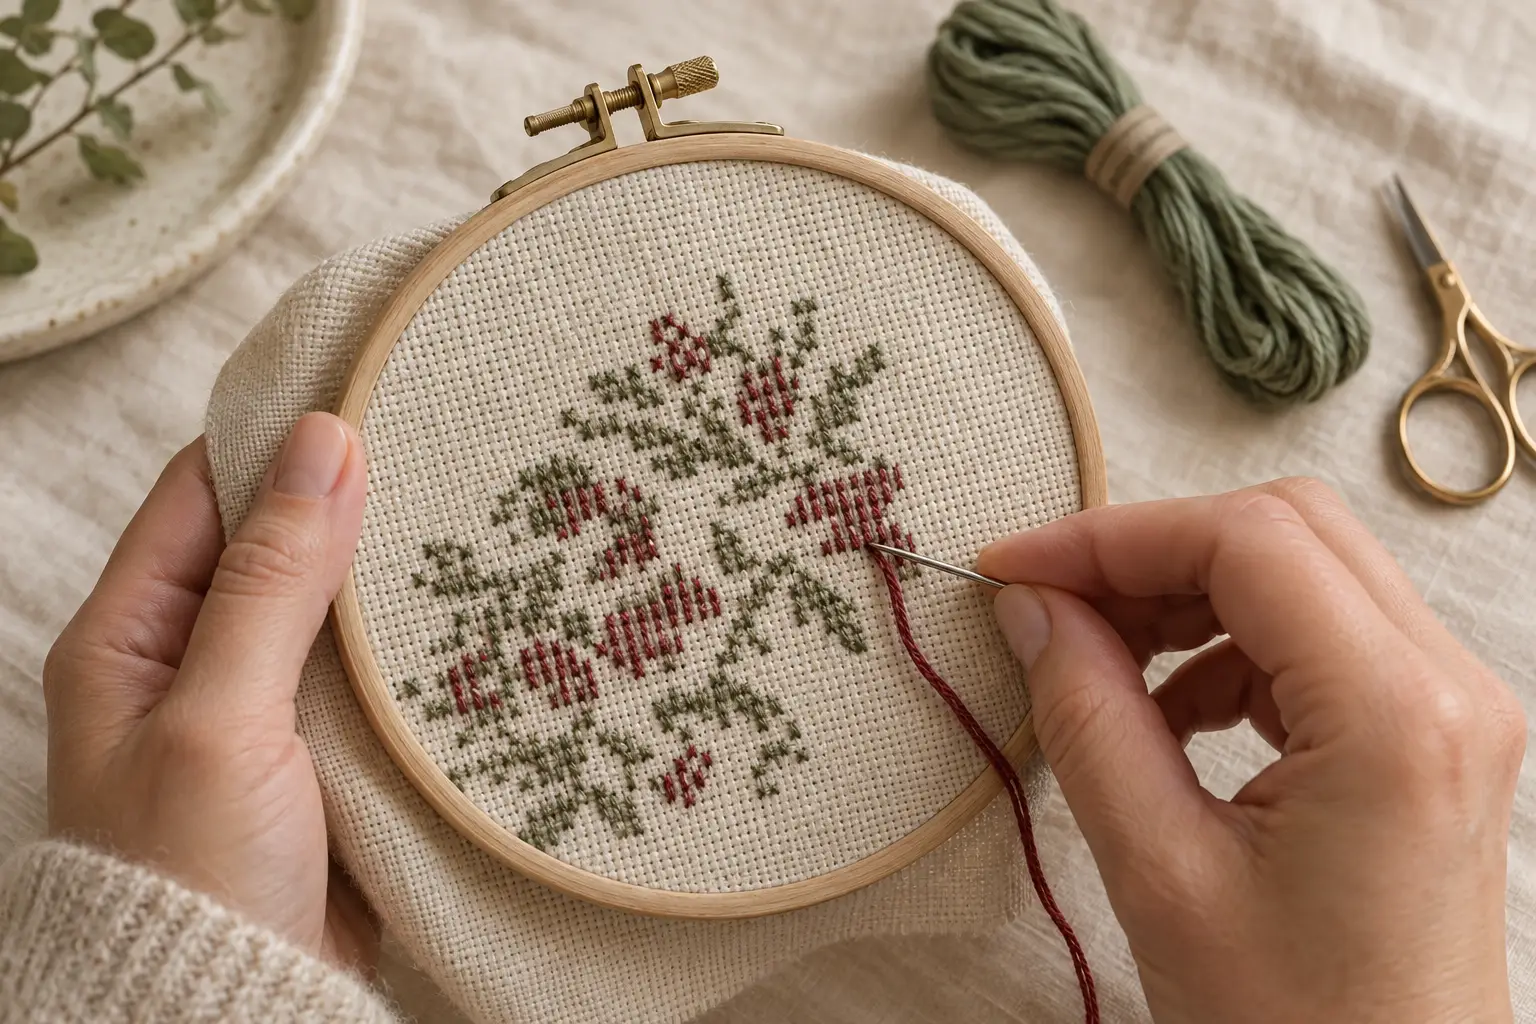
Now bring your needle up from the back of the fabric through one corner of the square.
Take it diagonally across the square and down through the opposite corner.
You have made one half of an X.
Bring the needle back up through one of the remaining corners and take it diagonally across to complete the X.
The exact direction you begin with matters less than consistency.
Try to make the top leg of every completed cross face the same direction. That gives your finished stitching a smoother, more uniform appearance.
5Step 5: Work a Row
When several stitches of the same color sit beside each other, many stitchers work a row of half stitches in one direction and then return across the row to complete the Xs.
DMC describes this row-based method as a common way to work cross stitch and notes that it can also make counting mistakes easier to notice.
You can also complete each X individually.
Both approaches work.
Use whichever helps you count accurately and maintain consistent stitch direction.
6Step 6: Follow the Chart
On a cross-stitch chart, each square corresponds to a position on the fabric.
Symbols identify the thread colors.
Larger grid lines usually divide the chart into easier-to-count sections, while the color key tells you which thread corresponds to each symbol.
Do not attempt to memorize the entire design.
Work in manageable sections.
Count.
Stitch.
Check your position.
Then continue.
7Step 7: Secure the Thread
Traditional sewing often begins with a knot.
Counted cross stitch generally doesn’t need one.
Knots can create bumps on the back of the fabric and interfere with nearby stitches. DMC recommends securing the thread using stitching methods rather than leaving knots on the back.
One simple beginner method is to leave a short tail of floss on the back and cover that tail with the backs of your first several stitches.
When finishing a thread, run the needle carefully underneath several completed stitches on the back and trim the excess.
8Step 8: Add Backstitch and Details Last
Some patterns use backstitch for outlines, lettering or small details.
Others include French knots or fractional stitches.
Do not panic when you see them.
They are separate techniques that can be learned one at a time.
DMC’s stitch guide distinguishes full cross stitch, backstitch, fractional stitches and French knots as separate techniques.
If your first pattern is mostly full crosses, complete those first and then return for the details.
 Common Beginner Mistakes
Pulling stitches too tightly
Your stitches should lie neatly against the fabric without distorting the holes.
Losing your position
Check the chart frequently instead of stitching a long distance from memory.
Using all six strands
Six-strand floss is designed to be separated. Follow the strand count in your pattern.
Changing stitch direction
Try to keep the top leg of your crosses facing the same direction.
Choosing an enormous first project
The goal of your first cross stitch isn’t to prove how patient you are.
It is to finish something.
Choose something small enough that you can experience the entire process—from first stitch to finished project.
Your First-Project Checklist
Choose a small pattern.
Use a fabric you can see comfortably.
Prepare the recommended floss colors.
Find the center.
Work one small section at a time.
Count carefully.
Keep your stitches relaxed and consistent.
And remember that mistakes are part of counted needlework. Every experienced stitcher has removed stitches and tried again.
 What to Learn Next
- Cross Stitch Supplies for Beginners
- How to Read a Cross Stitch Chart
- Aida vs Linen vs Evenweave
- Cross Stitch Fabric Counts Explained
- How to Choose Your First Cross Stitch Pattern
Cross stitch becomes much easier once the vocabulary and materials stop feeling unfamiliar.
Start with one X.
Then make another.