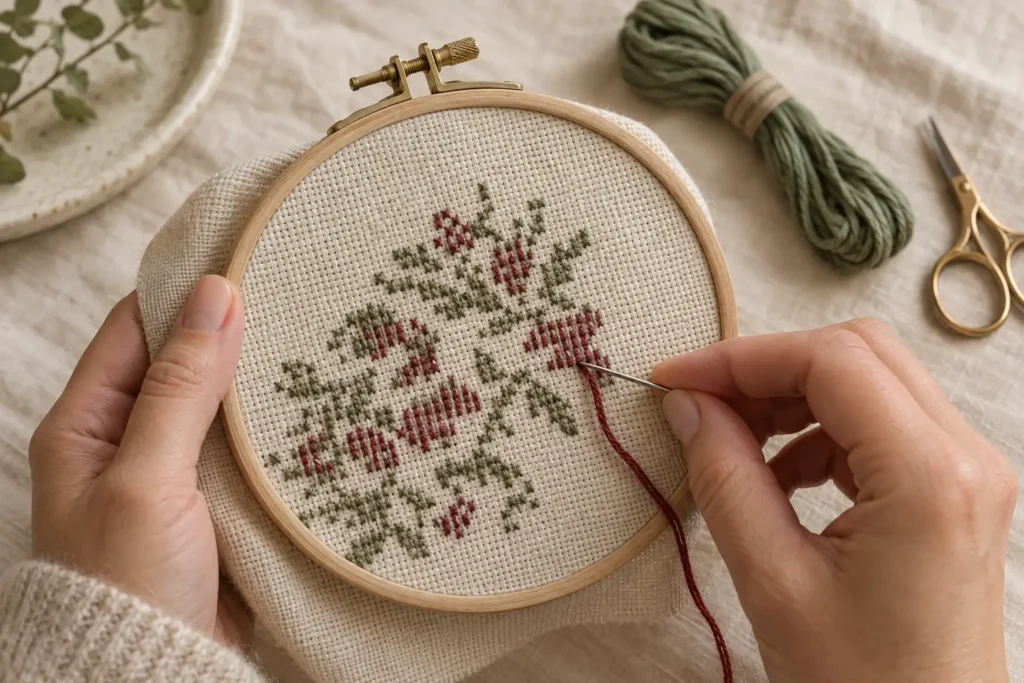
One of the first surprises in cross stitch is that you usually don’t need to tie a knot before you begin.
In fact, keeping the back of the project relatively flat makes it easier to stitch nearby areas and can make later finishing simpler.
Several methods work.
The best one depends partly on how many strands you’re using.
 Method 1: Secure a Tail Under Your First Stitches
This is one of the easiest methods to understand.
Leave a short tail of floss on the back of the fabric.
Hold it in the direction you are about to stitch.
As you make the next several crosses, allow the thread on the back to pass over and secure that tail.
Once the tail is safely caught beneath several stitches, trim any excess if necessary.
The result is secure without a knot.
Method 2: The Loop Start
The loop start is especially convenient when stitching with an even number of strands.
For the common two-strand setup:
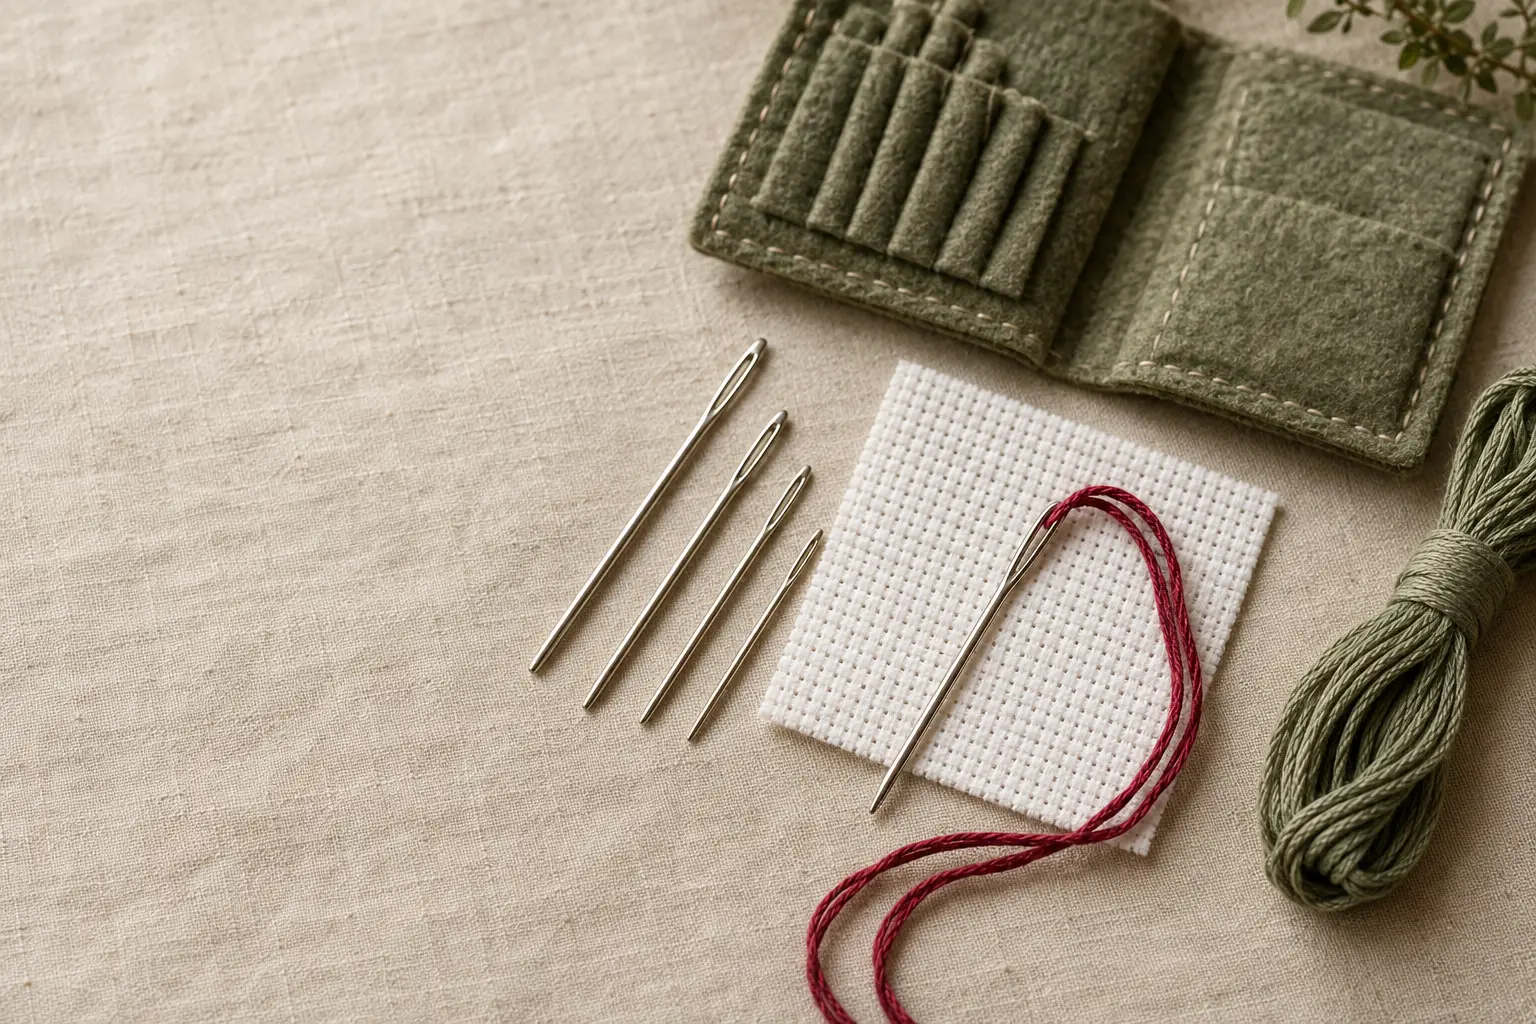
Take one strand of floss approximately twice your normal working length.
Fold it in half.
Thread the two loose ends through the needle.
You now have two working strands and a loop at the opposite end.
Bring the needle up through the fabric, leaving the loop behind.
Take the first diagonal stitch and pass the needle through the loop on the back.
Pull gently.
The thread is anchored.
No tail.
No knot.
Why Stitchers Like the Loop Start
It can create a very tidy beginning.
It is also quick.
But it isn’t always appropriate.
If you’re using an uneven number of strands, the simple folded loop method won’t produce the correct strand count.
It may also be unsuitable when working with some variegated threads if folding the thread changes the intended color progression.
Starting Near Existing Stitches
If you already have completed stitches nearby, you can sometimes run your new thread underneath several stitches on the reverse side before beginning.
Keep the securing path short and neat.
Avoid pulling the new thread through areas where its color could show from the front.
This is particularly important on pale fabric with dark floss.
 How to End a Thread
When you are ready to finish:
Turn to the back of the work.
Pass the needle underneath several completed stitches.
Pull the thread through.
Trim the remaining floss.
You generally don’t need a finishing knot.
 Don’t Pull Too Hard
Whatever method you use, avoid tightening the thread so aggressively that the fabric puckers.
The goal is secure.
Not strangled.
Cross-stitch fabric should remain flat and the tension of the surrounding stitches should stay consistent.
What About Traveling Thread?
Sometimes the next stitch of the same color is nearby.
You may decide to carry the thread across the back rather than end it and restart.
Short carries can be perfectly reasonable.
Long carries deserve more thought.
A dark thread traveling behind pale unstitched fabric can sometimes show from the front.
Long carries also use thread and can create clutter behind the work.
When in doubt, end the thread and restart closer to the next group.
What About Knots?
A knot isn’t likely to destroy a cross-stitch project.
But most counted-cross-stitch methods avoid them because they create unnecessary bulk.
A flat back is particularly useful if the project will eventually be framed or finished against another surface.
 The Best Beginner Method
If you’re stitching with two strands of ordinary cotton floss:
Try the loop start.
If you aren’t using a setup compatible with a loop start:
Secure a short tail beneath your first several stitches.
For ending:
Run the thread beneath completed stitches on the reverse.
That’s enough to complete many projects without a single knot.