Affiliate disclosure: Cross Stitch Expo may earn a commission from qualifying purchases made through links on this page, at no additional cost to you. How we choose what we feature.
A cross-stitch chart can look intimidating when you first open one.
There may be dozens of tiny squares, unfamiliar symbols, heavy grid lines and a separate list of thread numbers.
Fortunately, the basic idea is extremely simple:
One square on the chart represents one stitch position on the fabric.
Once you understand that relationship, the chart becomes a map.
 The Quick Answer
Every symbol tells you what color or stitch belongs in a particular position.
The chart’s key tells you what each symbol means.
You count your position on the fabric and place the corresponding stitch there.
DMC explains that the squares on a chart correspond to the squares on the stitching fabric, with symbols indicating where stitches and colors belong.
 Start With the Key
Before looking at the design itself, find the thread or symbol key.
It commonly shows:
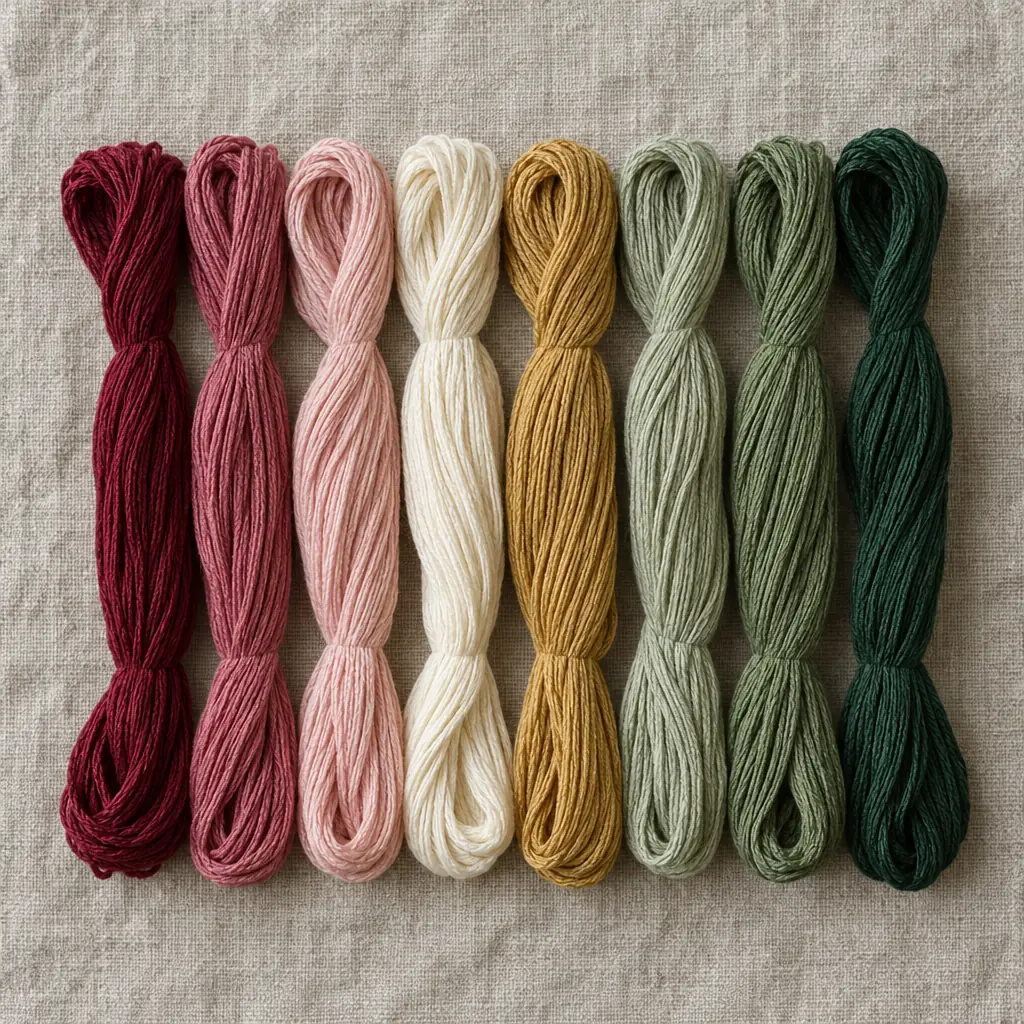
Symbol → thread color or number
For example, a black circle might represent one shade of green while a triangle represents another.
Do not rely only on the printed color of the chart.
Symbols matter because two thread colors may look very similar on paper or screen.
 Understand the Grid
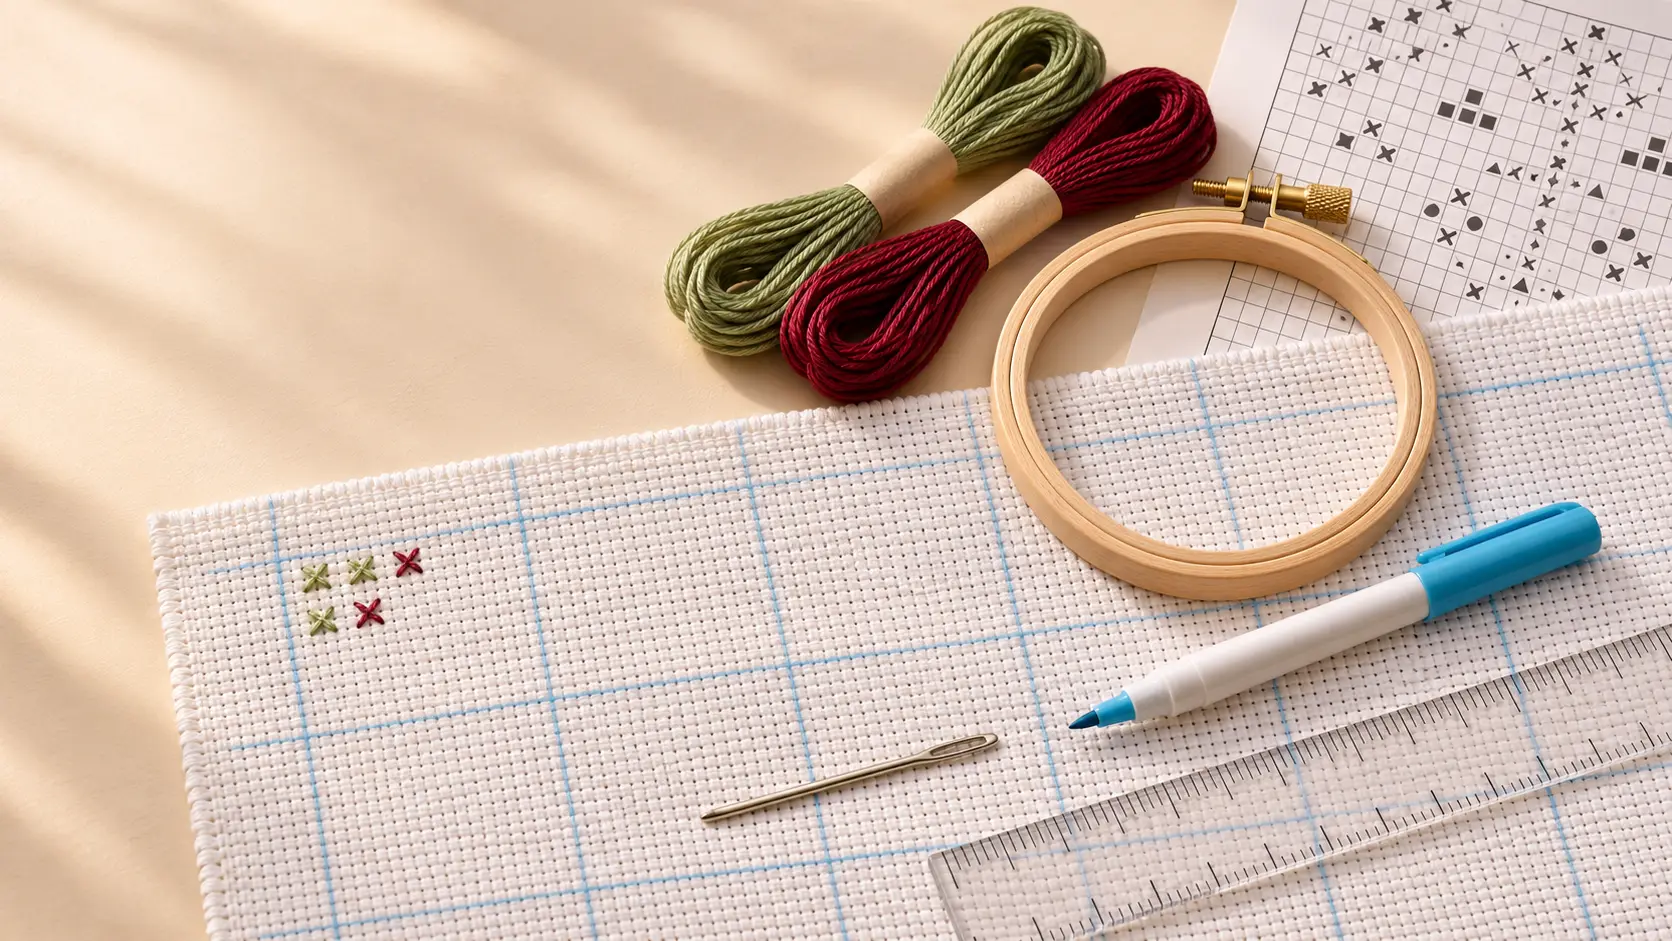
Cross-stitch charts are arranged on a square grid.
Larger grid lines frequently divide the design into blocks to make counting easier. DMC notes that charts commonly use larger grid lines for exactly this purpose.
Instead of trying to count 37 tiny squares across a page, you can work through smaller groups.
This becomes particularly useful on larger designs.
Find the Center
Many charts mark the horizontal and vertical center of the design with arrows or other indicators around the edge.
Where those center markings intersect is the middle of the chart.
If you also find the center of your fabric, you can line up the two.
Starting in the center is a common beginner approach because it reduces the risk of accidentally positioning the design too close to one side of the fabric.
What Does a Full Symbol Mean?
When a symbol fills a complete square, it normally represents a full cross stitch.
DMC’s chart-reading guide describes a full-square symbol as indicating a full cross stitch.
Find the matching symbol in the key.
Thread your needle with the specified color.
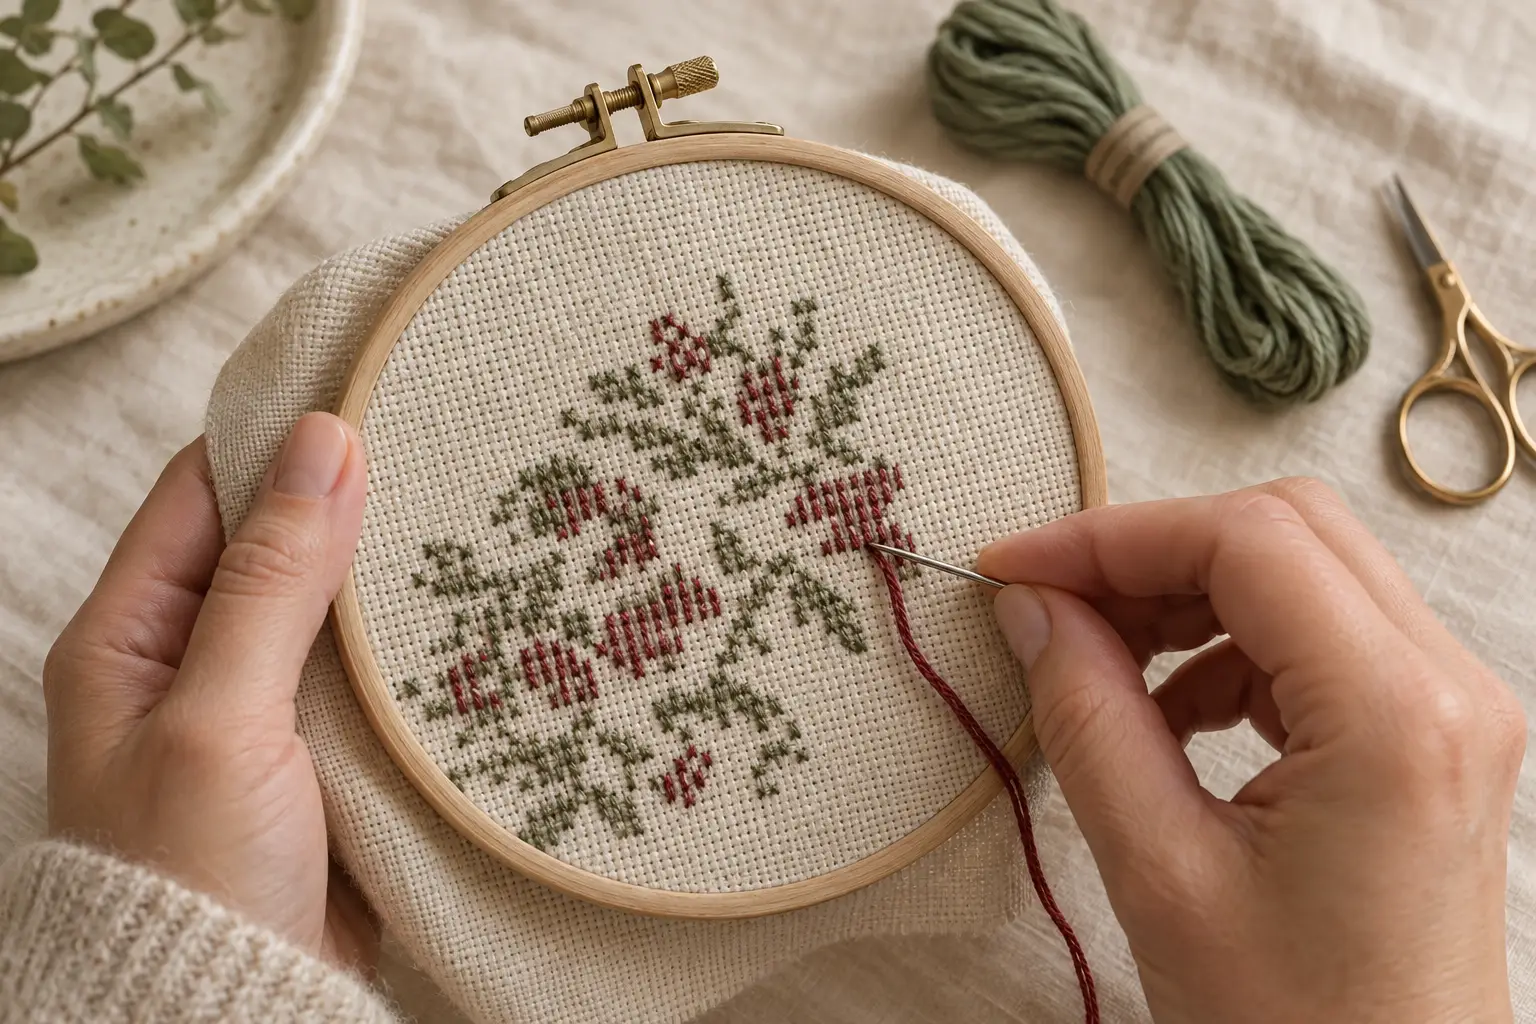
Make the stitch in the corresponding position on your fabric.
Then move to the next symbol.
 How Is Backstitch Shown?
Backstitch is usually shown differently from full crosses.
Instead of filling an entire square with a symbol, the chart may display a line running between points.
Backstitch is frequently used for:
- Outlines
- Lettering
- Facial details
- Architectural details
- Fine definition
DMC describes straight or dotted chart lines joining points as a common way of indicating backstitch.
Most stitchers complete the main cross stitches first and add backstitch afterward.
 What About Half and Fractional Stitches?
More detailed patterns may include:
- Half stitches
- Quarter stitches
- Three-quarter stitches
These are often grouped under the term fractional stitches.
DMC’s stitch guide treats half, quarter and three-quarter stitches as distinct techniques from the full cross.
If you’re brand new, you can choose a pattern that uses mostly full crosses and learn fractional stitches later.
How Do You Keep Track of Your Place?
This is one of the first practical challenges of counted cross stitch.
Several methods work.
Printed chart
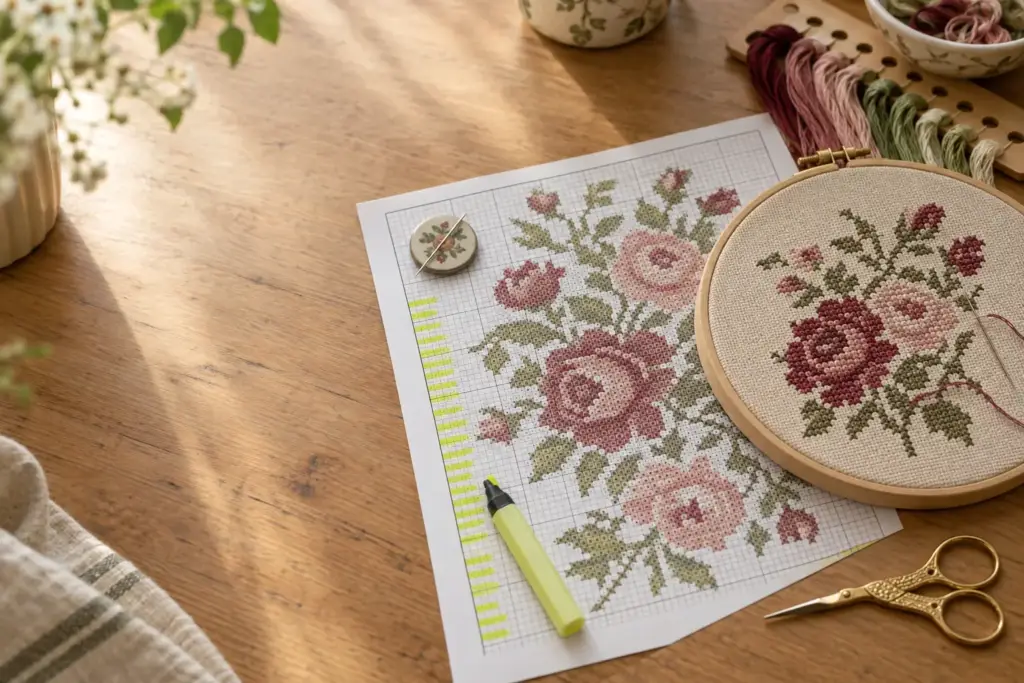
Use a highlighter or pencil to mark completed stitches.
DMC suggests highlighting completed areas as one possible tracking method.
Magnetic board
A magnetic strip or board can help identify the row you are currently working on.
Digital pattern
Some PDF and dedicated chart-reading systems allow you to zoom and mark stitches digitally.
Reference point
Work near an already completed area rather than constantly starting isolated sections far away.
DMC recommends working near existing stitches when possible because it reduces counting distance and can help reveal mistakes sooner.
 Should You Stitch One Color at a Time?
Sometimes.
On a small design, you may finish a cluster of one color before moving to another.
On a large design, following one color across enormous distances can create counting problems and long thread carries across the back.
A good beginner rule is:
Work locally.
Complete nearby stitches.
Then move into the next manageable area.
 Don’t Let the Picture Distract You
One of the strange things about counted cross stitch is that you are often better off thinking in symbols rather than pictures while stitching.
Instead of:
“I am stitching a leaf.”
think:
“Three circles, two triangles, one circle.”
The picture emerges from accurate counting.
 Five Things to Check Before You Start
Before making your first stitch, identify:
- The chart center
- The thread key
- The fabric recommendation
- The number of strands required
- Any specialty stitches used
If you understand those five things, most of the mystery has already disappeared.
 What to Learn Next
- How to Cross Stitch for Beginners
- Cross Stitch Fabric Counts Explained
- How Many Strands of Floss Should You Use?
A cross-stitch chart isn’t artwork you have to decode all at once.
It is a set of small instructions.
Follow one square.
Then the next.
Eventually the picture appears.