
Yarn Wall Hangings and Weaving Crafts
- Understanding yarn wall hangings
- Essential tools for weaving
- Step-by-step guide to creating your first wall hanging
- Exploring various weaving techniques
- Displaying and caring for your yarn art
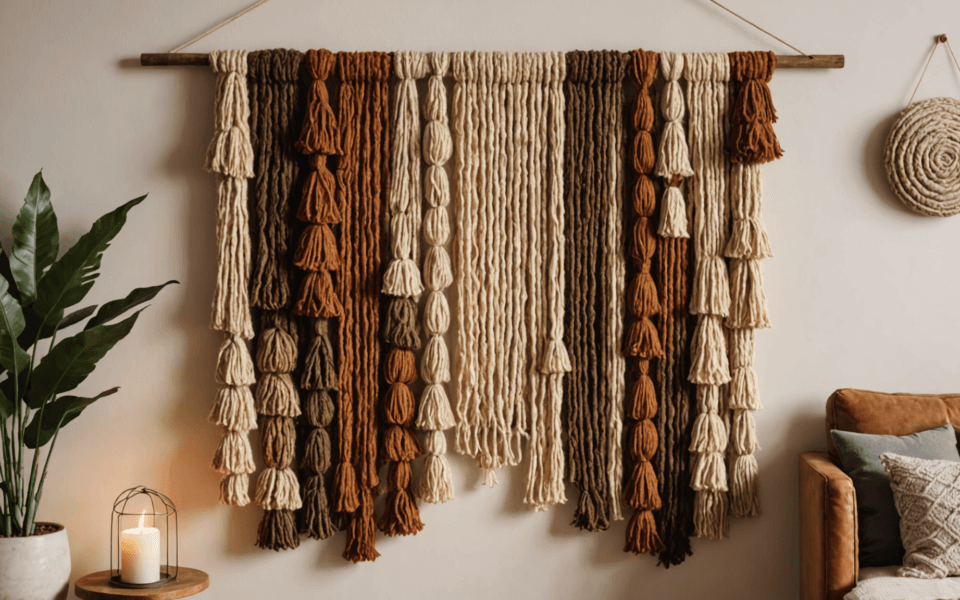
Yarn wall hangings, a beautiful intersection of artistry and texture, have gained immense popularity in both home decor and personal expression. These pieces often serve as focal points in living spaces, infusing warmth and personality into any room. The tactile nature of textiles combined with the vibrant colors of yarn crafts allows individuals to create one-of-a-kind artworks that reflect their personal style. With a little creativity and the right approach, anyone can embark on this rewarding journey of weaving.
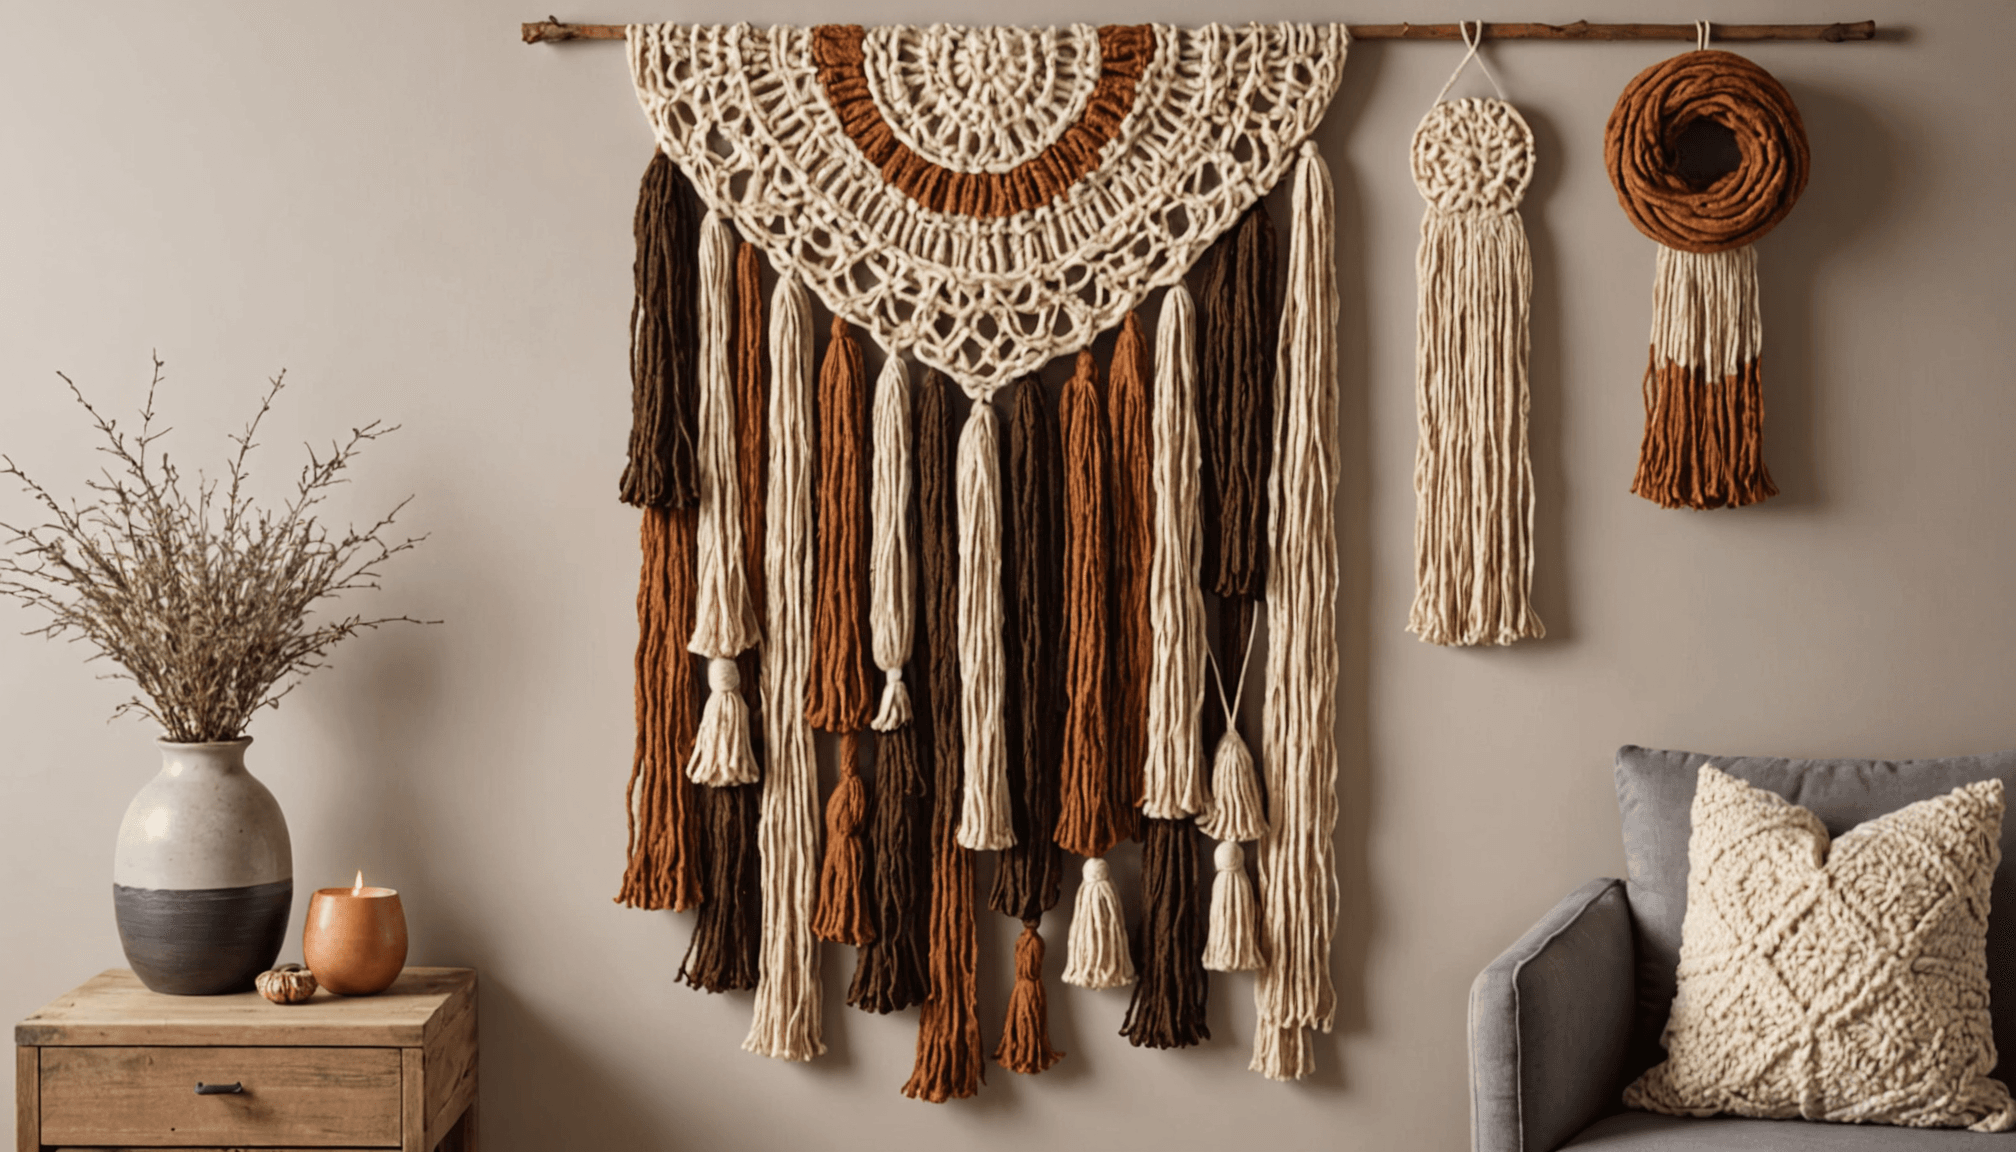
When diving into the world of yarn wall hangings, it’s essential to recognize that these are not just mere decorations, but are expressions of individuality. Each hang piece is woven with thought and intention, often telling a story or representing emotions through color and pattern. From bohemian-inspired designs that capture a carefree spirit to minimalist pieces that highlight elegance, the possibilities are endless. Moreover, understanding the materials and techniques enhances the crafting experience, making each wall hanging not only a decorative item but a labor of love.
Consider the variety of yarns available—cotton, wool, or even synthetic blends—each offering unique textures and effects. Cotton yarns can provide a soft, lightweight feel, while wool can add a plush warmth that is visually engaging. Mixing different types of yarn can create a richly layered display, inviting the viewer to explore different textures and colors. When choosing your palette, think about the atmosphere you wish to create. Earthy tones may evoke a sense of calm, while bold colors can energize a space. The layering of yarn helps to create depth in your artwork, transforming simple materials into intricate visual forms.
Furthermore, considering the scale and placement of your hangings can dramatically affect the overall vibe of a room. Larger pieces can serve as stunning focal points above furniture, while smaller pieces can be clustered together for a gallery-style display. Think of your wall as a canvas, and your hangings as brushstrokes that contribute to the overall aesthetic. Engaging with the space creatively can lead to unexpected results and delightful surprises as you experiment with composition and arrangement.
As you venture into the realm of yarn wall hangings, embrace the idea that this craft is also a conversation starter. Each piece has the potential to invite discussion, share stories, or even spark new inspiration. The experience can be incredibly cathartic, providing a therapeutic outlet for self-expression while also cultivating a sense of accomplishment upon completion. Whether you are a seasoned crafter or just starting, wrapped in the warmth of yarn, you’ll find that weaving these delightful pieces can significantly enhance your creative journey.
Essential tools for weaving
To start your journey into weaving and creating beautiful yarn wall hangings, having the right tools is crucial for a smooth and enjoyable crafting experience. The primary tool you will need is a loom, which can vary in size and complexity depending on your project. For beginners, a simple lap loom or frame loom is often sufficient to get started. These looms help keep your yarn taut and organized, allowing you to focus on your weaving patterns without the frustration of managing loose threads.
Another essential item is a shuttle, which is a tool that helps carry the yarn across the loom while weaving. This tool improves efficiency and ensures consistent tension, making it easier to create even rows in your textile art. If you’re weaving with thicker yarns or multiple strands, consider a wider shuttle for added convenience.
Yarn needles are also necessary, especially for finishing your project—these large-eyed needles allow you to easily thread thicker yarns or multiple yarn strands, making it easier to secure and weave in any loose ends at the conclusion of your piece. A pair of scissors is indispensable for cutting yarn at various stages of your project, and a measuring tape will help you plan your designs accurately and ensure your dimensions are consistent throughout the piece.
Lastly, keep a comb or weaving fork handy. This tool helps pack the yarn tightly together as you weave, supporting a neater finish and improving the overall look of your wall hanging. These tools, combined with your creativity, will empower you to bring your vision to life.
- Start with a simple loom and gradually explore more complex ones as you gain experience.
- Utilize a wide shuttle for thick yarns or multiple strands for more efficiency.
- Have large-eyed yarn needles ready for finishing touches to secure loose ends.
- Always have scissors and a measuring tape on hand to manage your materials easily.
- A comb or weaving fork will help in packing yarn tightly for a polished look.
Step-by-step guide to creating your first wall hanging
 To begin creating your first yarn wall hanging, gather all your materials and tools in one place to ensure a smooth crafting process. Start by preparing your loom according to its instructions. If you’re using a frame loom, set it up securely and choose the colors of yarn you want to work with. Aim for a clear vision of your design, whether it’s geometric patterns, organic shapes, or an abstract feel. Planning your color scheme ahead of time will help guide your placement as you weave.
Begin by cutting your yarn into manageable lengths. If you’re new to weaving, start with shorter segments, around 3-4 feet, as they are easier to handle. Next, attach the warp yarn, which runs vertically on your loom. This step involves securing a series of threads tightly across the loom, creating the foundation for your weaving. Make sure to maintain consistent tension to prevent the warp from sagging or becoming loose.
Now, you can start weaving your first row using your selected weft yarn. Create a simple over-and-under pattern, alternating which side the yarn goes over and under each warp strand. This basic technique forms the basis of many weaving styles in yarn crafts. Remember to keep your tension even to avoid gaps or unevenness in your piece. Use a comb or weaving fork to gently push each row down, compacting the yarn for a neat appearance.
One common mistake at this stage is not paying attention to tension. If the yarn is too loose, the design may not hold together well. To avoid this, periodically check your work and adjust the tension as necessary. If you notice any areas where the yarn is too tight, take a moment to loosen it gently to maintain an even finish.
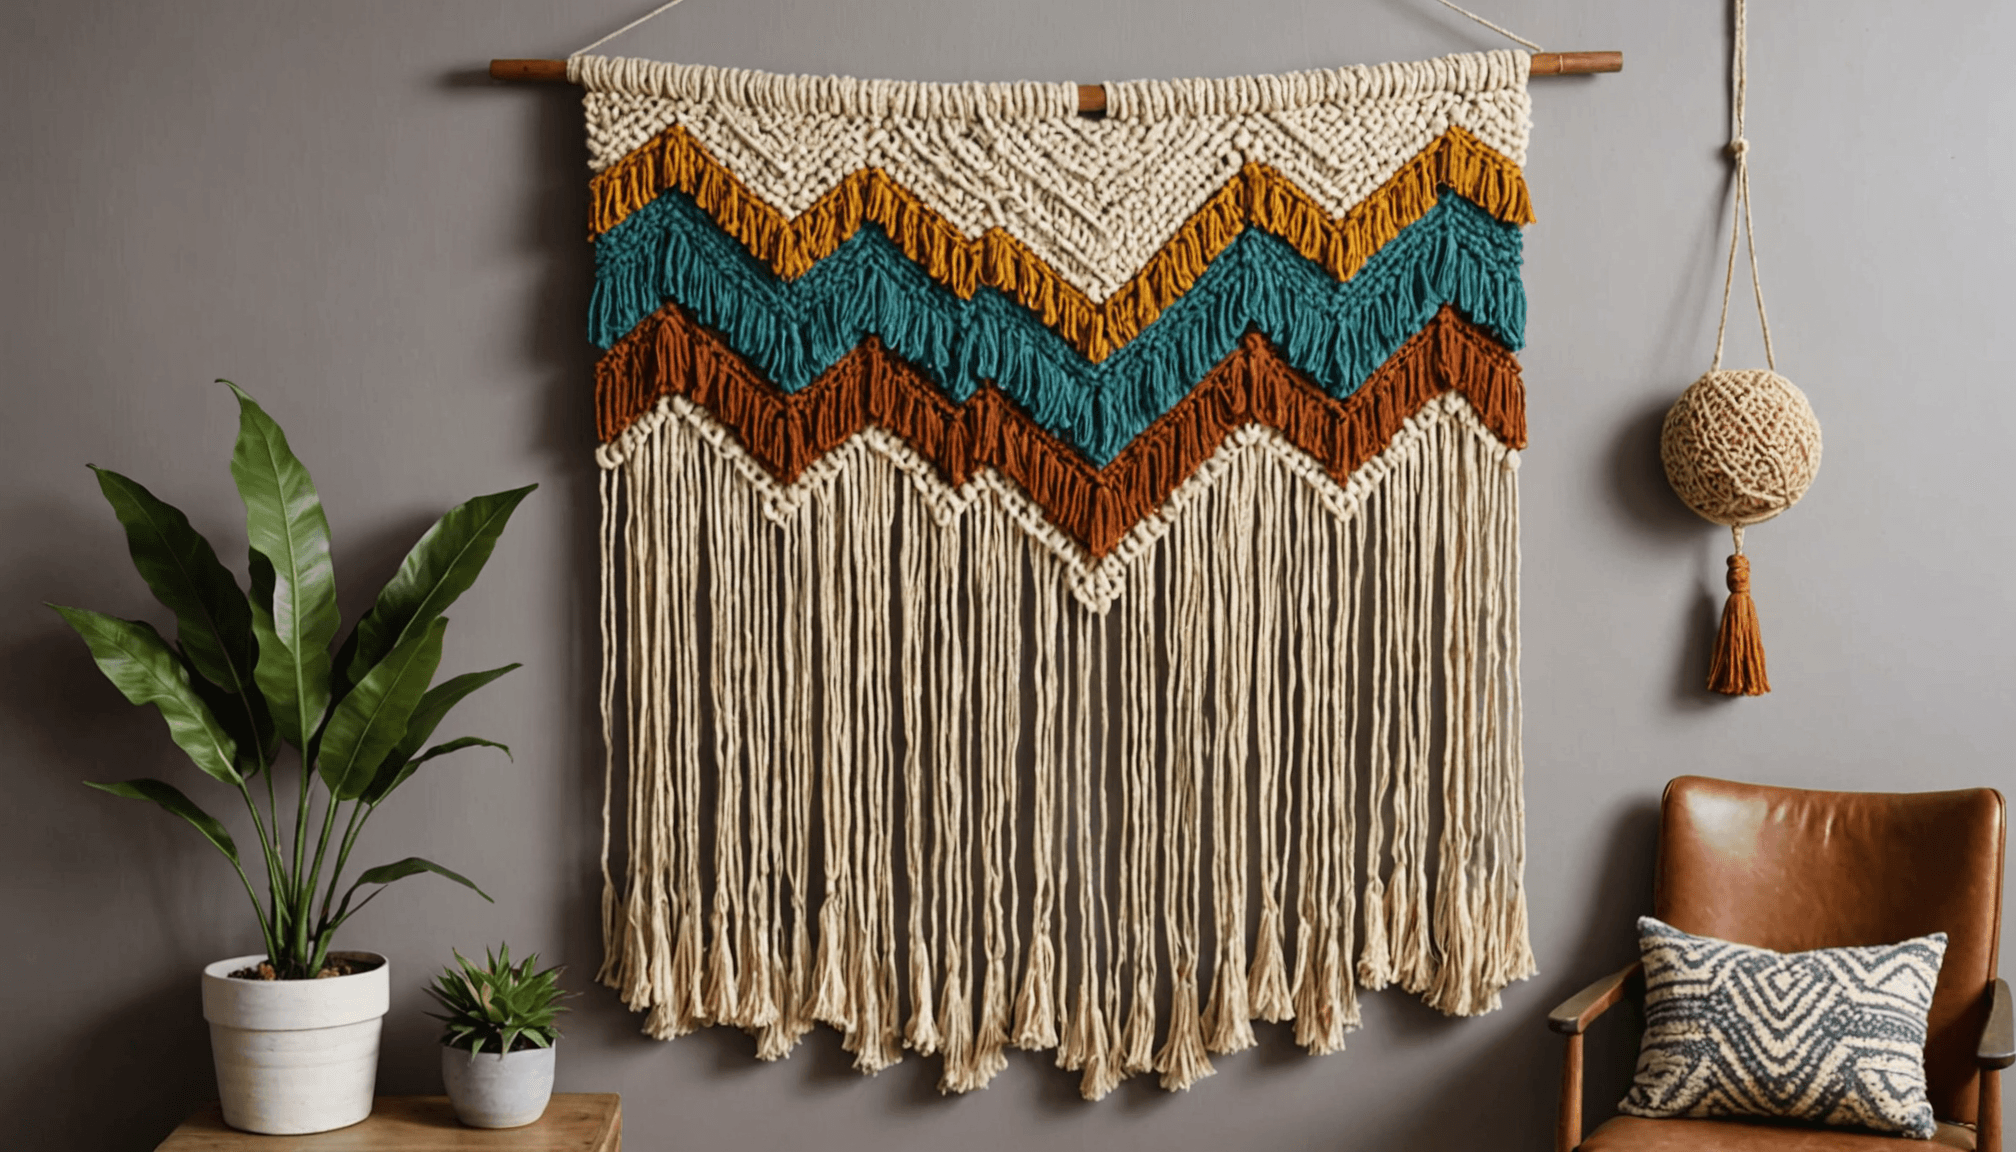
As you progress, try incorporating different weaving techniques and colors. You might experiment with adding fringes, changing yarn thickness, or even combining different weaving styles, such as twining or rya knots, to add dimension and interest to your wall hanging. These variations can enhance the texture and visual impact of your textile art.
As you near the end of your piece, remember to secure the last rows properly. Ensure that the edges are tight and uniform, and use a large-eyed yarn needle to weave in any loose ends. This finishing touch not only secures your work but also provides a polished look that showcases your craftsmanship.
Throughout this process, it’s essential to embrace the learning curve. Mistakes are likely to occur, but they often lead to the most interesting outcomes. If you find that a particular row doesn’t look quite right, don’t hesitate to unweave it and try again. This iterative process is part of what makes crafting rewarding. Recording your progress, whether through sketches or notes about yarn choices and techniques, can be particularly helpful for future projects and can assist in avoiding the same pitfalls.
Enjoy each step, and remember that your first yarn wall hanging is just the beginning of your journey into the vibrant world of weaving and textile art. The more you create, the more confident you’ll become in your abilities, leading you to explore even more elaborate patterns and ideas.
Exploring various weaving techniques
Exploring different weaving techniques can greatly enhance your yarn wall hangings, allowing you to discover new textures and styles. One of the most fundamental methods is the classic over-under weave. This technique forms the backbone of many textile art pieces, establishing a rhythmic pattern that creates a sturdy foundation. By varying the colors and textures of your yarn, you can achieve different visual effects while still maintaining this essential technique.
Next, consider exploring the rya knot, a technique that introduces depth and dimension to your work. This involves looping yarn around the warp threads and securing it to create fluffy, textured segments that stand out from the surface. Rya knots are especially effective for creating vibrant, tactile designs that invite viewers to reach out and touch the piece.
Twining is another method worth mastering, particularly if you’re looking to intertwine different yarn types or colors. In this technique, two strands of yarn are twisted together as you weave, creating a unique pattern that can accentuate the contrasts between varied textures. Twining is not only visually appealing, but it also adds strength to the fabric, making it ideal for larger wall hangings.
Another noteworthy technique is soumak weaving, which involves wrapping the weft yarn around the warp threads to create horizontal lines. This technique can help you achieve intricate designs and is perfect for emphasizing specific areas of your wall hanging. By weaving in diverse directions and utilizing various yarn thicknesses, you can create stunning graphic patterns that draw the eye.
Incorporating fringe into your pieces may also enhance their aesthetic appeal. Adding fringes at the bottom of your wall hangings introduces a playful element and can utilize leftover yarn lengths. This not only reduces waste but also allows for creative freedom as you mix and match textures and colors.
As you dive into various weaving methods, remember that experimentation is key. Don’t be afraid to blend techniques or try altering your tension for unique effects. Keeping a journal of your projects can aid in tracking which methods you enjoy and provide inspiration for future textile art creations. With every piece, take the time to explore your creativity fully, and let your ideas guide you into the world of weaving. With passion and persistence, you’ll find joy in your journey as you create beautiful, one-of-a-kind yarn crafts that reflect your artistry!
Displaying and caring for your yarn art

- What are yarn wall hangings made from?
- Yarn wall hangings can be made from various types of yarn, including cotton, wool, and synthetic blends. The choice of yarn affects the texture and visual appeal of the finished piece, allowing for unique expressions of artistry.
- How do I clean my yarn wall hanging?
- To clean a yarn wall hanging, simply use a soft brush or a lint roller to remove dust. For deeper cleaning, spot clean with a damp cloth and mild detergent, and always make sure to air dry rather than submerge it in water.
- Can I display my yarn art outdoors?
- While yarn wall hangings are primarily designed for indoor use, some can be displayed outdoors if they are made from weather-resistant materials. It’s essential to consider sunlight, moisture, and temperature changes that may affect the integrity of the yarn.
- What is the best way to hang a wall hanging?
- The best way to hang a yarn wall hanging is to use a quality wall hook or curtain rod, depending on the size and weight of the piece. Make sure to choose a location that allows the piece to be showcased properly for optimal visual impact.
- How do I prevent my yarn from tangling when displaying it?
- To prevent tangling, ensure that your wall hanging is arranged smoothly with minimal overlaps between yarn strands. Using clips or ties to secure the ends can also help maintain its shape and keep it tangle-free.
- What do I do if my wall hanging starts to sag?
- If your wall hanging begins to sag, you can tighten the tension by adjusting how it’s mounted or by adding support at the back. Reinforcing the structure with a wooden dowel or frame can also help maintain its shape.
- Is it safe to use glue or adhesives on my yarn art?
- While many crafters use glue or adhesive to secure specific yarn elements, take care to use them sparingly to preserve the flexibility and texture of your art. Always opt for fabric-safe glues that won’t damage the yarn.