
Homemade Cards and Gift Tags
- Homemade Card Ideas
- Creative Gift Tag Designs
- Materials and Tools Needed
- Step-by-Step Instructions
- Personalization Techniques
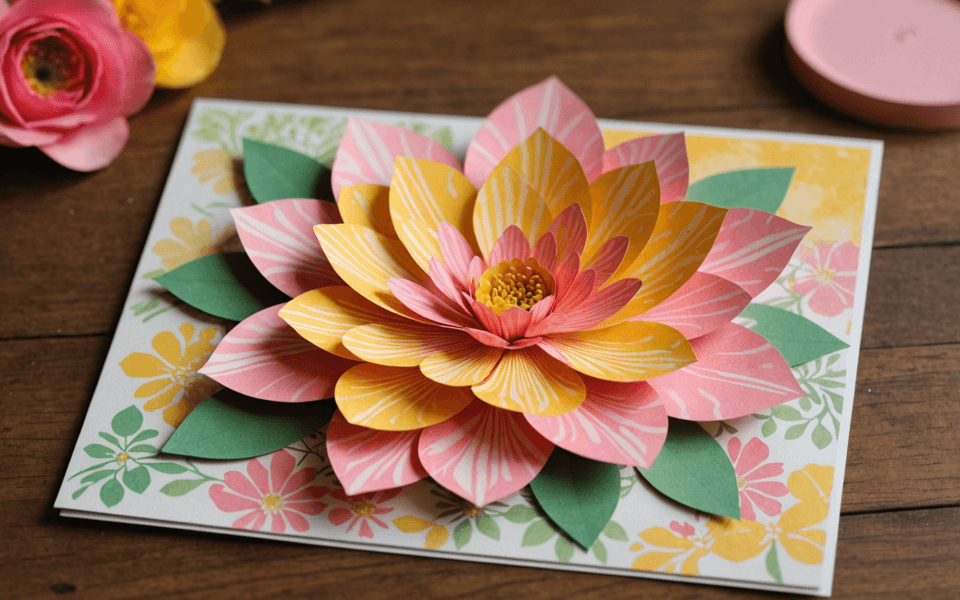
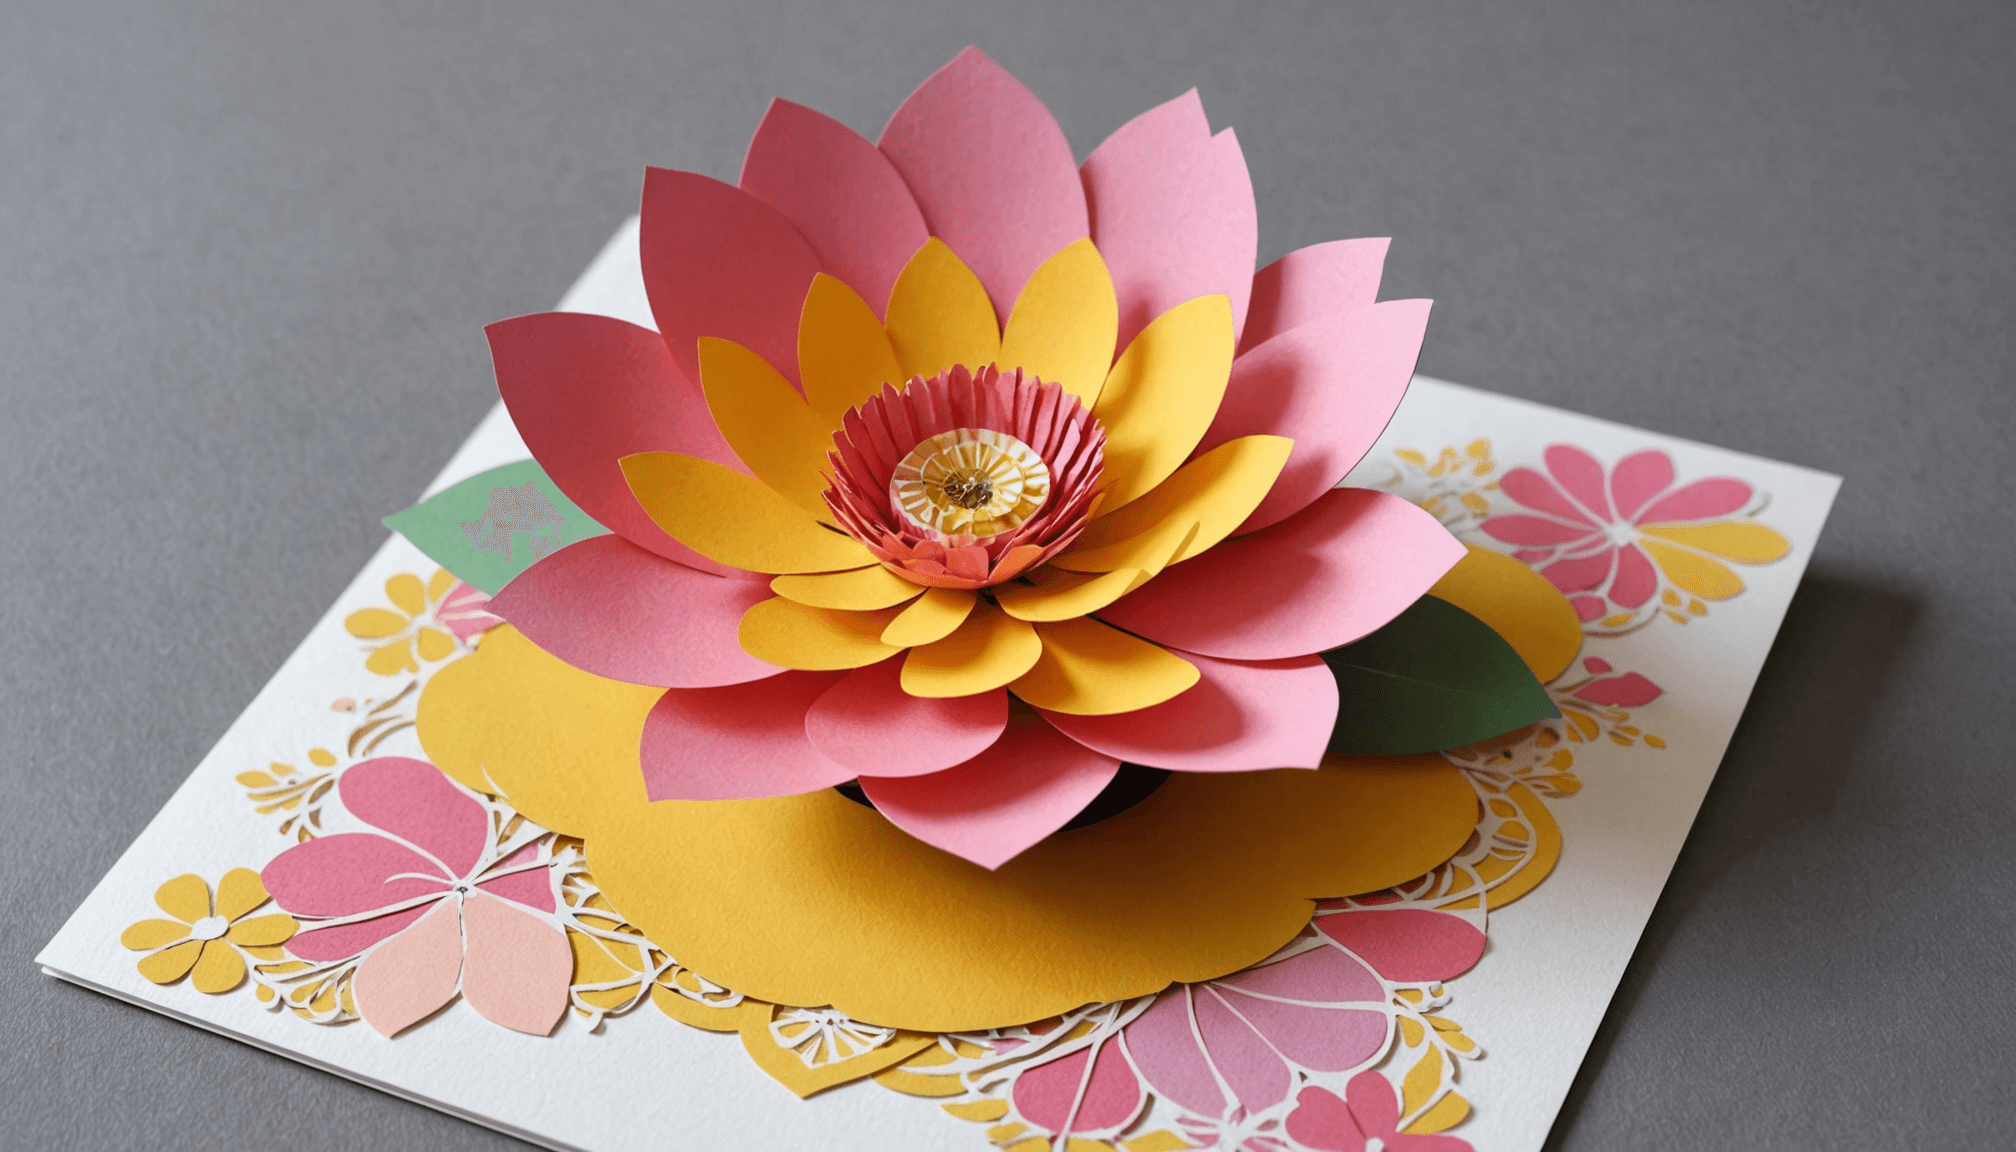
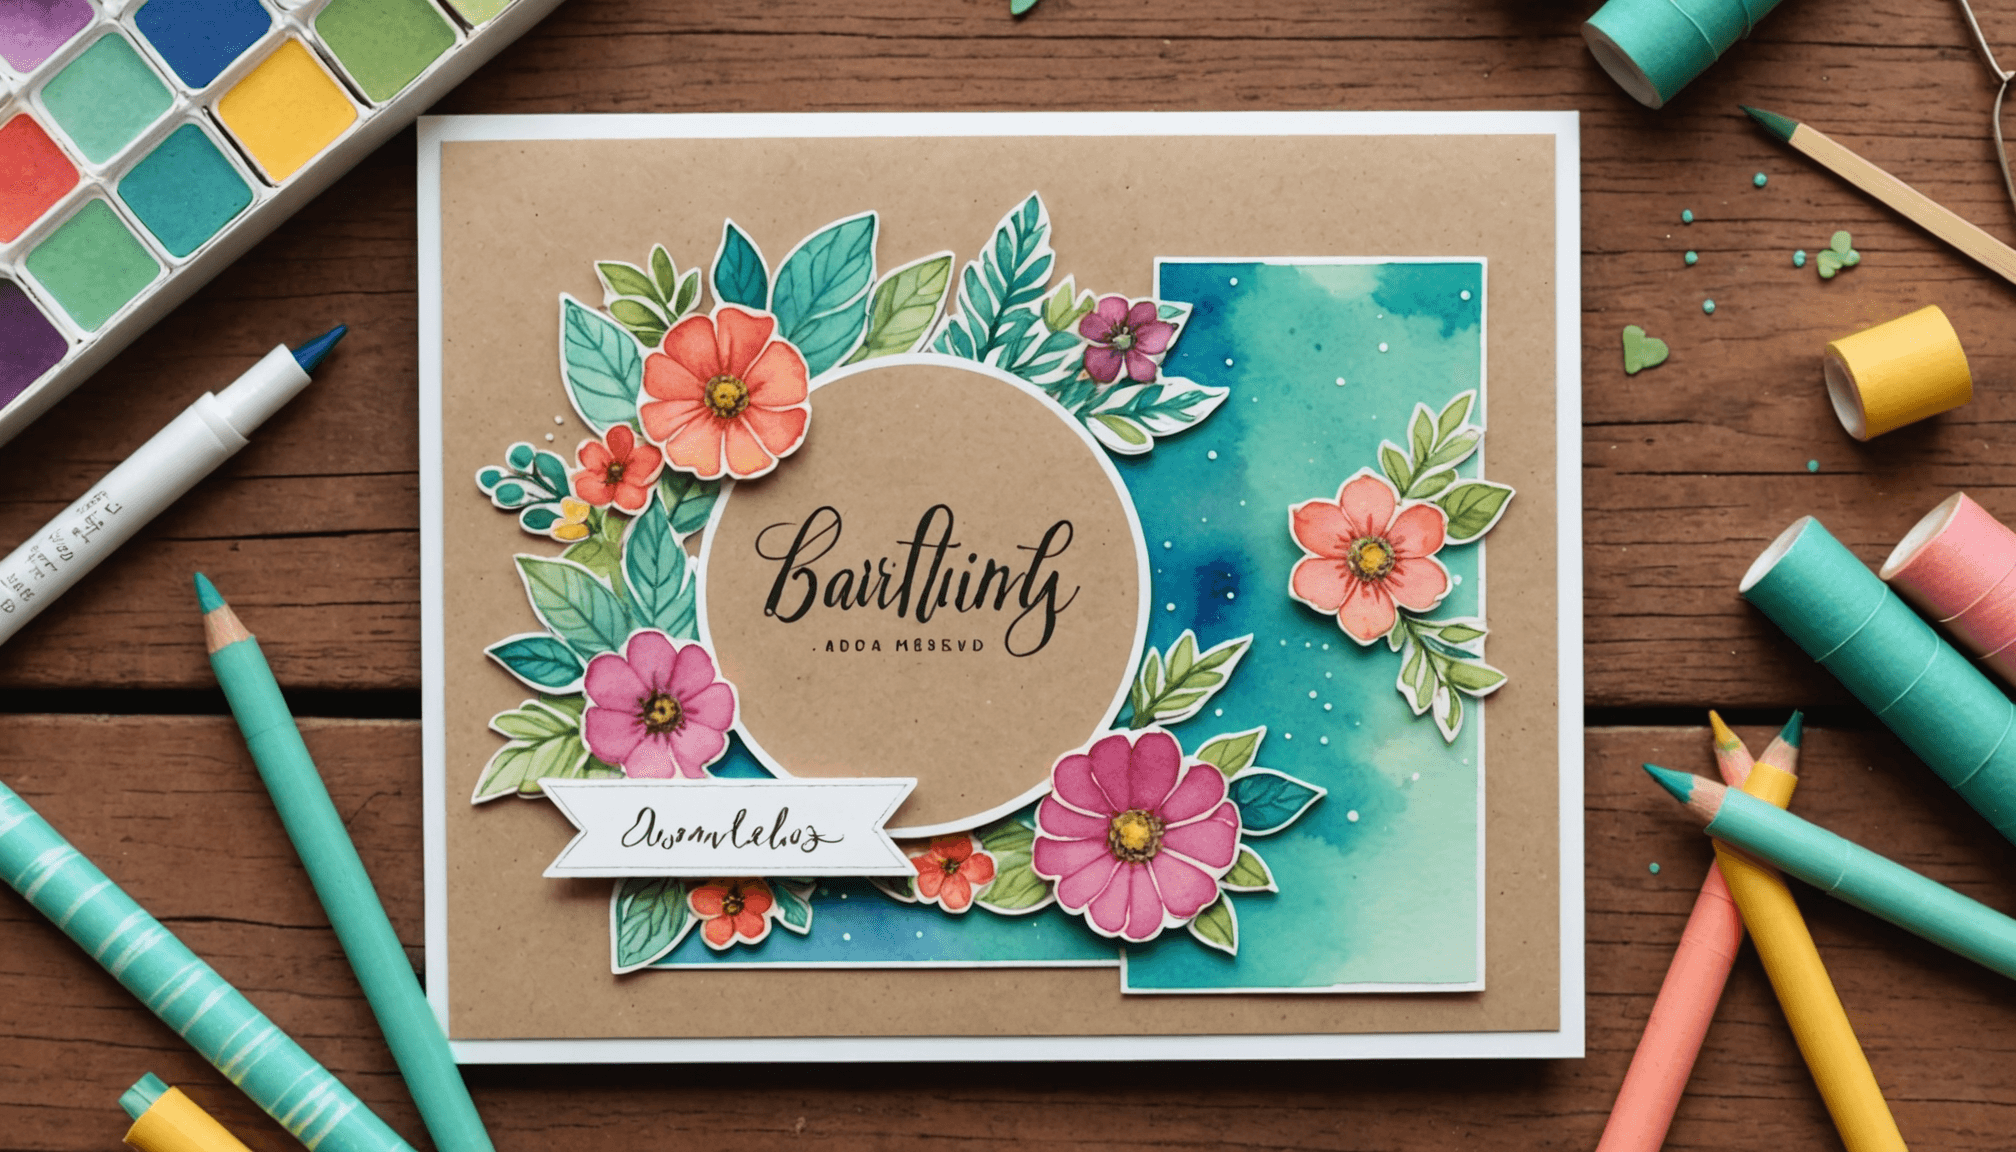
When crafting homemade cards, the beauty lies in the variety of designs that can reflect the recipient’s personality or the occasion. A simple fold of high-quality cardstock opens the door to endless creative possibilities. Consider trying a pop-up card to surprise and delight your loved ones. These cards can feature anything from a blooming flower to a festive cake, depending on the theme. For a touch of elegance, incorporate layered designs with colored papers and washi tape, which adds depth and texture to your creations.
Another popular idea is the use of watercolor techniques. By blending vibrant hues on a blank card, you can create lovely backgrounds where you can further embellish with cross-stitches or embroidered motifs that stand out beautifully against the soft colors. This layering creates a unique, tactile experience and adds an impressive dimension to your handmade cards.
For seasonal celebrations, try themed designs that capture the essence of the holiday. Think pumpkin patches for fall, snowflakes for winter, and blooming flowers for spring. You can even create a birthday card that resembles a cake with layers and candles standing tall. A glimmer of metallic thread in your embroidery adds a special sparkle that can brighten anyone’s day.
Incorporating personal photographs or snippets of meaningful quotes into your cards can also create a warm, inviting feel. Allow your own memories to inspire each card; perhaps a photo from a favorite vacation paired with a heartfelt message can bring joy when sent to a loved one. This personal touch makes every card a cherished keepsake, showing that you genuinely care.
If you’re looking for quick, delightful ideas, try creating mini cards that serve as simple thank yous or invitations. These can easily be placed alongside gifts or sent in the mail as a surprise note. Toss in a little humor or a playful illustration to make them even more memorable. Remember, the best homemade cards are those infused with your unique style and personality, making every send-off a delightful experience for both you and the recipient.
Creative Gift Tag Designs
Gift tags are an essential addition to any gift, offering a personal touch that enhances the overall presentation. When designing creative gift tags, consider various materials and techniques to make each tag unique. Start with a sturdy cardstock or patterned paper as your base. This can be cut into various shapes such as circles, stars, or even custom silhouettes that align with the occasion. For instance, using a heart shape for Valentine’s Day or a snowman outline for Christmas can instantly amplify the festive spirit.
Next, utilize stamps or stencils to add decorative elements that bring your tags to life. You might consider using ink pads in vibrant colors to stamp seasonal motifs, such as leaves for autumn or flowers for spring. Adding texture with embossing powder can also provide a tactile quality that draws attention. Combine different layers of paper or embellishments like ribbons, twine, or sequins to create depth and intrigue. A layered tag featuring a stamped image, a piece of twine, and a sequined background can evoke a sense of excitement before the gift is even unwrapped.
Personalization plays a significant role in crafting memorable gift tags. Write a thoughtful message or the recipient’s name in elegant handwriting or a fun font using a calligraphy pen or digital printing. This small detail can transform a basic tag into a cherished keepsake. Additionally, don’t hesitate to incorporate personal elements such as small photographs or snippets from magazines that resonate with the recipient’s hobbies or interests.
Consider also adding interactive components to your DIY tags. For example, a tag that doubles as a coupon for a homemade treat or an offer to spend a day together can elevate the gift-giving experience, making it more than just a simple exchange. You can even include a tear-off section on the tag that reveals a fun fact or a challenge related to the gift, fostering connection and conversation.
- Using a variety of shapes can enhance the visual appeal of your gift tags.
- Incorporate different textures and layers to create depth and intrigue.
- Personalize your tags with thoughtful messages or images to make them memorable.
- Add interactive elements that transform tags into experiences beyond just decoration.
- Experiment with stamps and embellishments to create unique designs tailored to the recipient.
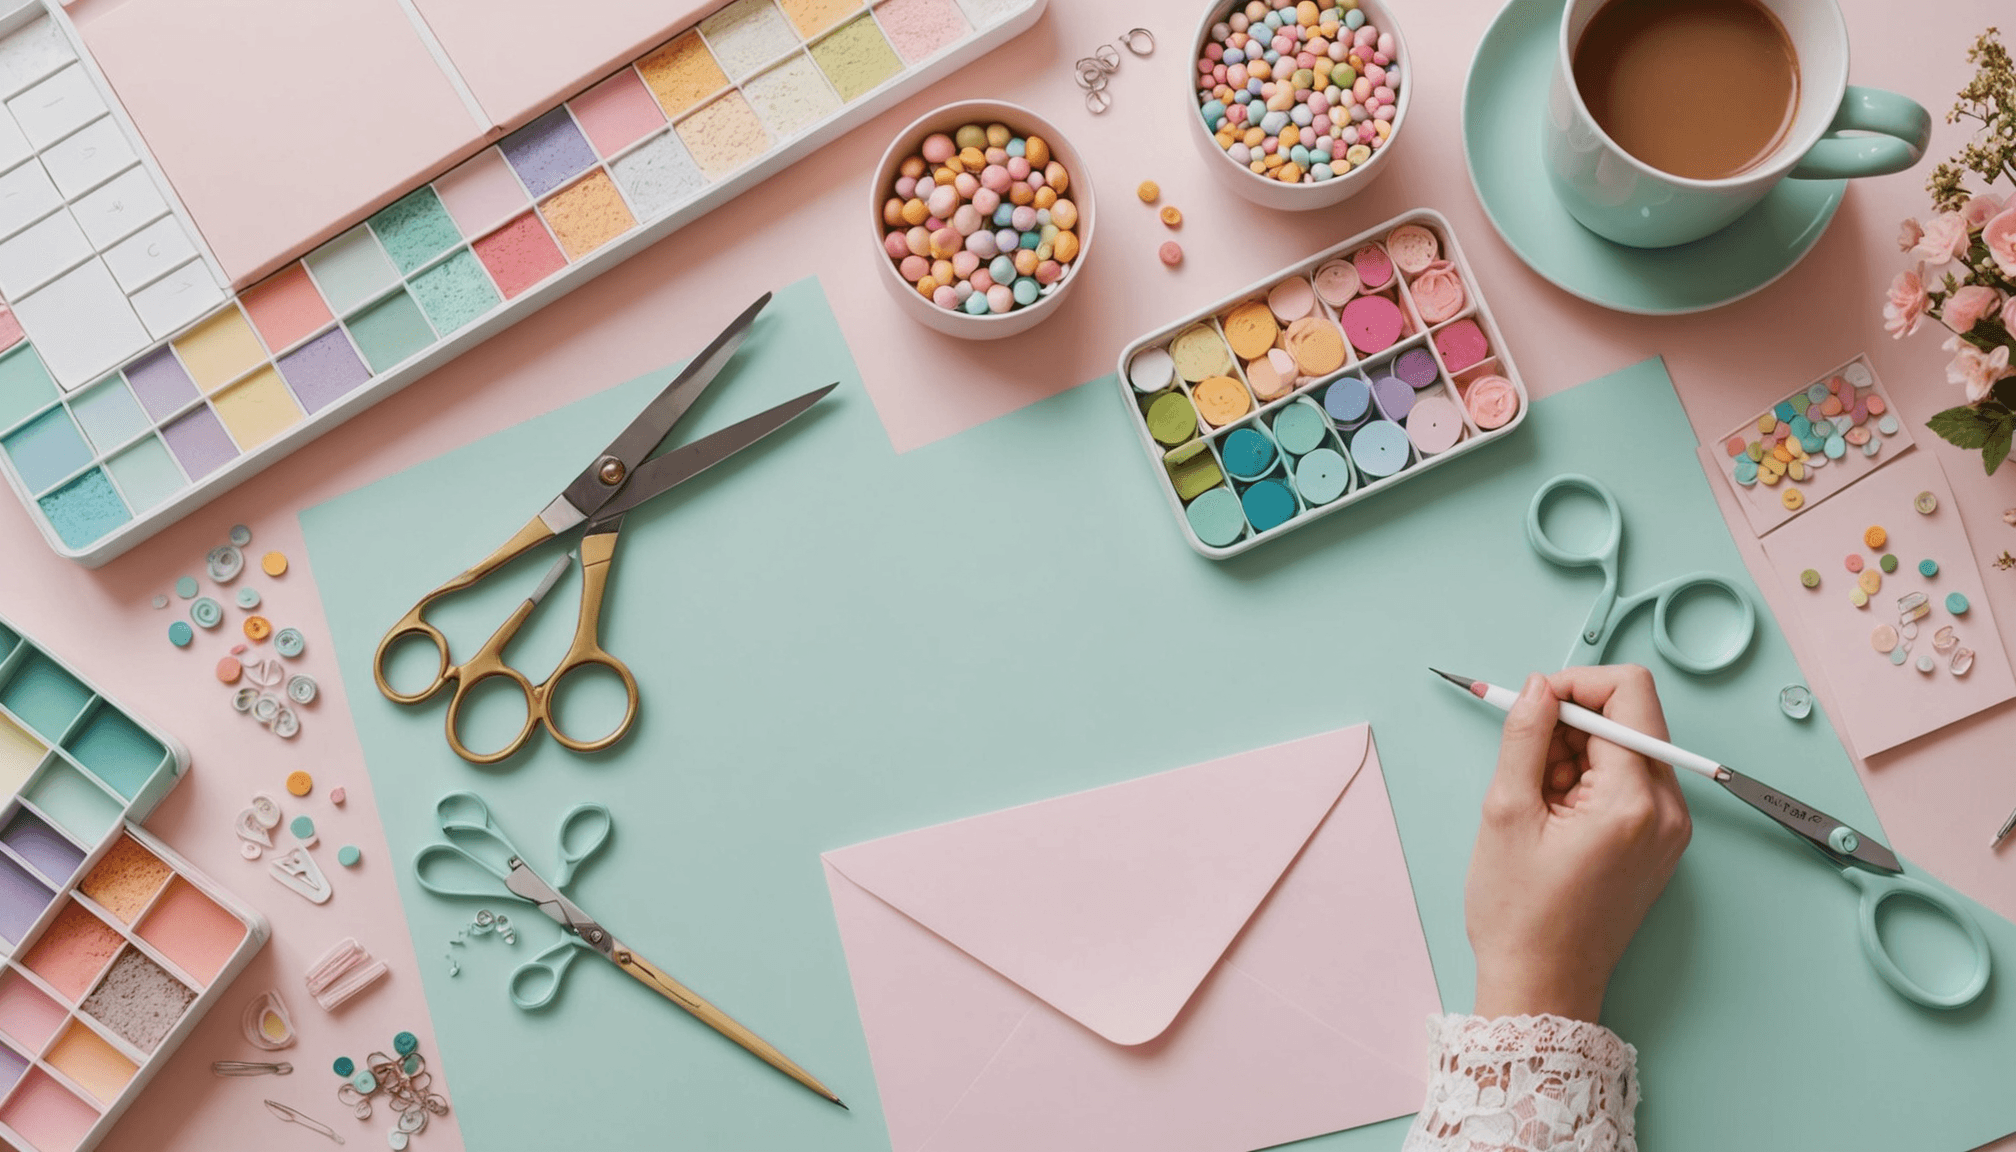
Materials and Tools Needed
 When embarking on the journey of creating homemade cards and DIY tags, it’s easy to make a few common mistakes that can hinder your creative flow. One frequent pitfall is underestimating the importance of selecting the right materials. Many crafters may choose lower-quality paper or tools, thinking they’re saving money. However, using flimsy cardstock can result in cards that easily bend or tear, while cheap inks can smudge or fade over time. To avoid this, invest in good-quality cardstock, specialty papers, and reliable writing instruments. This ensures that your handmade cards not only look great but also stand the test of time.
Another common mistake is not having an organized workspace. A cluttered desk can lead to frustration and wasted time as you search for materials or tools. To combat this, set up a dedicated crafting area where everything is easily accessible. Use storage containers or trays to keep your supplies organized, making it easier to find what you need when inspiration strikes.
Sometimes, crafters overlook the importance of proper measurements and alignment. Misaligning elements or cutting materials incorrectly can detract from the overall appearance of your cards and tags. Always measure twice and consider using a paper trimmer for straight cuts. Utilizing a ruler and a craft knife can help achieve clean lines and professional-looking edges. Additionally, practicing visualization by laying out your components before attaching them can prevent mishaps.
Another area often neglected is the embellishment process. While adding decorations like ribbons, stickers, or embellishments can enhance your creations, overdoing it can lead to a chaotic look. Aim for balance by choosing a few key elements that complement each other without overpowering the main design. Consider the principle of “less is more” and focus on the essential details that highlight your handmade cards and tags.
Failing to personalize can also be a frequent oversight. Many crafters create beautiful designs but forget to incorporate thoughtful messages or the recipient’s name, which can make the gesture feel less special. Always take a moment to craft a heartfelt note or use personalized elements like family photos or inside jokes that speak to your shared experiences. This will elevate your DIY tags and cards from ordinary to extraordinary.
Finally, many may rush through the crafting process, eager to complete their project. This can lead to mistakes and a lack of attention to detail. Take your time; enjoy the creative process at each step. When you slow down and focus, you’re more likely to produce high-quality, thoughtful handmade cards and creative gifts that truly reflect your effort and care.
Step-by-Step Instructions
Begin by gathering all your materials and tools in a designated workspace, ensuring everything is organized and easily accessible. Start with the base of your handmade cards or DIY tags—cut your cardstock to the desired size using a paper trimmer for clean edges. For standard card sizes, consider folding a sheet of 8.5 x 11-inch cardstock in half, or use smaller squares or rectangles for tags.
Next, think about the design elements you want to incorporate. If you’re adding layers, select contrasting colors or patterns that complement each other. Cut these layers slightly smaller than the base, allowing them to showcase your main card or tag. Use a glue stick or double-sided tape to secure these layers, ensuring they’re aligned properly for a polished look.
Now, it’s time to embellish. For cards, consider using stamps to add images or messages. Apply ink evenly to the stamp before pressing it onto the paper. If you’re feeling adventurous, try heat embossing for a raised effect. For DIY tags, decorative elements can include twine, ribbon, or even small charms that reflect the occasion or the recipient’s personality. Attach these elements using adhesive or by punching holes and tying the embellishments securely.
Personalization is crucial. Write heartfelt messages in your best handwriting or use printed text for a clean, professional appearance. A calligraphy pen can add an elegant touch. If using photographs or images, trim them neatly and secure them with a strong adhesive, ensuring they are well-positioned to become a focal point of the card or tag.
For cards that open, consider creating an inside message, which could be a quote, a personal note, or a poem that resonates with the recipient. Make sure to leave enough space for your handwritten message, allowing for an extra personal touch.
As you finish each piece, take a moment to inspect your handiwork. Double-check that all elements are secured and that there are no smudges or misalignments. This attention to detail will elevate your handmade cards and creative gifts, making them truly special.
Finally, once everything is dried and set, consider your presentation. For cards, an envelope can be as simple or decorative as you wish. For tags, think about how they will be displayed—will you attach them to a gift with twine or slip them into a decorative pouch? Each choice contributes to the overall impact of your thoughtful creations, so don’t hesitate to get creative with how you present your work. Embrace the joy of crafting and let your imagination guide you as you bring your unique visions to life!
Personalization Techniques
- How do I make my handmade cards unique?
- To make your handmade cards unique, consider incorporating personalized elements such as photographs or handwritten notes that reflect your relationship with the recipient. Experimenting with various materials and techniques, like watercolor backgrounds or layered designs, can also elevate the individuality of your cards.
- What materials are best for creating DIY tags?
- For creating DIY tags, sturdy cardstock or patterned paper works best as a base. Using embellishments like ribbons, twine, and stamps will add character and ensure your tags stand out while complementing the gift they adorn.
- Can I use digital tools for personalization?
- Absolutely! Digital tools can enhance your personalization efforts by allowing you to print custom designs, fonts, and graphics. This approach also helps achieve a clean and professional look while maintaining the heartfelt charm of handmade creations.
- What are some easy ways to embellish my cards?
- Simple ways to embellish your cards include adding washi tape, using stamps, or attaching small charms. You can also layer different papers or use techniques like heat embossing to add texture and depth to your designs.
- How do I add a personal touch to gift tags?
- To add a personal touch to gift tags, write a heartfelt message or include the recipient’s name in a decorative font. Incorporating elements related to the recipient’s hobbies or interests, such as images or colors they love, can also create a memorable impression.
- Are there specific techniques for creating pop-up cards?
- Creating pop-up cards involves cutting slits in the base card and folding tabs to create 3D elements. There are numerous tutorials available online that can guide you step-by-step through different pop-up mechanisms, allowing for versatile and fun designs.
- How can I organize my crafting supplies effectively?
- Organizing your crafting supplies can enhance your creative process. Consider using clear bins or trays to categorize items by type, such as papers, tools, and embellishments, which will make finding what you need much easier and will foster a more efficient crafting experience.