
Holiday Arts and Crafts Ideas
- Creative Card Making
- Festive Ornaments You Can Create
- DIY Decorations for the Home
- Gift Wrapping Techniques
- Kid-Friendly Craft Projects
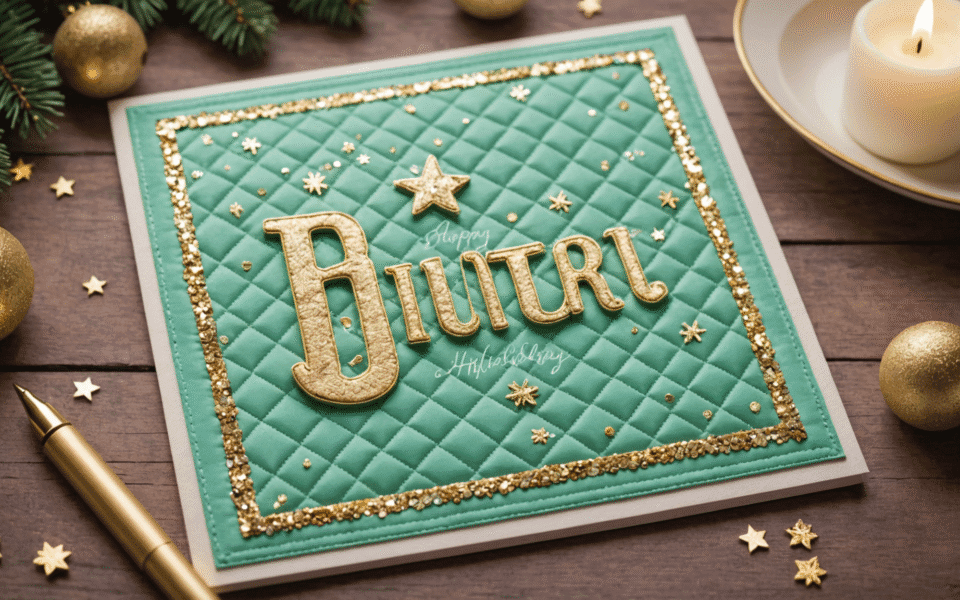
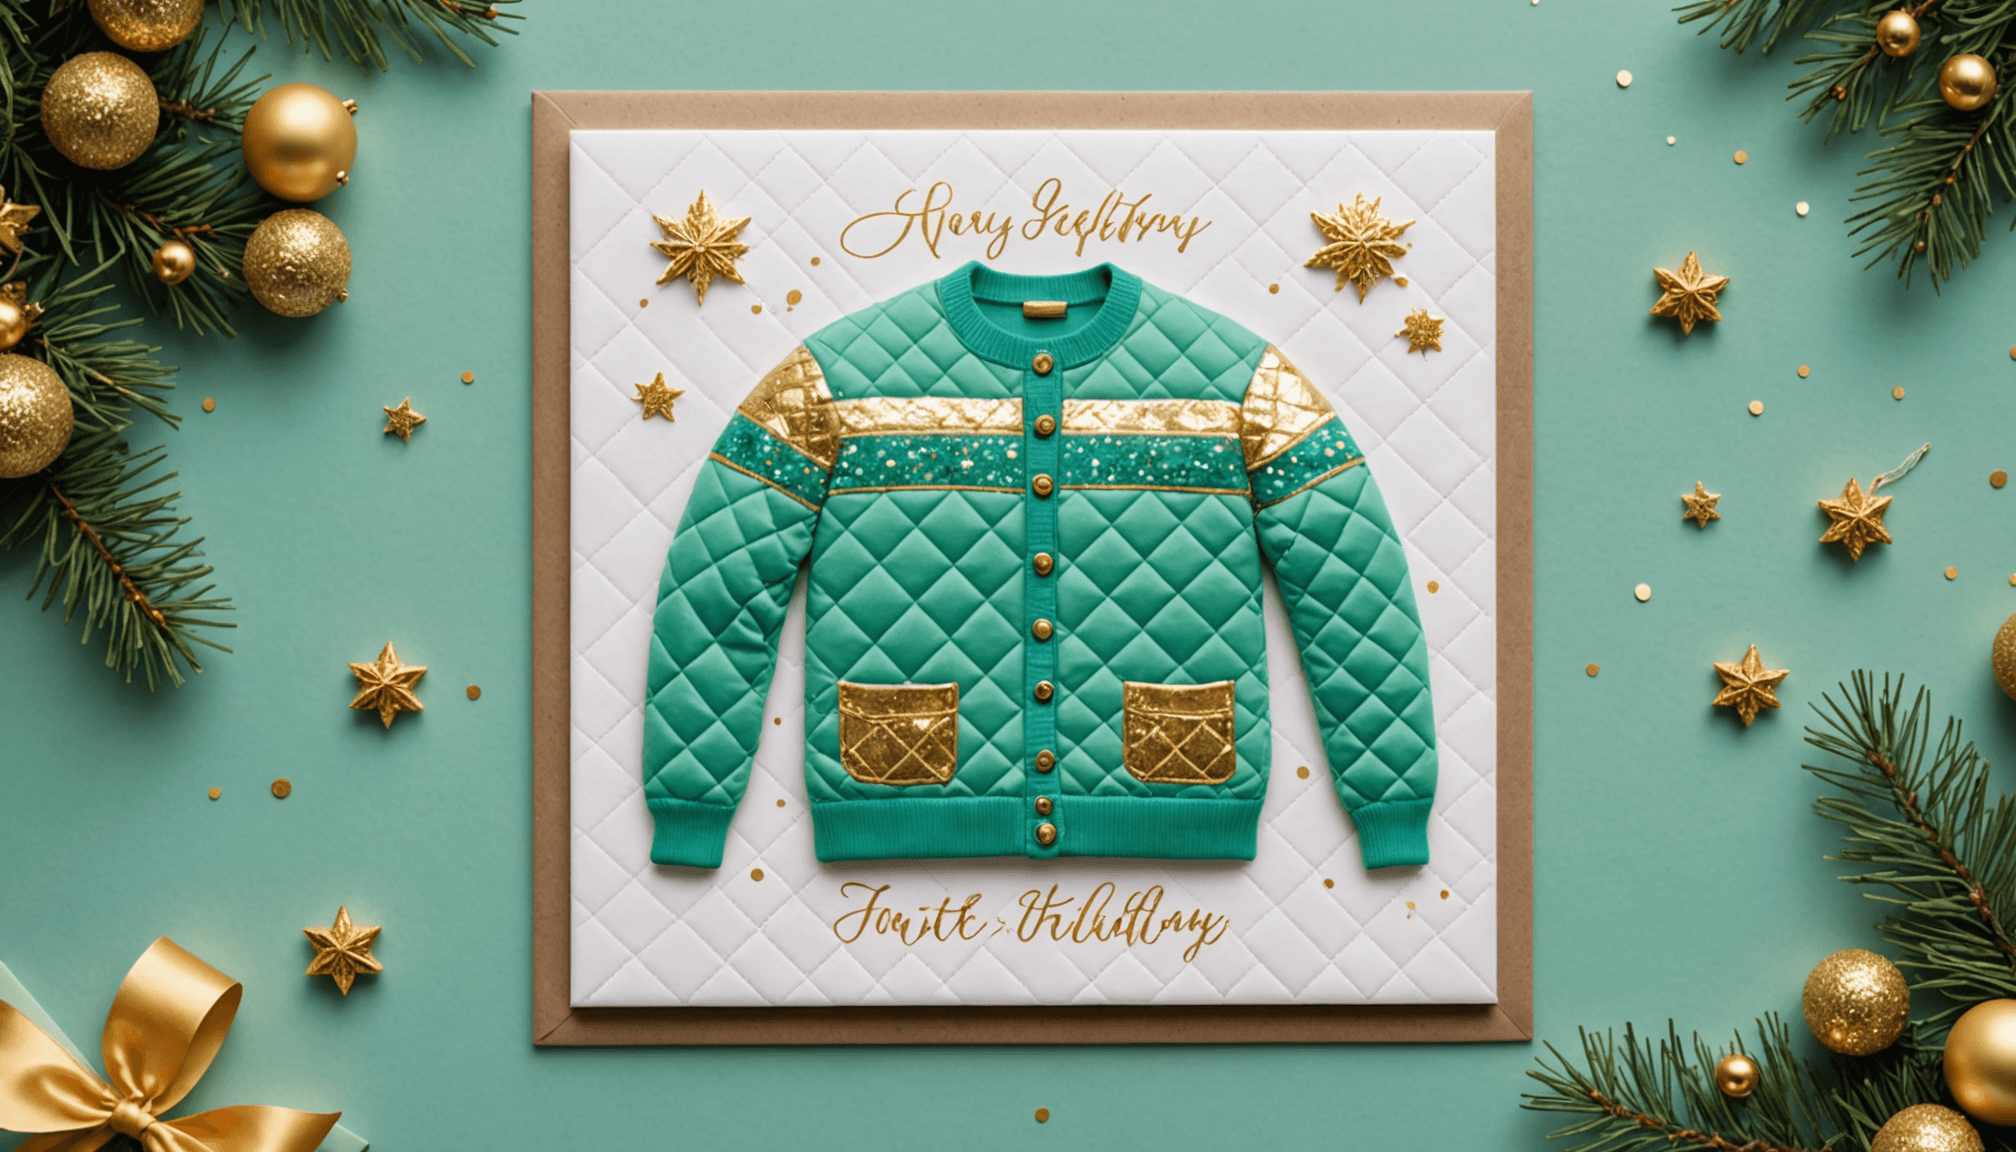
When it comes to card making, the opportunities for creativity are endless, especially during the holiday season. Using a mix of traditional and contemporary techniques can help you craft cards that are not only beautiful but also deeply personal. Start by selecting a unique base for your cards—consider using textured paper, recycled materials, or even fabric to make them stand out. Layering different materials can add depth and dimension; for example, try pairing watercolor paper with a felt layer to bring a cozy, tactile element to your design.
One popular approach this season is the use of mixed media. Incorporating bits of washi tape, stamps, and even snippets of your favorite holiday-themed fabrics can elevate your card to the next level. Imagine a card adorned with a quilted patch of fabric that resembles a cozy winter sweater, providing a visual contrast to vibrant printed paper. For those who enjoy cross stitch, consider creating a small stitched motif that can be glued to the front of your card. This not only showcases your skills but also adds a personal touch that recipients will cherish. Whether it’s a small snowflake or a tiny Christmas tree, these embroidered accents can really shine.
Don’t forget about the importance of color in your card designs. This year, soft pastels and earthy tones are trending, bringing a fresh twist to festive greetings. For instance, use a pale mint green as a card base and top it off with gold or copper foil elements for a chic, modern look. As you assemble your cards, remember to include thoughtful messages and even a small space for handwritten notes; sharing why you chose the design adds warmth and connection.
In terms of tools and supplies, invest in a high-quality paper cutter for clean edges and a good adhesive that works across all mediums—this makes assembling your creations much easier. For a fun twist, set up a card-making station and invite your friends over for a crafting night. This not only cultivates creativity but also strengthens bonds, making the act of sending cards a more communal and joyful activity. The experience of exchanging festive ideas and laughter while creating unique cards can become a cherished holiday tradition in itself!
Lastly, embellishments can really elevate your card-making game—think sequins, beads, or natural elements like dried flowers or pine cones. Use these to accentuate the themes of your cards. If you’re feeling ambitious, consider incorporating pop-up elements that surprise the recipient when they open the card. With a bit of practice and creativity, your holiday cards will not only spread cheer but will also showcase your unique style and artistry.
Festive Ornaments You Can Create
Creating festive ornaments can be a delightful way to get into the holiday spirit while engaging in arts and crafts. There are a multitude of materials you can use—ranging from traditional items like glass and wood to more unconventional supplies such as felt, paper, and even plastic bottles. These ornaments can become cherished keepsakes or delightful gifts for friends and family, and each one you create adds a personal touch to your holiday decor.
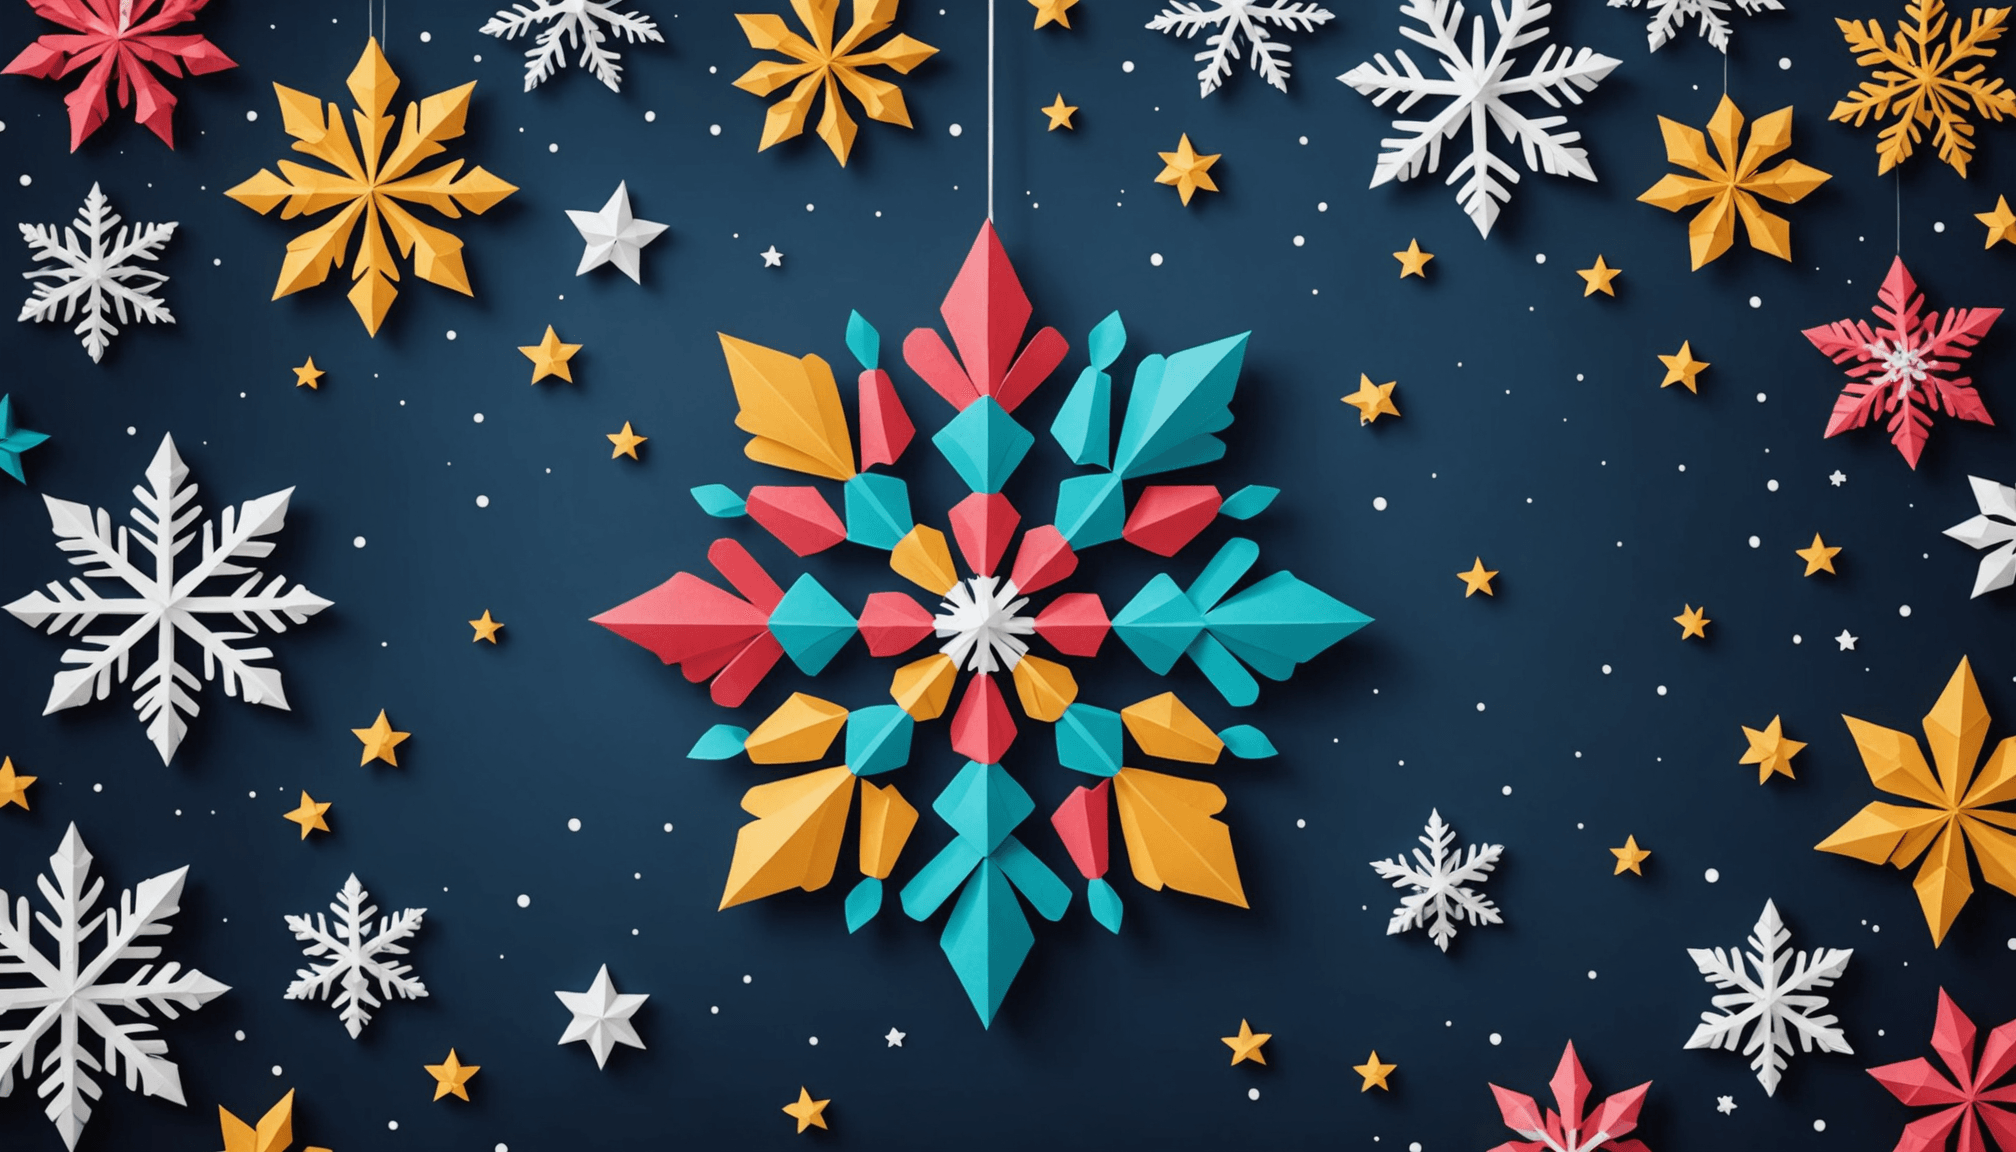
Start with the classic holiday ornament shapes—think stars, snowflakes, or trees. A simple project can be to take cookie cutters and trace their shapes onto colorful felt or cardstock. Once cut out, you can embellish these shapes with glitter, paint, or even small beads to create a unique design. If you’re looking for a project that involves kids, consider using clear ornaments that can be filled with colored sequins, fake snow, or even small holiday-themed figures. This way, each child can put their personal spin on their ornaments, making it a fun and interactive experience.
You can also experiment with upcycling materials for your ornament projects. Old holiday cards can be cut into new shapes, or you can use leftover wrapping paper to create eye-catching designs. Another fabulous idea is to use cinnamon sticks and twine to create rustic ornament designs that not only look good but also add a festive scent to your home.
For a touch of elegance, you might want to create ornaments using embroidery hoops and fabric. Wrap the fabric around the hoop and secure it tightly, then use seasonal embellishments like pinecones, berries, or dried orange slices to adorn the hoop. This DIY project not only results in stunning decorations but also serves as a great way to utilize fabric scraps that you may have left over from sewing projects.
Lastly, consider making a family tradition out of ornament creation. Choose a specific day each year dedicated to making ornaments together, allowing everyone to contribute their ideas. This activity will generate countless memories and provide a collection of ornaments that reflect your family’s evolving holiday spirit over the years.
- Use a variety of materials, including felt, paper, and recycled items, to craft unique ornaments.
- Involve children by allowing them to fill clear ornaments with festive materials.
- Incorporate seasonal scents into your creations with natural items like cinnamon sticks.
- Create a yearly tradition where you and your family make ornaments together.
- Experiment with different shapes and decorations to personalize each ornament.
DIY Decorations for the Home
 One of the most common mistakes people make when creating decorations for the home is overcomplicating their designs. It’s easy to get carried away with too many elements or intricate details, which can lead to a cluttered and chaotic look. To avoid this, stick to a few key components and let each decoration shine. Selecting a simple color palette can help maintain cohesion across your decor, making your home feel festive without overwhelming the senses.
Another frequent pitfall is using materials that are not suitable for the intended display area. For instance, using paper decorations in high-humidity areas like the kitchen can lead to warping or damage. To prevent this, consider the environment where your decorations will be placed and choose durable materials that can withstand those conditions. For outdoor decorations, look for weather-resistant items that will hold up against the elements.
Many people also underestimate the value of planning before diving into a project. Jumping in without a clear idea of what you want to achieve can result in wasted materials and frustration. Take some time to sketch out concepts or make a list of the festive ideas you want to implement. This strategy can streamline your crafting process and help you stay focused, ultimately leading to a more polished result.
When working on DIY projects, it’s vital to use the right tools and adhere to safety guidelines. Often, people overlook the importance of using protective gear, especially when dealing with hot glue guns or sharp tools. Ensuring you have gloves, goggles, or other protective equipment can make your crafting experience safer and more enjoyable. Additionally, remember to follow instructions closely when using any crafting kits or supplies that come with guidelines, to minimize mistakes and maximize results.
Lastly, as you create decorations for your home, don’t shy away from asking for help or collaborating with others. Crafting can be a wonderful group activity, and bringing in friends or family allows for shared creativity and inspiration. Group crafting sessions can lead to fresh ideas and innovative designs you might not have considered on your own. So, whether you’re creating garlands, centerpieces, or wreaths, inviting others to join in can enhance both the process and the outcome of your holiday crafts.
Gift Wrapping Techniques
Wrapping gifts serves as an art form that enhances the entire gift-giving experience, allowing you to showcase both creativity and care. Start by selecting a theme for your gift wrapping that reflects the occasion or the recipient’s preferences. For instance, if you’re wrapping a gift for a nature lover, consider using recycled kraft paper and adorn it with twine and pinecones for an organic feel. This not only looks visually appealing but also emphasizes sustainability.
Personalization goes a long way in making your wraps special. Think about integrating photo tags or handwritten notes that can be attached to the presents. A simple piece of cardstock can be transformed into a beautiful gift tag by stamping it with festive designs or doodling a cute message. This elevates the packaging and adds a sentimental touch, making the recipient feel truly valued.
Experiment with different techniques that go beyond the standard fold and tape method. For example, try fabric wrapping—using scarves or festive tea towels as an eco-friendly alternative to traditional wrapping paper can make your gift truly unique while also providing the recipient with something usable. Additionally, consider creating boxes from old magazines or scrap paper; this not only repurposes materials but also sparks conversation about your crafty creativity.
When it comes to decorative elements, think outside the box! Rather than reaching for the usual bows, consider using fresh greenery, cinnamon sticks, or even handmade ornaments as embellishments. This can infuse your gifts with delightful scents and a visually striking aesthetic. Plus, incorporating these elements allows you to extend the usability of your wrap, as the recipient may choose to repurpose decorations in their own holiday decor.
Don’t forget to incorporate your personality or style into your wrapping too! Whether you’re using unexpected color combinations, funky washi tapes, or intricate ribbon techniques, each element can express your unique flair. Gather supplies ahead of time and create a wrapping station; this designated area allows you to focus on the artistic aspect of gift preparation.
As you prepare your gifts this holiday season, remember that each wrapped package should tell a story of thoughtfulness and creativity. By dedicating time and effort to your wrapping, you’re not just covering the gift; you’re creating an extension of the joy and sentiment that lies within. This holiday season, let your wrapping reflect your love for the recipient, transforming each gift into a cherished moment of surprise and delight.
Kid-Friendly Craft Projects
- What are some easy holiday crafts I can do with my kids?
- Some easy holiday crafts for kids include making paper snowflakes, decorating ornaments with paints or stickers, and creating festive garlands using colored paper. These activities are simple, require minimal materials, and allow children to express their creativity.
- Are there any DIY projects that use recycled materials?
- Absolutely! You can create ornaments from old holiday cards or use plastic bottles to craft festive decorations. Upcycling materials not only reduces waste but also makes for unique and personalized holiday crafts.
- What supplies do I need for kid-friendly craft projects?
- Basic supplies include colored paper, safety scissors, glue, markers, and stickers. Additionally, items like yarn, fabric scraps, and natural elements like pinecones or twigs can inspire creative and fun projects.
- How can I make craft projects more educational for my children?
- Incorporate themes like colors, shapes, and counting into the crafting process to teach skills while being creative. For instance, you could ask them to count the number of stickers they use or sort colored paper before making a project.
- What safety tips should I keep in mind during craft projects?
- Always supervise young children with scissors and small supplies to prevent accidents. Ensure that any materials used are non-toxic and safe for children, and encourage them to ask for help if they need it.
- Can I use holiday crafts as gifts?
- Yes! Handmade gifts such as decorated picture frames, special ornaments, or even a crafted card can be heartfelt presents. Personal touches in DIY projects make these gifts meaningful and memorable for the recipient.
- What’s the best way to get started with kid-friendly holiday crafts?
- Start by selecting a few simple projects that spark your child’s interest, and gather all necessary materials beforehand. Setting up a dedicated crafting space with comfortable seating and good lighting will help make the experience enjoyable and creative.