
DIY Paper Mâché Projects for All Ages
- Essential supplies for paper mâché
- Basic techniques for beginners
- Creative project ideas for kids
- Advanced projects for adults
- Tips for finishing and decorating
When diving into the world of paper mâché, having the right supplies on hand is crucial to ensure a smooth and enjoyable crafting experience. The beauty of paper mâché lies in its simplicity, and you don’t need a lot of fancy materials to get started. Begin with the basics, and as your skills progress, you can expand your toolkit to include more specialized items.
The core ingredient for any paper mâché project is, of course, paper. While traditional newspaper is often favored for its durability, you might also explore using tissues, paper towels, or even old magazines for unique textures and colors. The choice can significantly affect the final look of your creations. Additionally, gather some scissors for cutting your paper into manageable strips. You’ll want these strips to be about 1 to 2 inches wide and long enough to cover your project surface adequately.
Next, you’ll need a binding agent. A classic choice is a simple flour-water mixture, easily made by combining one part flour with two parts water, and adding a pinch of salt to prevent mold. However, for a gluten-free option, you can use cornstarch mixed with water or even PVA glue mixed with water for a stronger hold. Remember, the consistency should be runny enough to coat the paper but thick enough to adhere it together effectively.
You’ll also want a sturdy workspace that can handle mess, so cover your table with a plastic sheet or newspaper. A few essential tools like a mixing bowl for your paste, brushes for application, and a container for soaking your paper strips can elevate your experience—consider a shallow dish or tray for easy access. For larger projects, you might need a base form, such as a balloon or a cardboard structure, to build upon. These bases will give your creations shape and support as you layer on the paper.
Lastly, consider including some fun embellishment materials. Once your projects dry and are ready for decoration, having paints, markers, and additional crafty materials like stickers or glitter on hand will allow you to personalize your work. Keeping everything organized in a craft tote can help you dive back into your paper mâché fun crafts whenever inspiration strikes, making your creative process even more enjoyable.
Essentially, with these supplies prepped, you’ll set the stage for endless artistic possibilities and project fun that cater to both novice and seasoned crafters alike. Whether for special occasions, gifts, or simply for your enjoyment, each session with paper mâché transforms everyday materials into something beautiful and uniquely yours!
Basic techniques for beginners
To begin your journey into paper mâché, mastering some fundamental techniques will enhance your overall crafting experience. The starting point is to prepare your workspace and materials. Ensure your area is well-ventilated and clutter-free to avoid mishaps, as paper mâché can be sticky and messy.
When you’re ready, take your paper and cut it into strips. As mentioned earlier, aim for widths of 1 to 2 inches; this size makes them manageable for layering while allowing for flexibility in adhering to shapes. If you’re using newspaper, revisiting the printed side can also inspire unique features, like adding textural elements or imagery to your final piece.
Next, mix your paste diligently. The right consistency is key to ensuring that the paper adheres well without compromising its integrity. The paste should glisten but not drip excessively from your finger when dipped. Once your paste is ready, soak the paper strips in it one by one. Be sure to remove excess paste by running the strip between your fingers before applying it to your form. This step helps achieve a thinner layer, reducing drying time and preventing the model from becoming overly soggy.
Apply the strips onto your chosen form, whether it’s a balloon for a mask or a cardboard shape for sculptures. Overlap each strip slightly to create a robust layer. Continue layering until your desired thickness is reached, usually 3 to 5 layers depending on the project’s size and sturdiness. Once covered, allow the work to dry completely. This can take anywhere from a few hours to a day, so patience is essential.
After your base is dry, you’re ready for sanding or trimming any uneven edges. This process will give your creation a polished look and make it ready for the fun part: decorating!
- Always work in a well-ventilated area to handle paste’s odor and ensure a cleaner crafting session.
- Soak strips one at a time to prevent excessive sogginess.
- Ensure each layer overlaps slightly for the best adhesion and durability.
- Use a heat gun or hairdryer on low setting to speed up drying, but ensure you don’t warp your project.
- Experiment with textures by mixing different types of paper, exploring unexpected combinations for unique effects.
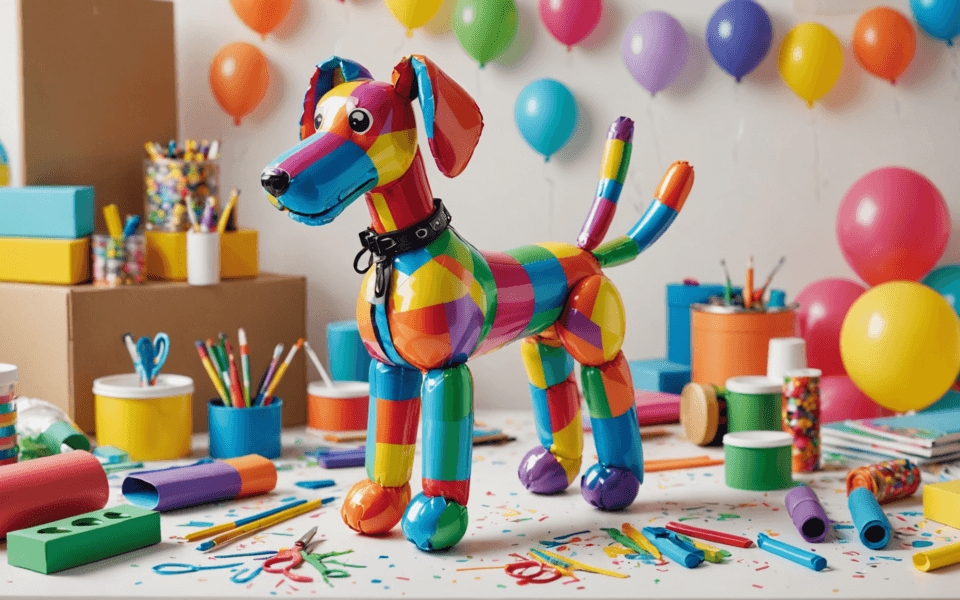
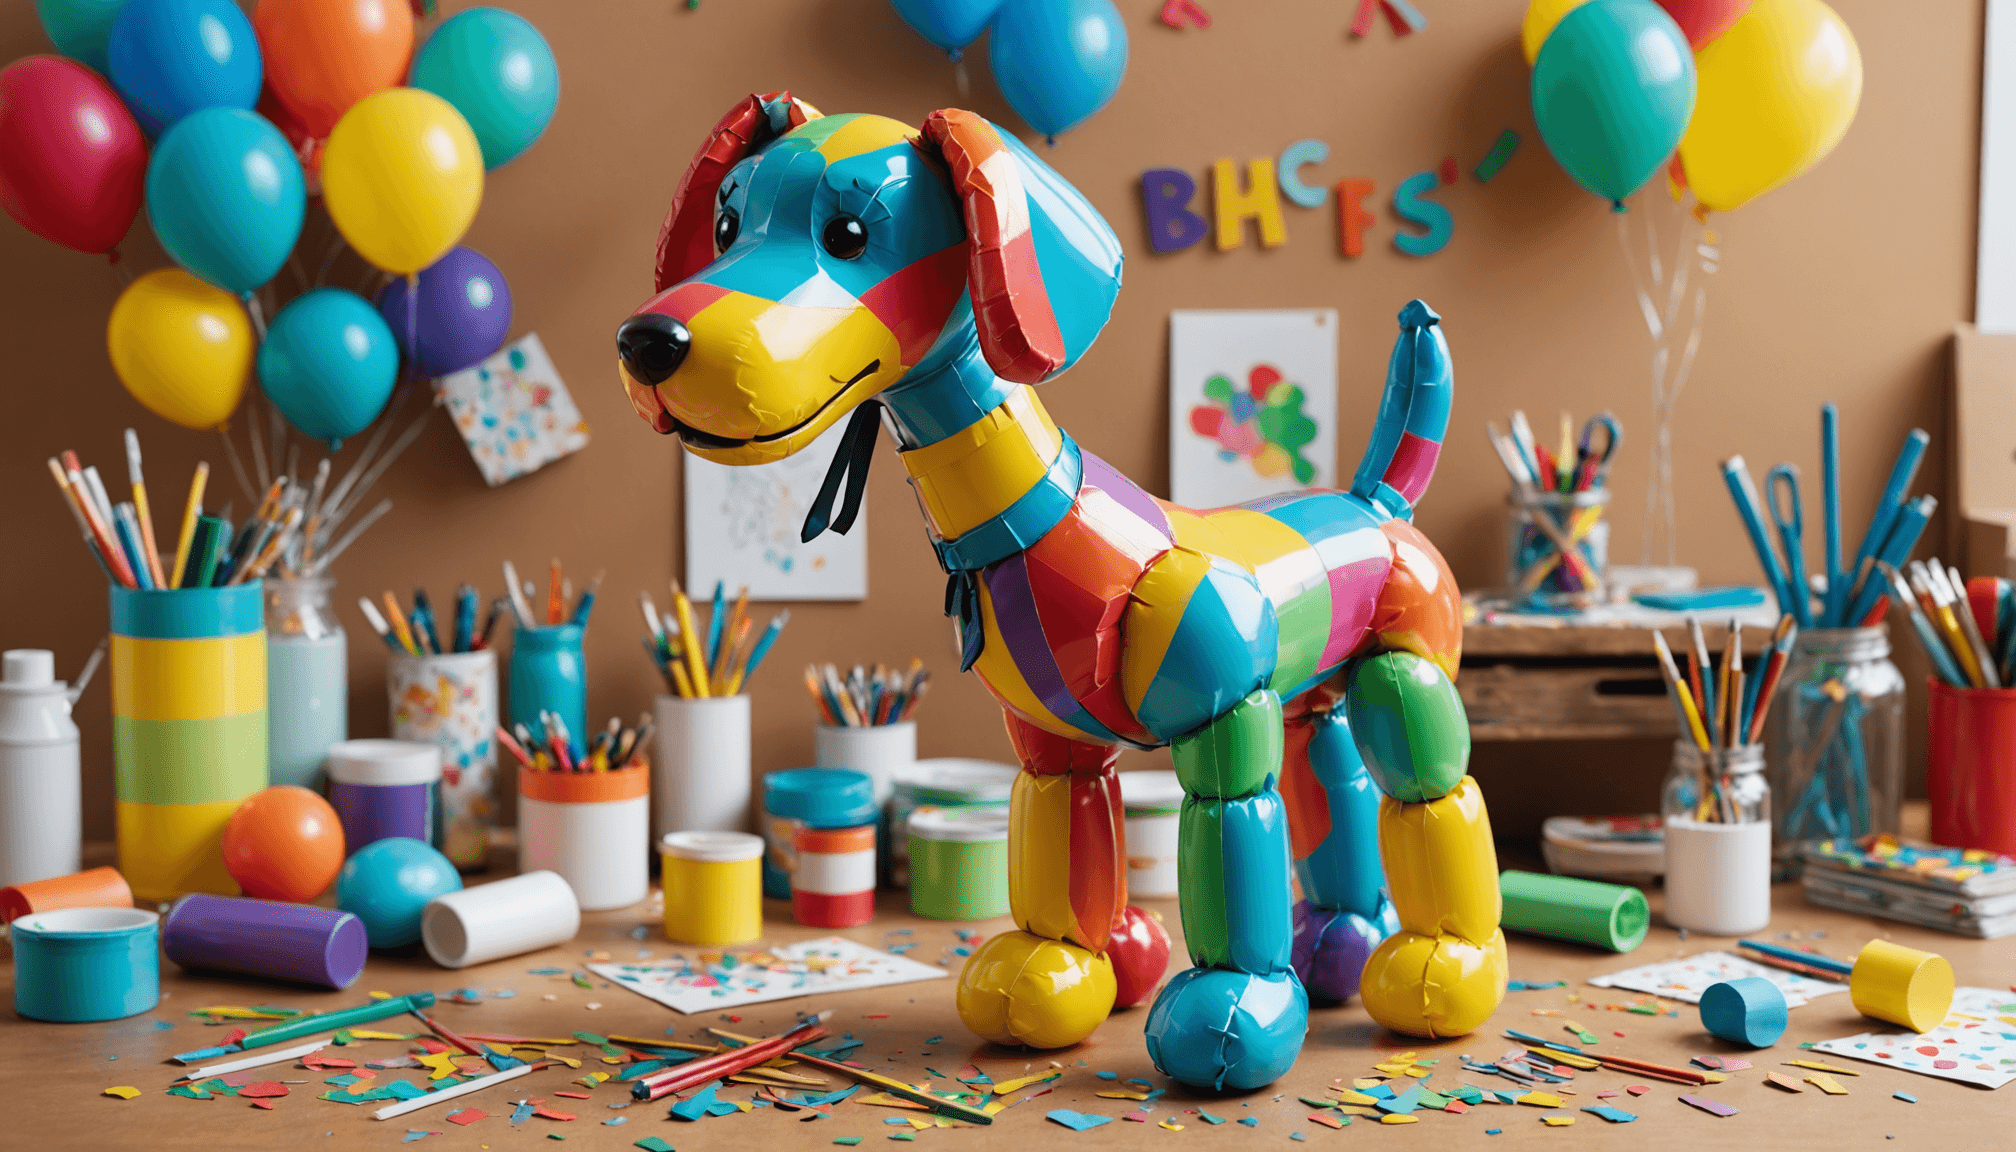
Creative project ideas for kids
 Encouraging kids to engage in creative project ideas using paper mâché opens a world of imaginative fun crafts that can delight and inspire. However, it’s essential to guide them to avoid common pitfalls that can dampen their crafting experience.
One of the most frequent mistakes is rushing the drying process. Kids, filled with excitement, may want to jump right into painting their creations before the paper mâché has fully dried. This eagerness can lead to smudged designs and weakened structures. To prevent this, set clear expectations about drying time, which can vary depending on the thickness of the layers applied. Encourage them to wait patiently, perhaps using that time to brainstorm how they want to decorate their projects or plan the next one.
Another common error is using too many layers of paper without allowing sufficient time for them to dry in between. While more layers can create sturdiness, too many without adequate drying can result in a soggy mess. Teach children the importance of moderation by guiding them in applying a few layers at a time, allowing those to dry completely before adding more. This will not only enhance the final product’s durability but also make it easier to handle through the crafting process.
Kids often underestimate the amount of paste needed, which can lead to unsatisfactory adhesion. Instead of soaking the strips too much or too little, demonstrate how to dip the strip gently and run it between fingers to achieve just the right amount of paste. This technique promotes better control over the application and ensures that each piece adheres properly to the structure.
In addition, using the right type of paper is crucial. Children may think any paper will do, but lighter papers can tear easily during application, leading to frustration. Explain the characteristics of different types of paper and let them experiment with various options, like newspaper and magazine print. They will appreciate how each contributes to the final look and feel of their art projects.
Lastly, always ensure that children have a clean workspace set up before starting to create. Crafting can get messy, leading to spilled paste and torn paper if surfaces are not well-prepared. Encourage them to lay down an easy-to-clean surface or use old newspapers, which will not only contain the mess but also add to the artistic ambiance of the project.
By addressing these common mistakes and offering straightforward solutions, kids can maximize their enjoyment and creativity during their paper mâché endeavors. With a little guidance, they will have a fantastic time creating unique designs, fostering both artistic skills and patience along the way.
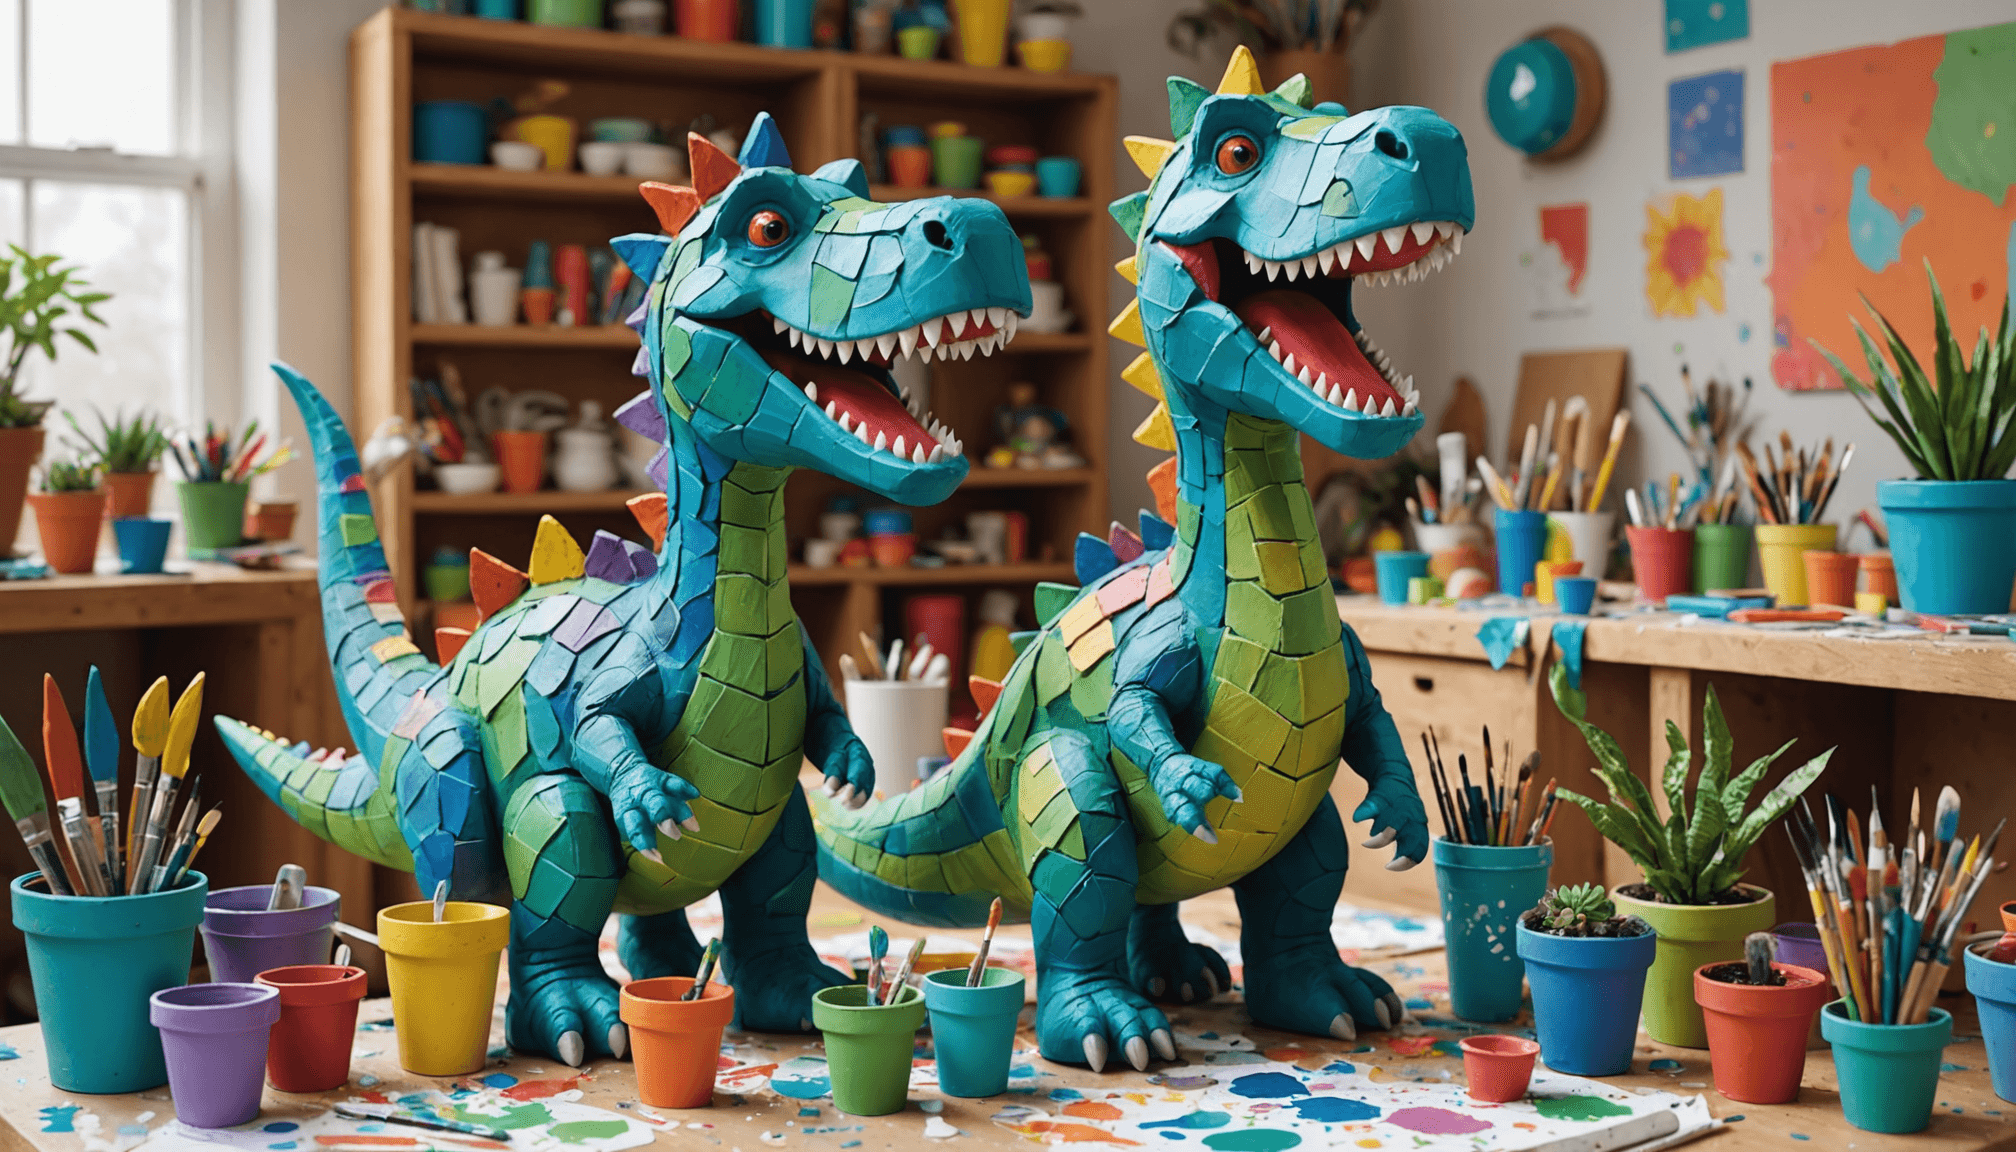
Advanced projects for adults
Advanced paper mâché projects for adults offer a fantastic opportunity to explore intricate designs and techniques that push the boundaries of traditional crafting. With a solid foundation of basic skills and an innate sense of creativity, adults can tackle projects that result in striking works of art that are both functional and decorative.
One popular advanced project is crafting life-sized sculptures. These require careful planning and a solid armature, which serves as a framework to support the paper mâché layers. Use materials like wire or wood to create dynamic poses and detailed features. Once the armature is constructed, you can start layering paper mâché, ensuring that each layer is smooth and evenly applied. It’s essential to devote time to shaping the features, working with smaller strips for detailed areas like facial expressions or clothing folds.
Another exciting option is creating intricate masks. This project allows for personal expression, whether you’re designing a Halloween mask, a theatrical piece, or an ornate decoration for your home. Begin by sculpting a base mask from cardboard or creating a mold from a balloon. Apply paper mâché using fine strips to achieve delicate patterns. Once the piece is dry, sanding the surface smooth will define edges and enhance the details. Afterward, the painting and embellishment phase reveals endless possibilities, from natural textures to vibrant colors and artistic designs.
For those interested in functional art projects, consider creating home decor items like decorative bowls or vases. Start with a balloon or a bowl as a mold base. Layer on paper mâché strips to achieve the desired thickness and strength. Once dry, carefully pop or remove the mold, and sand the edges to ensure a smooth finish. After this, take your time to decorate your bowl or vase using paints, decoupage techniques, or additional embellishments. These unique items can serve as centerpiece pieces or gift-worthy creations.
If you’re ready to challenge yourself further, experiment with combining materials. Integrate wire, fabric, or found objects into your paper mâché work to create mixed media art pieces. This approach allows for a new dimension of creativity, as the differing textures and materials interact in visually stunning ways. The integration of lights—such as string lights hidden within your sculpture—can transform a simple piece into an eye-catching display.
Finally, consider a large collaborative project, where you may host a paper mâché workshop inviting friends to join in. Working alongside others can inspire new ideas and techniques, allowing for a sense of community and collective creativity in crafting something extraordinary.
Dive into these advanced paper mâché projects with enthusiasm and confidence! With every layer you apply, you invest in your creativity and skill, resulting in unique art pieces that reflect your style. Let your imagination run wild and remember: the only limit is your willingness to experiment and play. Happy crafting!
Tips for finishing and decorating

- What type of paper is best for paper mâché?
- Newspaper is commonly used due to its durability and availability, but you can also experiment with other types of paper such as tissue paper, paper towels, or even old magazines for different textures. Each type will yield unique effects in your final project.
- How long does it take for a paper mâché project to dry?
- The drying time depends on several factors, including the thickness of your layers and the humidity of the environment. Generally, it can take anywhere from a few hours to a full day for a project to dry completely.
- Can I use paint on my paper mâché projects?
- Yes, once your project is thoroughly dry, you can decorate it using acrylic paints, markers, or even decoupage techniques. Make sure to seal the finished piece with a clear varnish if you want to add an extra layer of protection.
- How do I prevent my paper mâché from getting moldy?
- To prevent mold growth, always allow your paper mâché projects to dry thoroughly before storing them. Adding a pinch of salt to your paste mixture can also help inhibit mold growth.
- Is paper mâché safe for children?
- Yes, paper mâché is generally safe for children, but supervision is recommended, especially when using tools or materials like glue. It’s advisable to use non-toxic adhesives and paints to ensure a safe crafting experience.
- What can I do if my paper mâché is too soggy?
- If your project becomes too soggy, allow it to dry completely before adding additional layers or decorations. If it still feels weak, you can try reinforcing it with a light coating of glue mixed with water once it dries.
- Can I use a hair dryer to speed up the drying process?
- Yes, you can use a hair dryer on a low heat setting to help speed up the drying process. Be cautious not to hold it too close to the project, as too much heat can warp or damage the paper mâché structure.