

DIY Bookmarks and Stationery Crafts
- Creative Bookmark Ideas
- Essential Supplies for Crafting
- Step-by-Step Instructions
- Personalization Techniques
- Tips for Organizing Your Stationery
Imagine curling up with your favorite book, a cozy blanket, and a beautifully crafted bookmark peeking out, adding a personal touch to your reading experience. Crafting your own bookmarks can be a delightful endeavor, reflecting your unique style while serving a practical purpose. There are so many creative ideas to explore ranging from simple paper projects to intricate embroidered designs that resonate with your personality.
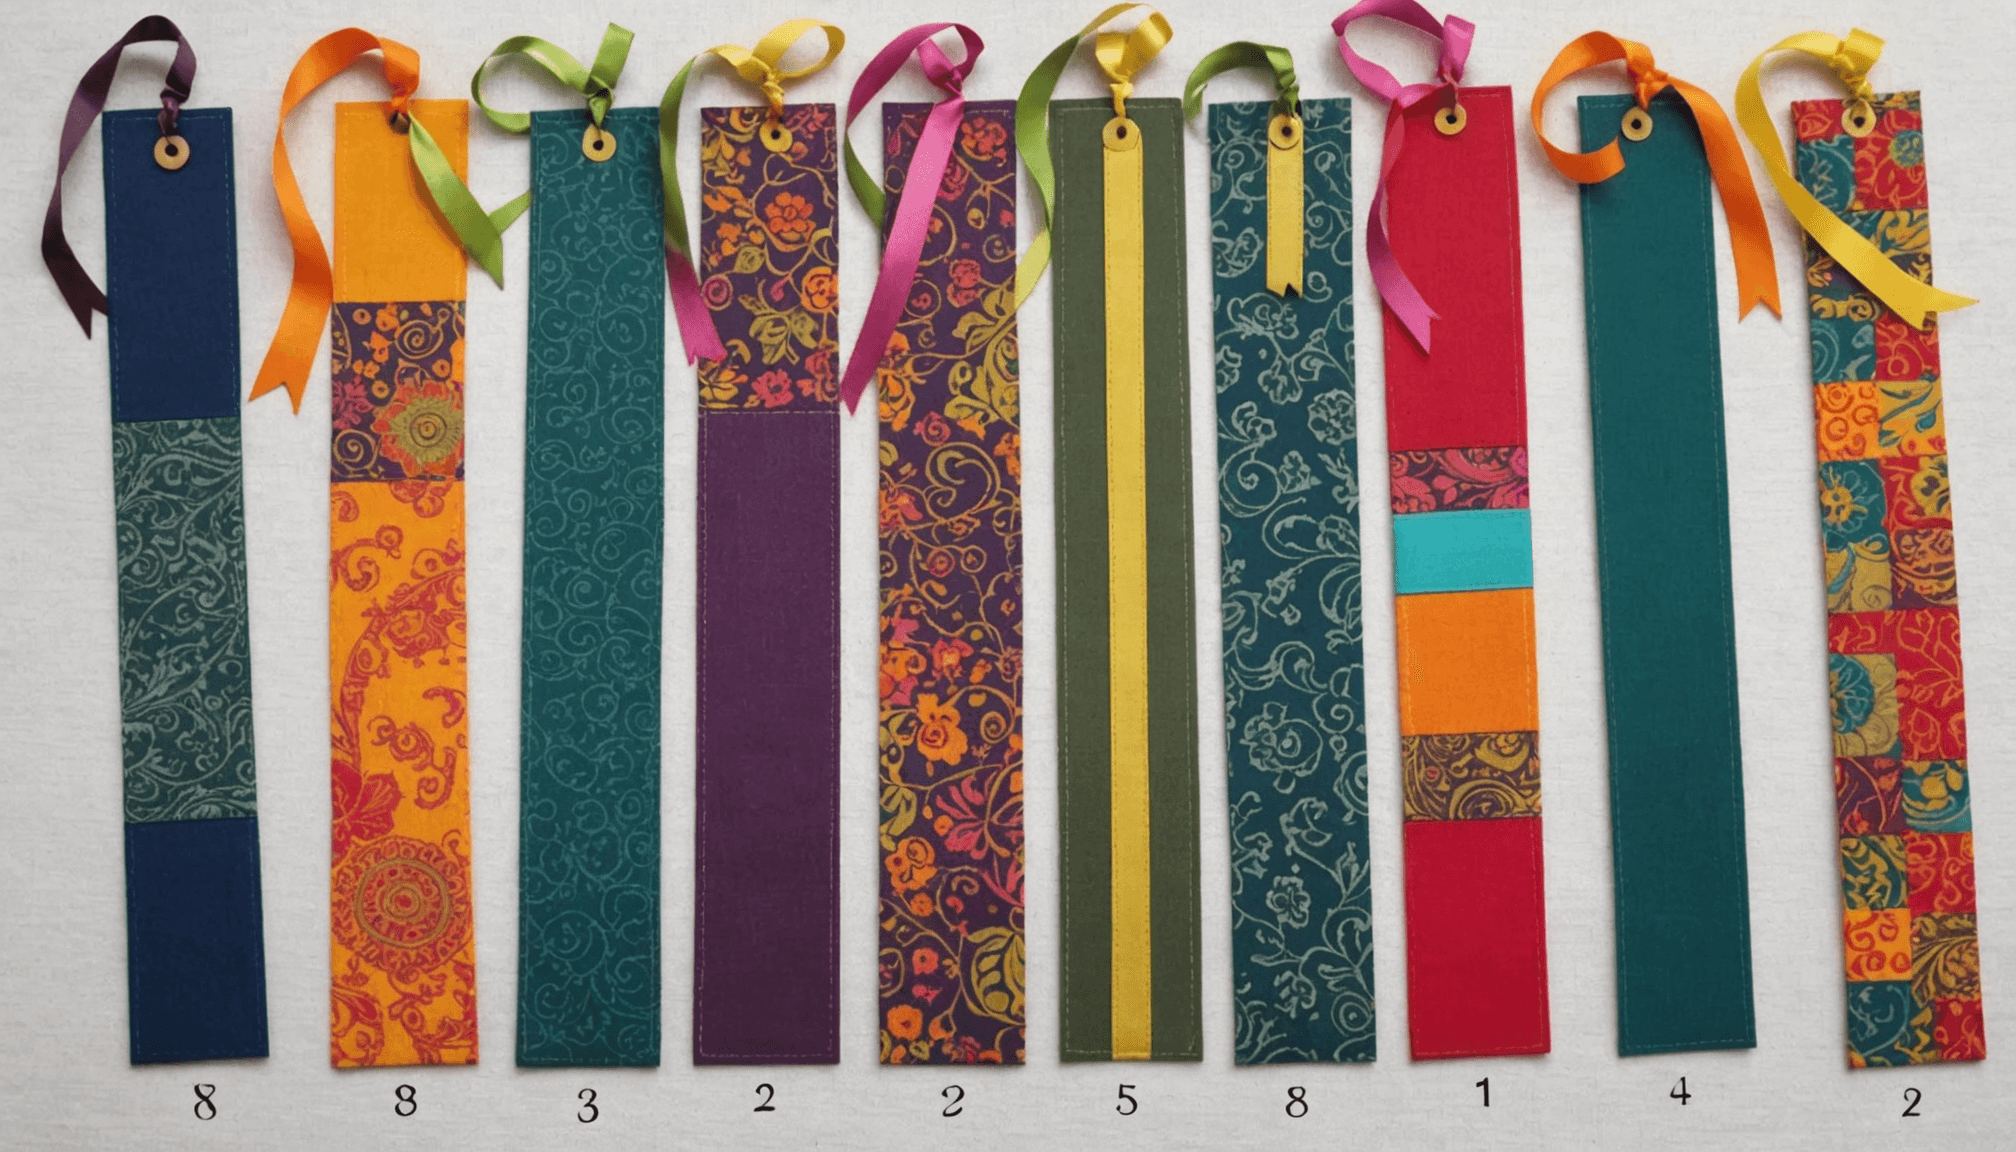
One delightful option is to create bookmarks from patterned cardstock or scrapbook paper. Choose vibrant designs that speak to you — floral prints, geometric shapes, or even whimsical animal illustrations can all work beautifully. Cut the paper into rectangular strips, about 2 inches wide and 6-8 inches long. To elevate the visual appeal, consider layering two different patterns, allowing one to peek out from behind the other. Punch a hole at the top and add a decorative ribbon or tassel. This not only adds a splash of color but also provides a tactile element to your bookmark. You can even incorporate a personal quote or a favorite passage, hand-lettered or printed on a label, to create an inspiring touch.
For those looking for a more tactile experience, fabric bookmarks can be an excellent option. You can use leftover fabric scraps to whip up a simple quilted bookmark. Imagine vibrant patchwork pieces sewn together and topped with a layer of batting to give it that lovely softness. Add some embroidery along the edges for that handcrafted charm, choosing a simple running stitch or a zigzag design. Don’t forget to include a hanging loop made from coordinating ribbon or fabric; it adds an extra flair and makes it easy to find in your book.
If you’re feeling adventurous, venture into the realm of cross-stitch to personalize your bookmarks. Aida cloth can be cut to size, and you can stitch your favorite patterns or initials onto it. Finish it off with a decorative border in vibrant colors. The tactile nature of cross-stitch not only creates a beautiful result but also the act of stitching becomes a meditative practice. Pair your cross-stitch bookmark with some handmade paper page corners; simply fold them into triangles and attach them to the corners of the pages. This creative paper project adds a cohesive look to your reading materials while serving as an artistic reminder of your skills.
Let’s not forget about recycled materials! Upcycled bookmarks can be both eco-friendly and chic. Use old magazines or comic books, cutting out interesting images or phrases that resonate with you. Glue these onto thick cardboard for sturdiness, and if desired, laminate them for added durability. This process is not only sustainable but also a wonderful way to express your love for art and literature, ensuring that each bookmark tells its own story.
Engaging in these creative bookmark ideas not only enhances your reading experience but also sparks inspiration in your crafting journey. As you explore these various approaches, let your imagination run wild, and don’t hesitate to experiment with different materials and embellishments. Whether you prefer the softness of fabric, the crispness of paper, or the charm of stitching, each bookmark you create will be a one-of-a-kind piece, celebrating your unique style and love for crafting.
Essential Supplies for Crafting
To embark on your crafting journey, having the right supplies on hand is essential for a seamless experience. Start with a solid base of materials that will accommodate a variety of projects, especially when it comes to creating your own bookmarks and stationery.
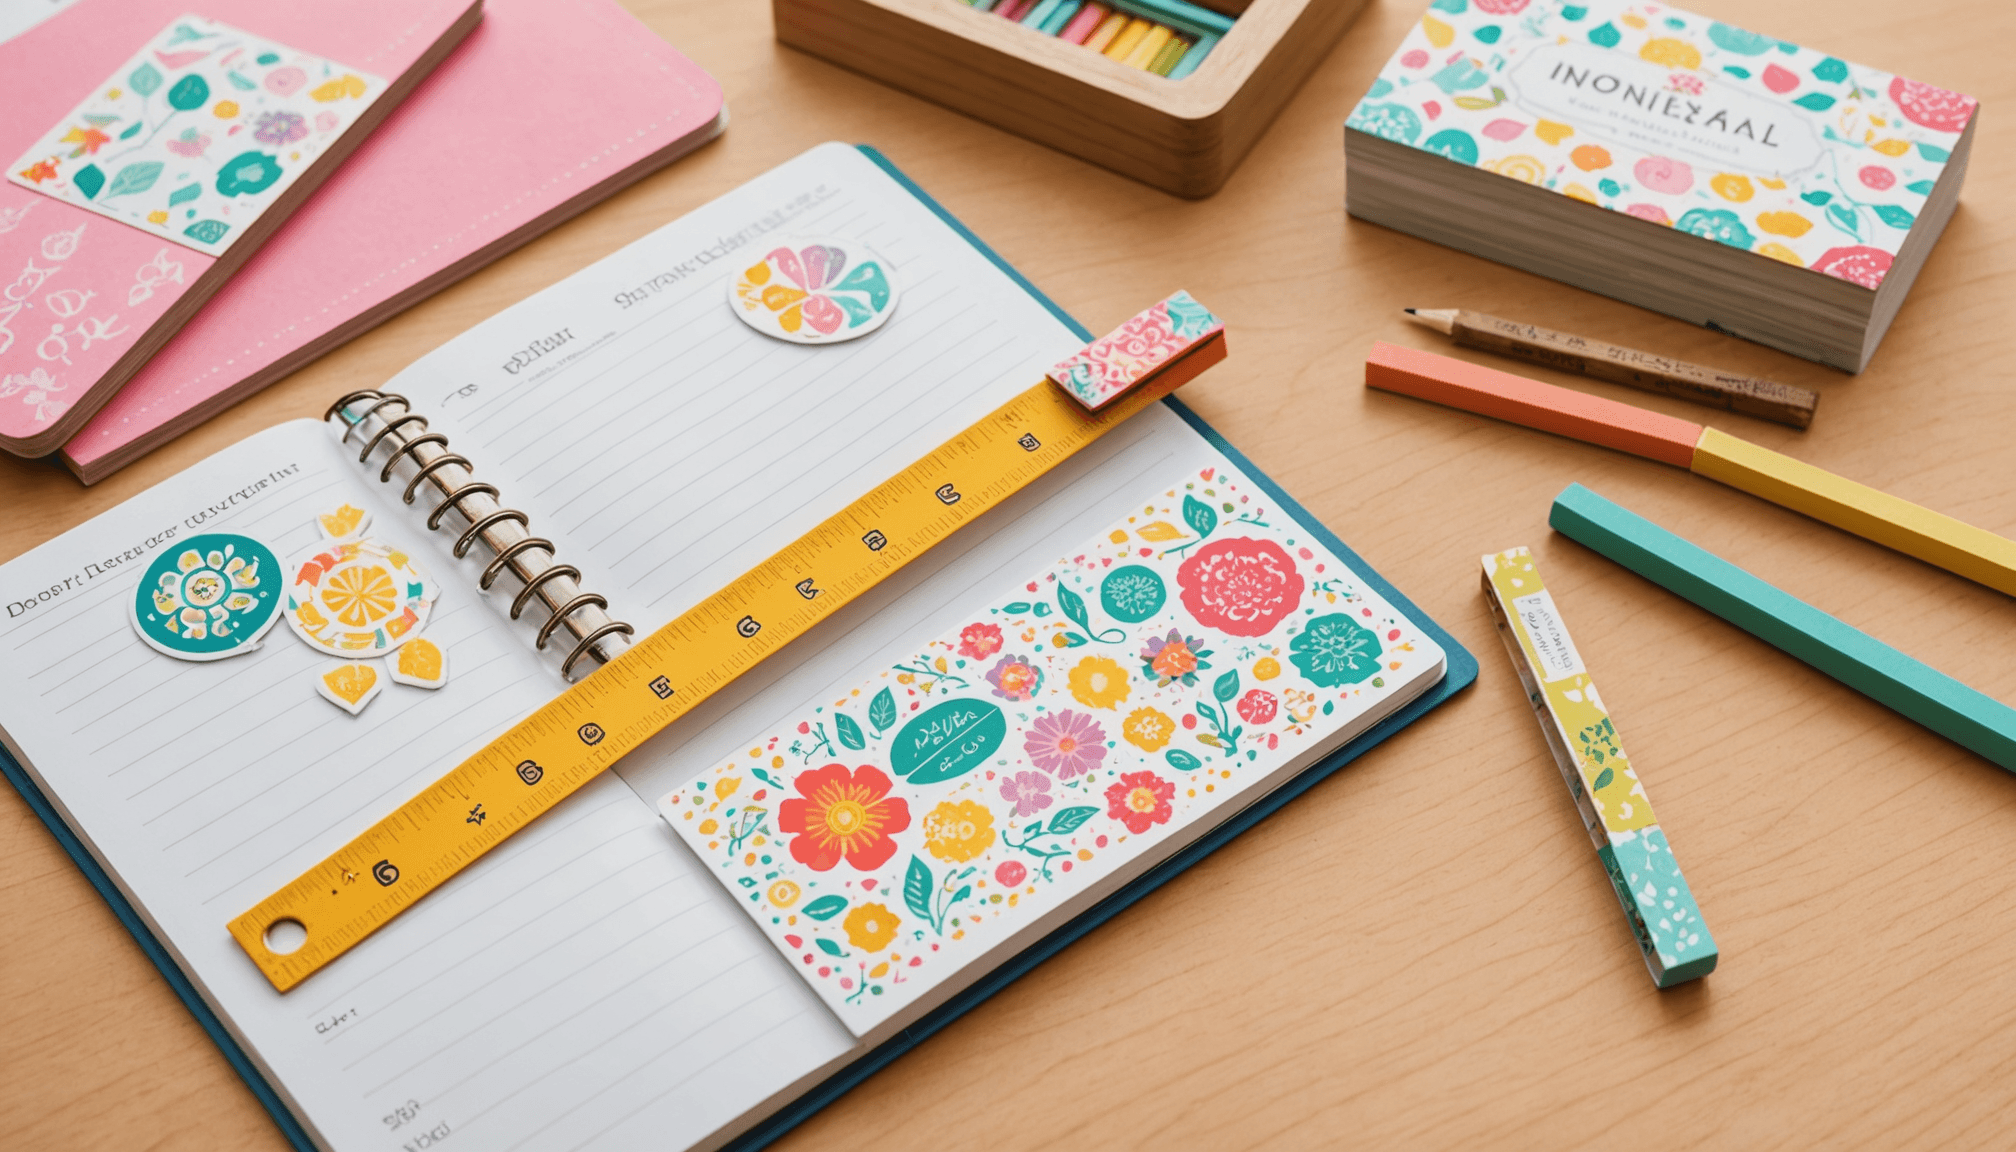
For paper-based projects, selecting high-quality cardstock or heavy paper is crucial as it provides durability and a polished finish. Ensure you have a selection of colors and patterns to inspire your creativity. A good pair of sharp scissors or a paper cutter will make the cutting process straightforward and ensure clean edges. Additionally, a craft knife and cutting mat can be useful for more intricate designs.
Adhesives are another important supply. A glue stick, double-sided tape, or liquid glue will suffice, depending on your preference. For those who want to add embellishments, consider using washi tape, stickers, or decorative beads. These can easily enhance your project and add a unique flair to your bookmarks.
If your projects include fabric, gather a variety of fabric scraps as well as measuring tools such as a ruler and fabric scissors. A sewing machine can be a great addition if you plan to create quilted bookmarks, but hand-sewing will also work beautifully for those making simpler fabric crafts. Don’t forget basic sewing supplies: needles, thread (in complementary colors), and pins.
When it comes to personalization techniques, you may want to include items like stamp sets and ink pads. This will allow you to add meaningful quotes or design elements to your bookmarks. Markers, colored pencils, or watercolors are also excellent additions for customization, especially if you wish to bring more artistry to your projects.
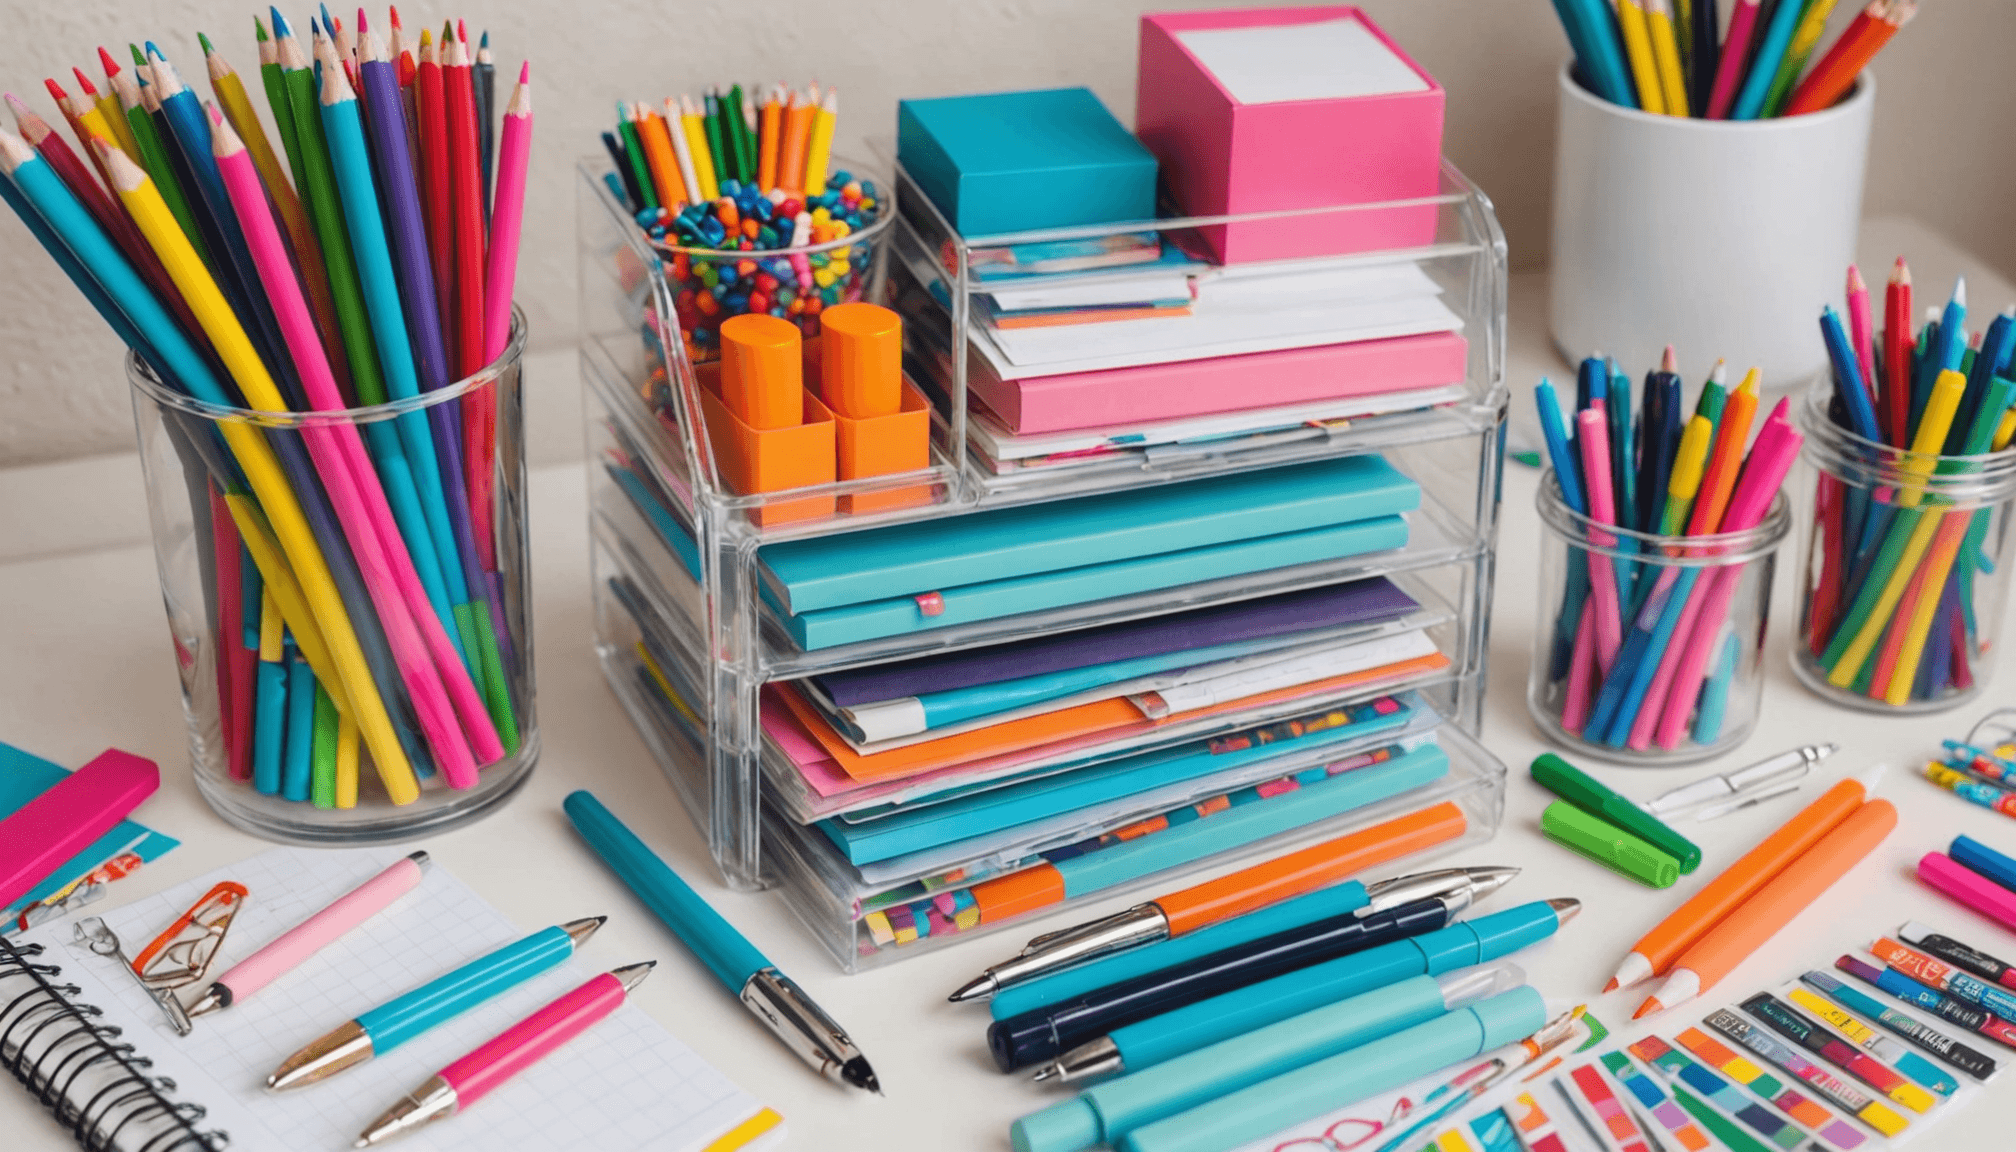
Lastly, keep your workspace organized and clutter-free. Use small containers to separate different materials like beads, ribbons, and clips. This not only makes it easier to find what you need but also maximizes your creativity by having an orderly crafting area.
- Choose high-quality paper or cardstock for durability in your bookmarks and stationery.
- Use a variety of adhesives based on the materials you are combining.
- Gather a mix of embellishments to enhance personalization and creativity.
- Keep your workspace organized for a more enjoyable and efficient crafting process.
- Don’t hesitate to experiment with different materials to create unique, eye-catching designs.
Step-by-Step Instructions
 One common mistake is not measuring paper or fabric correctly, which can lead to uneven bookmarks. To avoid this, always use a ruler or measuring tape to ensure you cut your materials to the desired dimensions. Additionally, using a paper cutter for straight edges or rotary cutter for fabric can significantly enhance accuracy and efficiency.
Another frequent error is using inadequate adhesive, which can result in bookmarks falling apart or becoming damaged. For paper projects, choose a high-quality adhesive suitable for your specific materials. If you are using heavier items like embellishments or multiple layers of cardstock, opt for a strong liquid glue or double-sided tape for better results.
Many crafters overlook the importance of embellishing their bookmarks, leading to simple, uninspiring designs. Experimenting with washi tapes, stickers, and stamps can completely transform a basic bookmark into something special. When incorporating these elements, remember to balance complexity with readability; too many items can clutter your design.
It’s also easy to get caught up in the intricate details and forget about the bookmark’s practical purpose. Ensure that your designs are functional by maintaining a size that allows for easy placement in books while also providing enough space to write personal notes or quotes if desired. Keeping these bound together with a string or ribbon can also enhance usability and add aesthetics.
Finally, be mindful of the need to protect your creations. For bookmarks made from paper, consider laminating them for added durability. This helps prevent wear and tear over time, especially if your bookmarks will be used frequently. For fabric bookmarks, reinforcing the edges with a zigzag stitch can prolong their life and maintain their shape.
By avoiding these common mistakes and focusing on accuracy, design balance, and durability, you can elevate your stationery crafts and turn basic bookmarks into beautiful, functional art pieces.
Personalization Techniques
Personalization can truly transform your bookmarks and stationery crafts into unique expressions of your personality. Start by considering various artwork and themes that resonate with you. If you’re drawn to seasonal motifs, create autumn-inspired bookmarks adorned with leaves or winter themes featuring snowflakes. Use colored pencils or watercolors to apply your favorite hues, opting for soft pastels for a gentle look or bright colors for a more striking effect.
Stamps offer a fantastic avenue for adding intricate designs and text. Explore different stamp sets, whether they feature florals, geometric shapes, or whimsical illustrations. Using an ink pad, you can add a hand-stamped quote or image to your bookmarks, instantly elevating them. For those who enjoy hand lettering, practice creating beautiful typography with brush pens to incorporate meaningful phrases or book-related quotes that inspire you.
Fabric bookmarks are another delightful avenue for personalization. Consider sewing on patches or embellishments that reflect your interests or hobbies. For instance, if you love gardening, choose a floral fabric and sew on little fabric flowers to complement your design. Personal touches like embroidery of your initials can also add a distinctive element. Whether you opt for a simple satin stitch or an elaborate design, embroidery can provide a unique texture and charm.
Upcycled options allow for incredible creativity as well. Gather images and phrases from magazines that inspire you, and layer them creatively. Decoupage techniques using Mod Podge or similar mediums can secure your pieces and add a glossy finish.
Creating bookmarks with themes that reflect your favorite books or genres can also be quite impactful. For a literary lover, why not recreate covers of treasured novels or symbols unique to particular stories? Detective novel themes could include magnifying glasses or shadowy figures, while fantasy stories might inspire magical symbols.
Finally, remember that personalization isn’t just about the design elements you choose, but also the little details that make your bookmarks and stationery yours alone. Adding your handwriting, unique sketches, or your favorite quotes can imbue these creations with a personal touch that genuinely resonates with who you are.
Dive into the world of personalization with confidence, experiment with various techniques, and let your imagination blossom. The beauty of crafting lies in its limitless possibilities; every design becomes a testament to your creativity and individuality. Embrace the joy of making something that is not only functional but also speaks to your heart!
Tips for Organizing Your Stationery
- What are some tips for organizing my stationery?
- To effectively organize your stationery, start by sorting items into categories such as pens, paper, and embellishments. Use clear containers or drawer organizers to keep items visible and easily accessible, and label each container for quick identification.
- How can I keep track of my crafting supplies?
- Consider creating an inventory list or a digital spreadsheet to track your supplies. Regularly update this list as you add items or consume them in projects, which can help you avoid running out of essential materials.
- Are there specific storage solutions for small embellishments?
- Small embellishments can be neatly organized in bead organizers, small jars, or tackle boxes with compartments. This not only keeps them sorted but also allows for easy access when you’re crafting.
- How do I prevent my papers from getting damaged?
- Store paper projects in a cool, dry place and use acid-free folders or boxes to protect them from moisture and damage. Avoid stacking heavy items on top of your paper to prevent bending or creasing.
- What’s a simple way to keep my desk tidy while crafting?
- Implement a “one-in, one-out” rule to manage clutter; for every new item you bring into your workspace, consider removing one existing item. Additionally, keep your workspace clear by designating specific areas for your active project, tools, and completed items.
- Can I use everyday items for organizing my crafts?
- Absolutely! Everyday items like mason jars, shoe boxes, or small baskets can be repurposed to organize crafting supplies. Get creative by decorating these items to fit your workspace aesthetics.
- What tools are essential for a crafting organization system?
- Basic tools for an effective organization system include label makers, storage bins, and drawer organizers. Additionally, a pegboard can be a great way to hang tools and supplies while keeping everything within easy reach.