
DIY Resin Art and Jewelry Ideas
- Understanding Resin Types and Their Uses
- Essential Tools and Materials for Resin Art
- Step-by-Step Guide to Creating Resin Jewelry
- Tips for Adding Color and Effects to Resin
- Finishing Touches and Display Ideas for Your Creations
As you dive into the world of resin crafts, understanding the various types of resin and their unique characteristics is essential for successful projects, especially in jewelry making and art projects. The two primary types of resin you’ll encounter are epoxy resin and polyester resin. Epoxy resin is renowned for its ease of use and clarity; it cures to a durable, high-gloss finish that beautifully enhances colors and materials when crafting. This makes it an excellent choice for jewelry making, as it allows the vibrant hues of your added pigments or embedded items to shine through.
On the flip side, polyester resin is often favored for larger art projects, where flexibility and quick curing time are significant advantages. While polyester resin may not be as clear as epoxy, it is typically more affordable and works well for casting and shaping. However, it does come with its own set of challenges, including stronger odors and the need for careful handling, so be sure to work in a well-ventilated area.
When deciding which type of resin to use, consider the specific needs of your project. If your goal is to create delicate pieces of resin jewelry with intricate details, epoxy resin is likely your best bet. Alternatively, if you’re eager to forge breathtaking coasters or abstract art pieces, you may find that polyester resin fits the bill. For both types, experimenting with different colors, effects, and even the addition of materials like dried flowers or glitter can yield stunning results, igniting your inspiration and encouraging your creativity to flow freely.
Essential Tools and Materials for Resin Art
To get started with resin art and jewelry making, having the right tools and materials is essential. Begin with high-quality resin, as this will impact the final outcome of your projects. Epoxy resin is a popular choice among crafters due to its clarity and durability. Make sure to have hardener on hand, as mixing these two components correctly is vital for achieving a successful cure.
Next, gather measuring cups and stirring sticks, preferably disposable, to ensure that you can mix small batches of resin accurately without contamination. A scale can be useful to measure the resin and hardener precisely, especially if you’re working with a specific ratio.
Don’t forget about molds; silicone molds are ideal for casting jewelry pieces, coasters, or decorative items as they allow for easy removal once the resin is cured. For adding colors, pigments, dyes, or even metallic powders, use products that are specifically designed for resin to avoid issues with curing or discoloration.
Protective gear is crucial. Invest in gloves and a mask to shield your skin and lungs from fumes. A well-ventilated workspace is also important for safety. Additionally, you’ll want to have a torch or heat gun on hand to help eliminate air bubbles that may form during the mixing process.
For embellishments, consider dried flowers, glitter, or charms to personalize your creations. You can also experiment with layering different colors of resin to add depth and dimension to your art projects.
- Always measure resin and hardener accurately to ensure proper curing.
- Use silicone molds for easy removal of finished pieces.
- Work in a well-ventilated area and wear protective gear during the entire process.
- Consider using heat tools to eliminate bubbles in your poured resin.
- Experiment with compatible pigments and additives to achieve stunning visual effects in your creations.
Step-by-Step Guide to Creating Resin Jewelry
 When creating resin jewelry, numerous common mistakes can hinder your progress and affect the final product. One frequent error is not measuring the resin and hardener accurately. Failing to adhere to the correct ratio can lead to incomplete curing, resulting in a sticky, unusable piece. To avoid this, always use precise measuring tools like cups and scales. Double-check the resin instructions, as different brands may have varying ratios.
Another mistake is combining incompatible materials, such as using the wrong type of pigment or embedding items that can react negatively with the resin. Always confirm that any additives, colors, or objects you plan to use are compatible with the resin type you’ve chosen. This will help to ensure a successful outcome in your jewelry making.
A third common issue is neglecting surface preparation for molds. If the mold isn’t clean or is reused without proper cleaning, it can lead to imperfections on your finished pieces. Ensure that molds are free from dust, oil, or residue, which can affect the adhesion and finish of your resin crafts.
Temperature and humidity also play a significant role in the curing process. Many crafters overlook the environmental conditions, which can affect how resin cures. Strive to work in a space that maintains a consistent temperature—ideally between 70°F to 80°F—and low humidity. This helps in achieving a smooth and clear finish.
Finally, patience is key. Rushing the process and attempting to demold pieces before they’ve fully cured can cause breakage and distortion. Make sure to allow enough time for the resin to cure as per the manufacturer’s guidelines, and if you’re working with layered designs or embedding objects, provide sufficient time between layers. By avoiding these common pitfalls, you can enhance the quality of your creations and ensure a satisfying experience in your art projects.
Tips for Adding Color and Effects to Resin
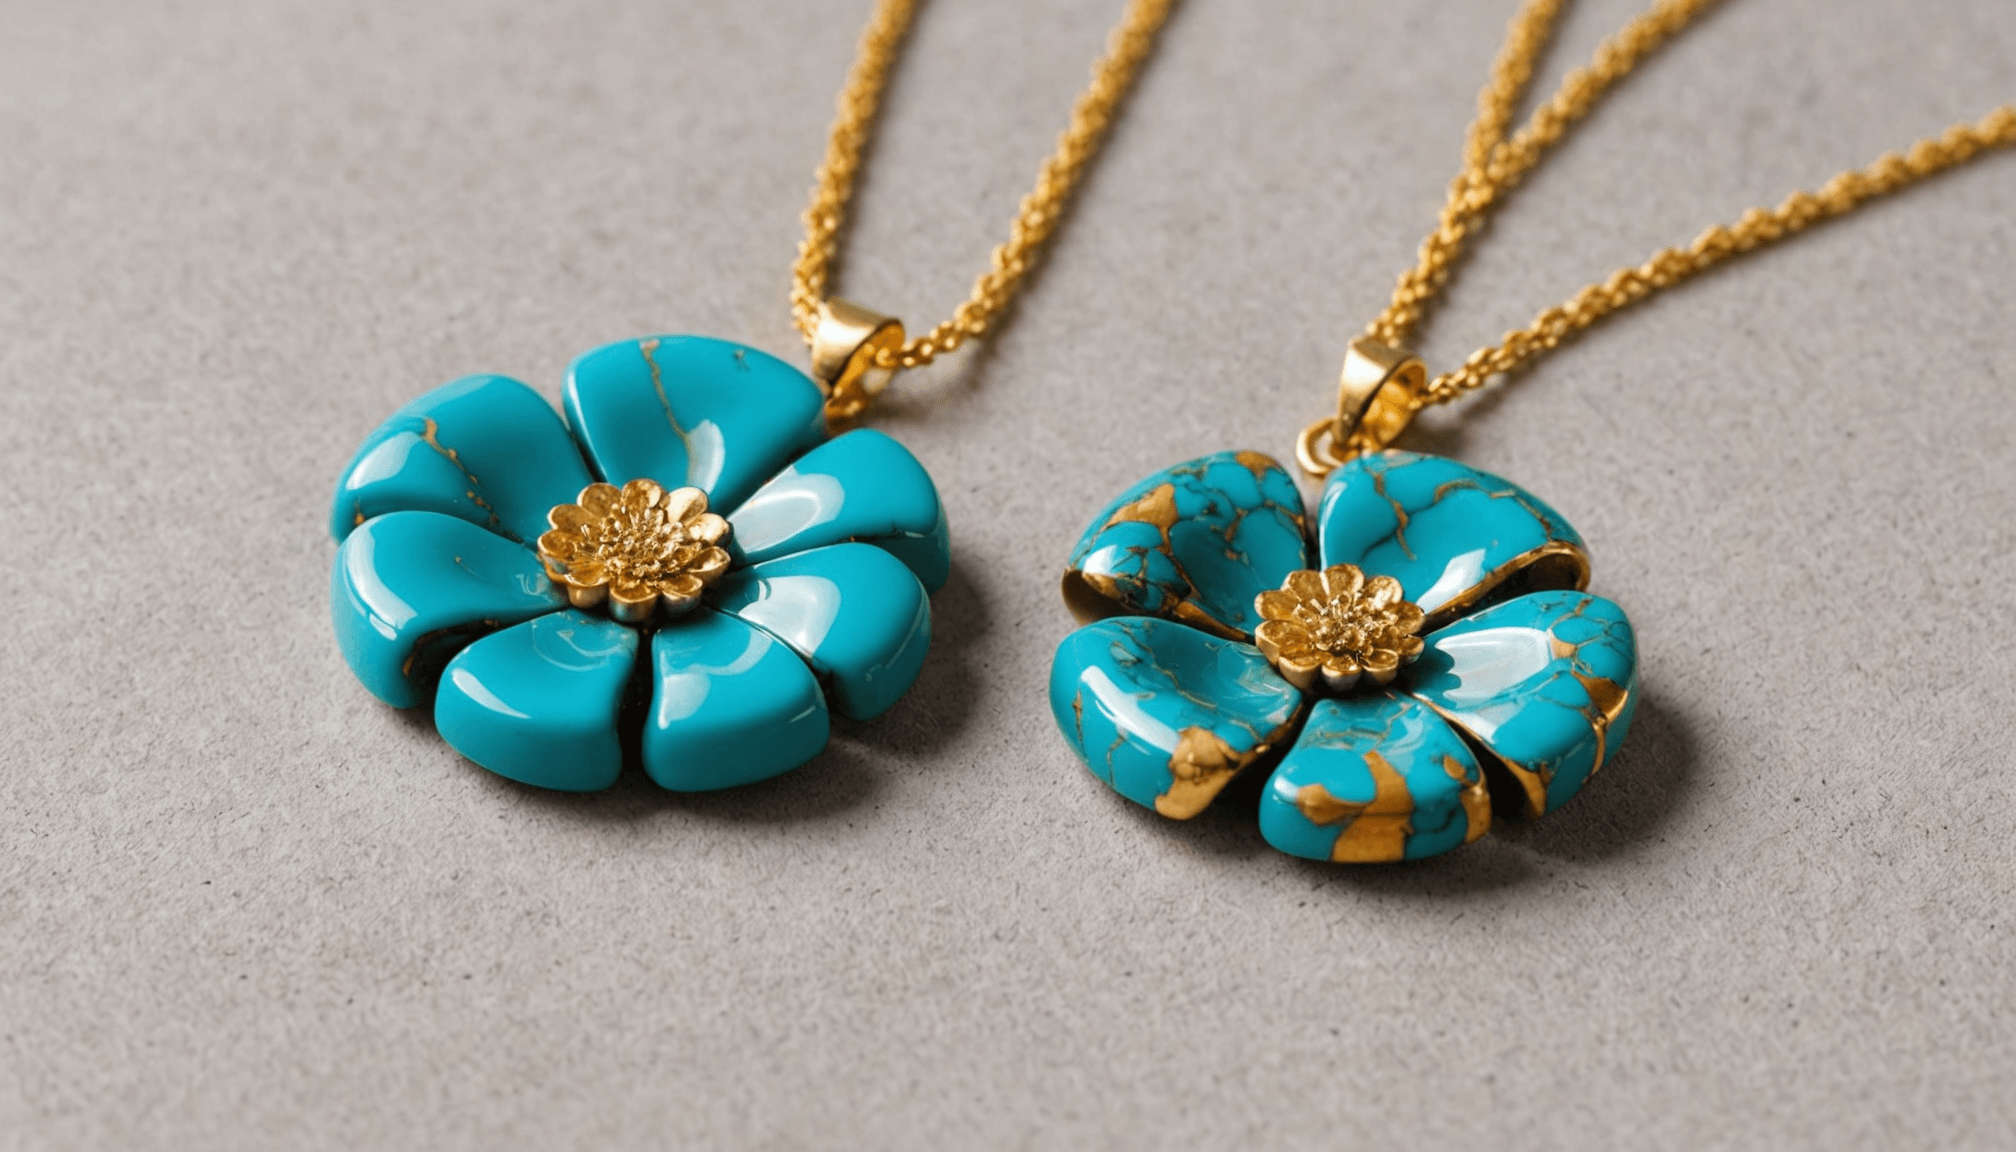
Incorporating color and effects into your resin projects can elevate them from simple crafts to stunning pieces of art. One of the most popular methods for adding color is through resin dyes and pigments. Rather than using just regular paint, opt for specially formulated resin colorants that won’t adversely affect the curing process. Liquid pigments allow for smooth mixing and can create vibrant shades, while powdered pigments offer a broader color saturation and can be layered for depth.
When selecting colors, consider the color wheel; complementary colors can enhance each other, and contrasting colors can make your pieces pop. Don’t hesitate to experiment with different opacity levels. For a subtle effect, add a small amount of color until you achieve the desired transparency. Creating a gradient or ombre effect is also a popular choice. Mix progressively darker or lighter tones in separate cups and pour them into the mold for a beautiful transition effect.
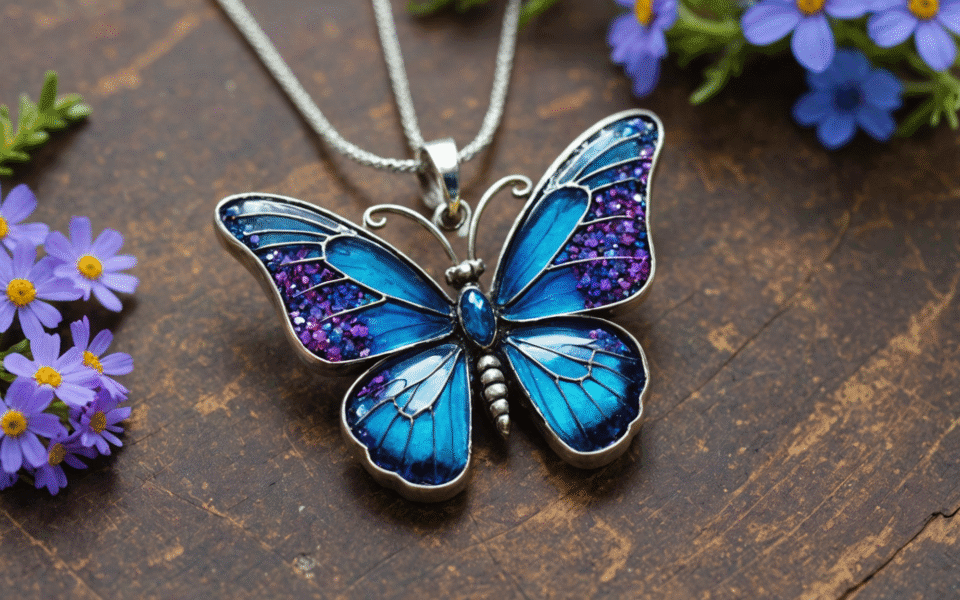
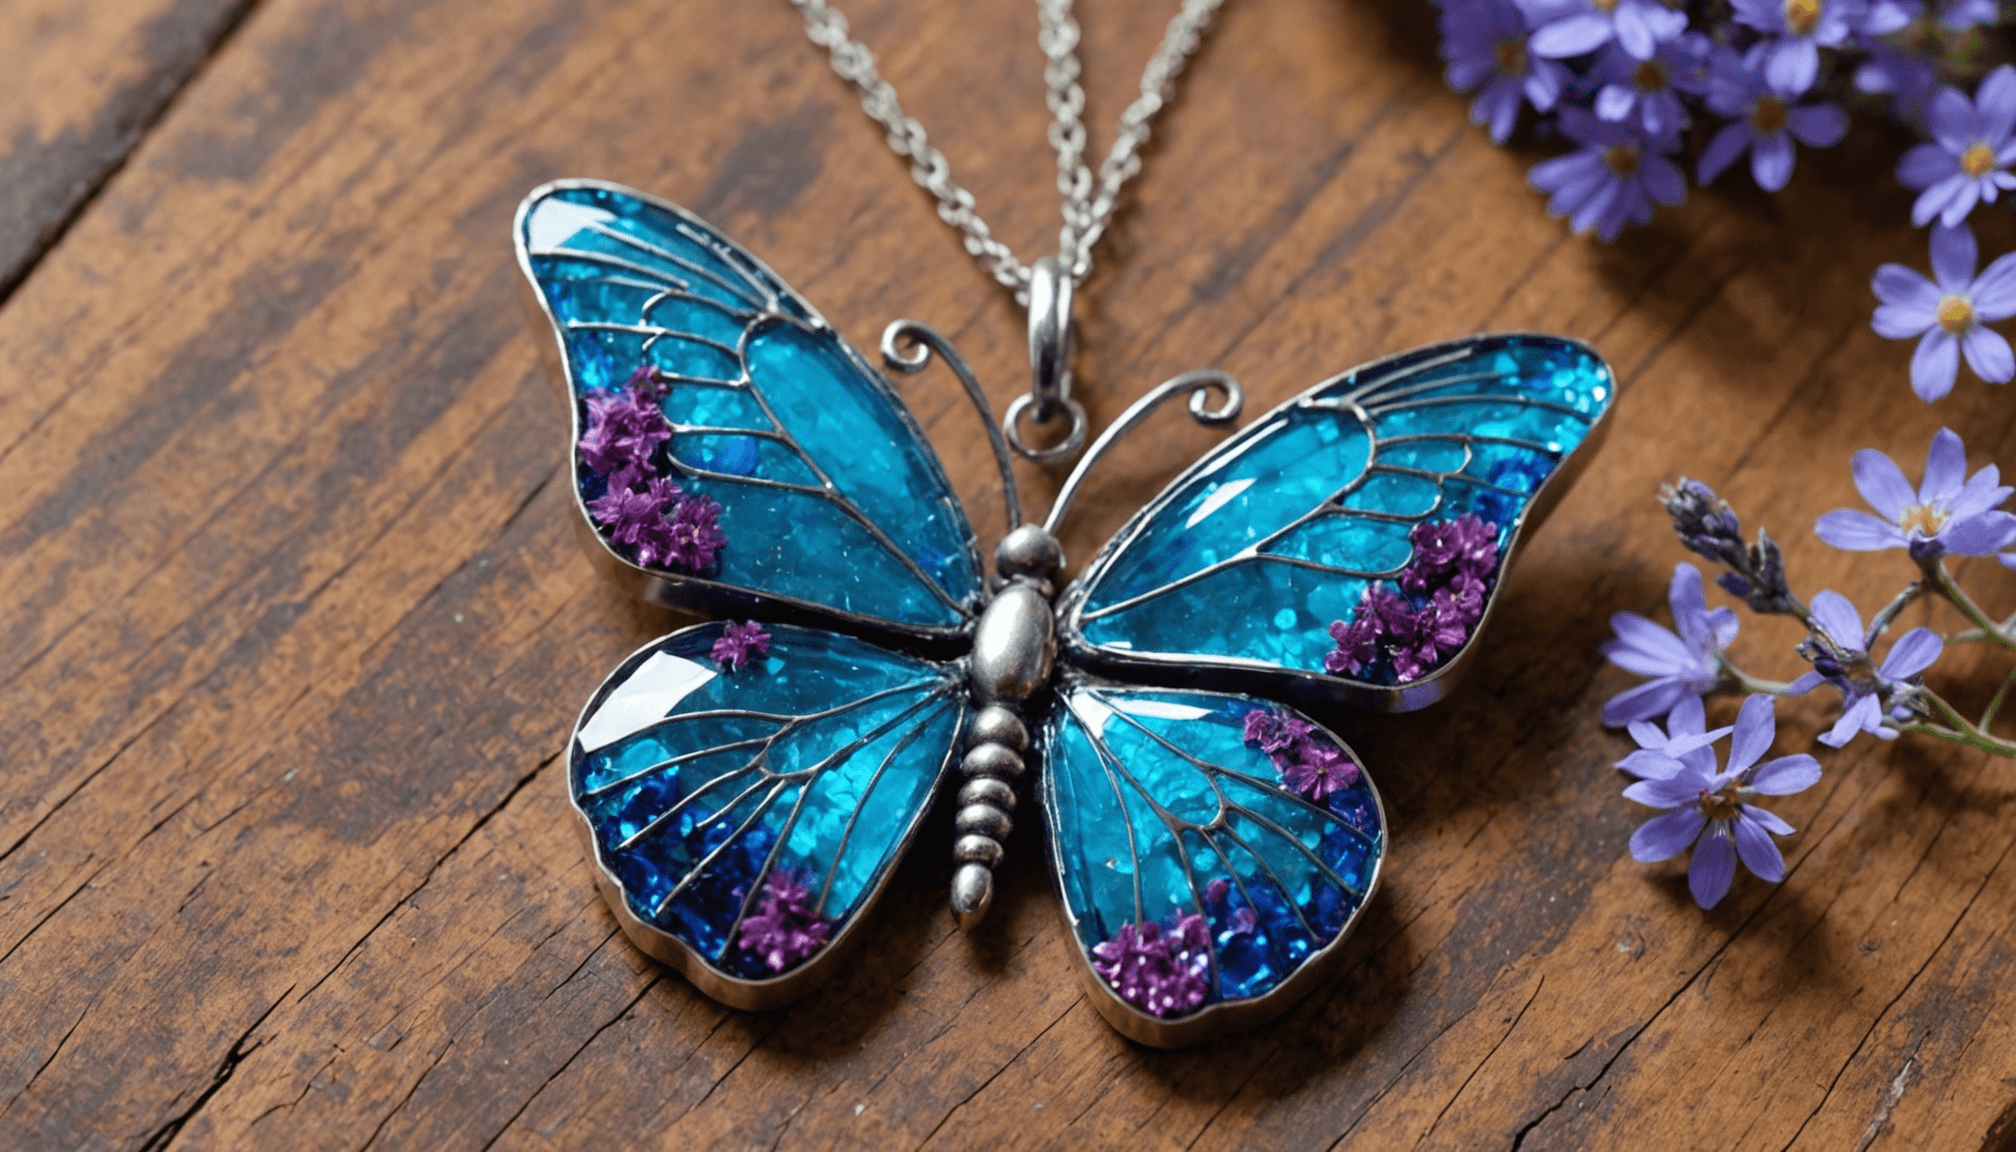
For more unique results, consider incorporating metallic pigments or glitter. Metallic pigments can give your pieces a shimmering finish that catches the light effectively, making your resin jewelry and art pieces stand out. Glitter can be used sparingly for a delicate sparkle or more generously for an all-over sparkling effect. Keep in mind, however, that too much glitter can muddy your colors, so start with a small amount and build it up if desired.
Texture is another layer of creativity you can add to your projects. One option is to pour different colors of resin in layers, allowing each to partially set before adding the next. This method can create an eye-catching marbled effect if colors blend slightly. You may also drizzle or swirl contrasting colors within a single layer before it fully cures for a different look.
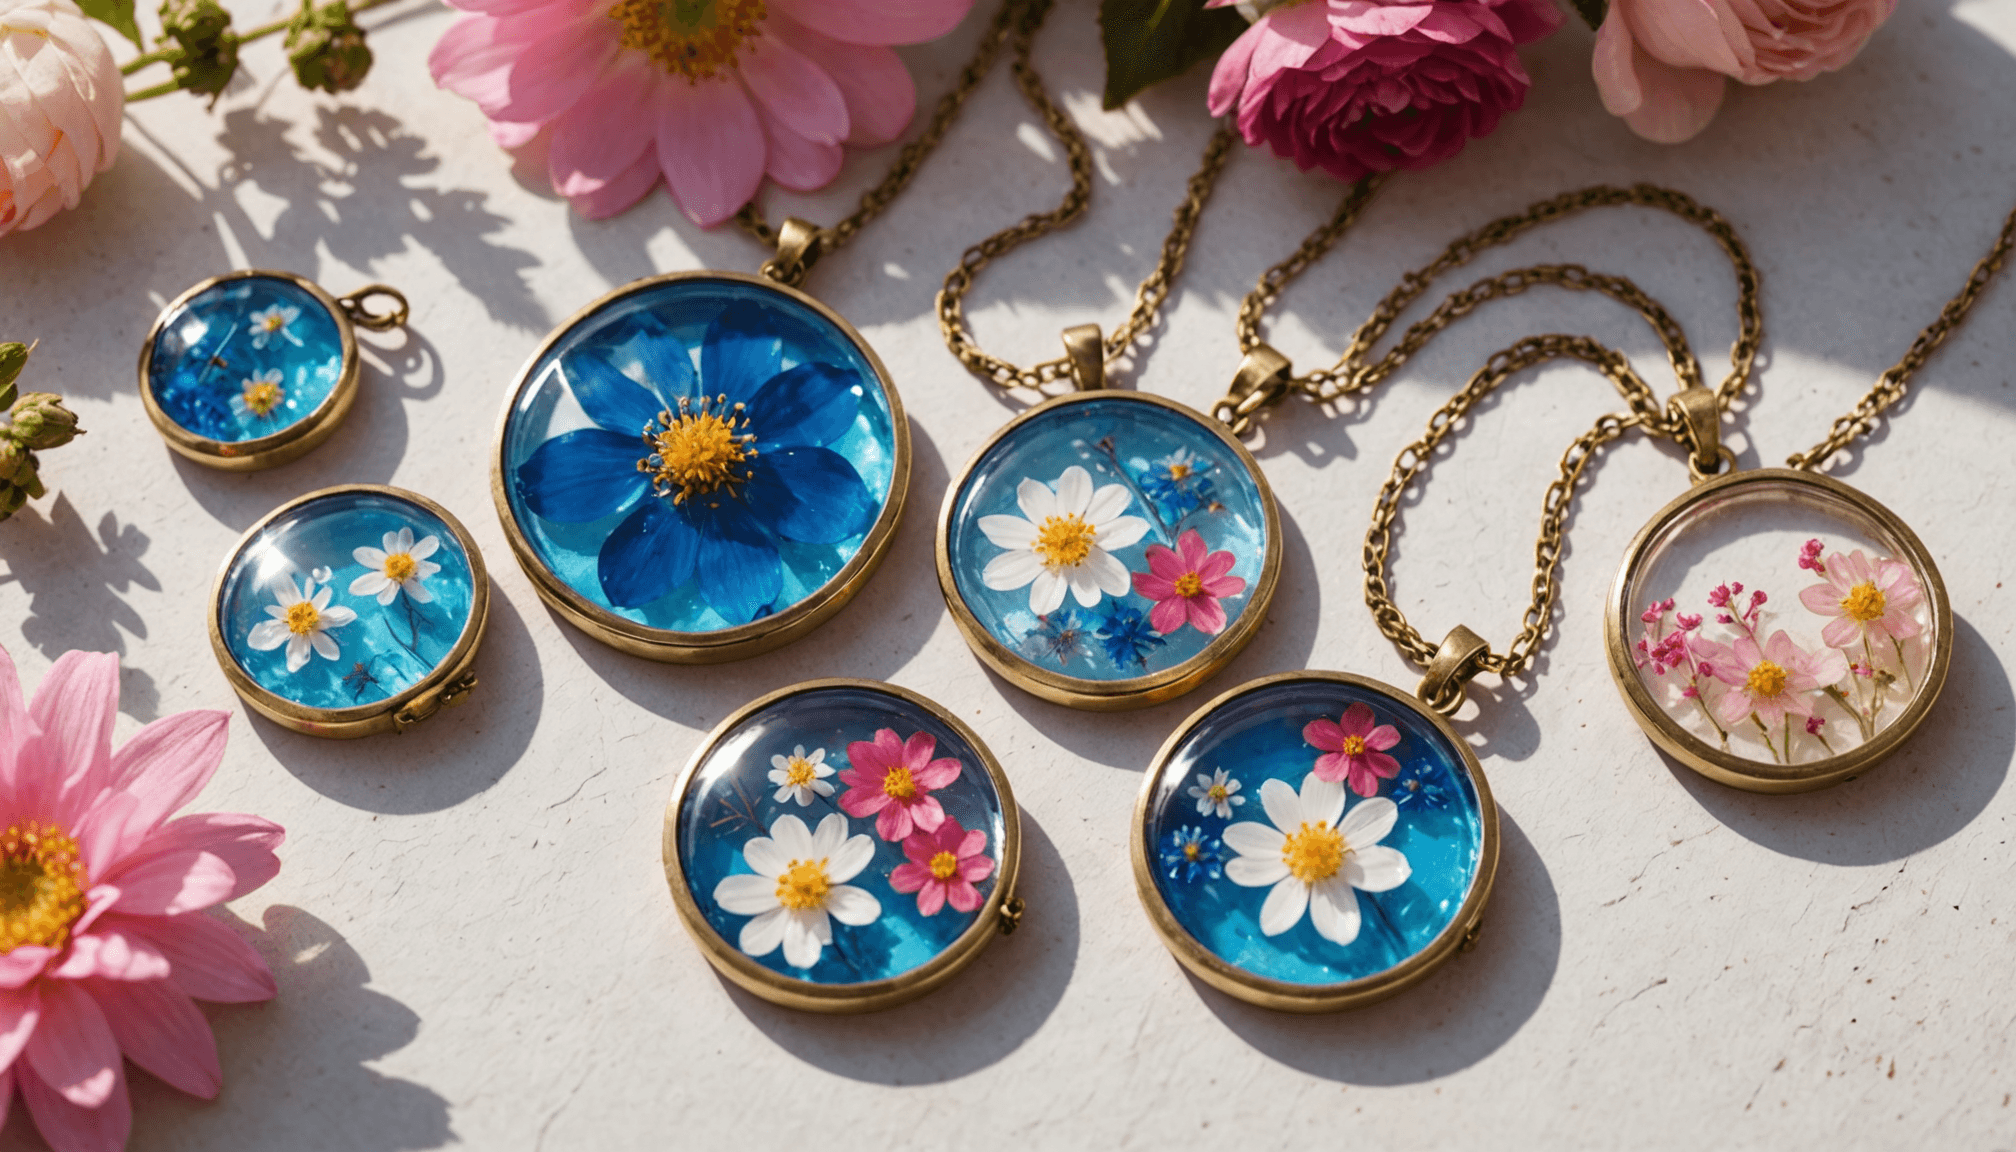
For even more dynamic designs, consider adding embedded items. Dried flowers, small stones, and charms can lend character to your art projects. Remember to use lightweight materials that won’t sink or float in the resin. Ensure they are clean and dry before embedding to prevent any issues during curing.
Don’t forget about embellishments like gold leaf, foils, or even small seashells which can be used to accentuate your work further. The key is to strike a balance so your additions complement rather than overwhelm the main feature of your piece.
As you experiment with color and effects, take diligent notes of your techniques and results. This will help you refine your style and develop signature looks. Remember, the beauty of resin crafts lies in the freedom to explore and innovate, so embrace the journey. Your creativity knows no bounds, and with each project, you’re one step closer to mastering the art of resin jewelry making!
Finishing Touches and Display Ideas for Your Creations
- How long does it take for resin to cure?
- Typically, resin can take anywhere from 24 to 72 hours to fully cure, depending on the type of resin used and environmental conditions like temperature and humidity. Always refer to the manufacturer’s instructions for the specific curing times of your chosen resin.
- Can I use regular paint to color resin?
- No, it’s not advisable to use regular paint as it can adversely affect resin curing. Instead, opt for specially formulated resin pigments and dyes that are designed to work seamlessly with resin.
- What should I do if my resin piece is sticky?
- If your resin finish is sticky, it may not have cured properly due to incorrect measurements or environmental factors. You can often fix this by applying a new coat of resin over the top, ensuring proper mixing and ratios, or sometimes by sanding it down and resealing.
- Is it safe to work with resin indoors?
- While you can work indoors, it’s important to do so in a well-ventilated area to avoid inhaling fumes. Wearing protective gear such as gloves and a mask is also highly recommended to ensure safety during the crafting process.
- Can I embed objects in resin, and what should I consider?
- Yes, you can embed various objects in resin, but ensure that they are clean and dry to prevent curing issues. Also, opt for lightweight items to avoid them floating or sinking in the resin, which could affect the final look of your art projects.
- What kind of molds should I use for resin jewelry?
- Silicone molds are the best choice for resin jewelry as they allow for easy demolding once the resin is cured. They come in various shapes and sizes, providing flexibility in your design choices.
- Can I reuse molds for resin projects?
- Yes, you can reuse silicone molds for resin projects, but it’s crucial to clean them thoroughly between uses to avoid contaminants that could affect the new resin. Inspect for any damage and ensure they’re free from dust or residue before pouring new resin.