
Crafting with Clay: DIY Pottery Ideas

- Choosing the Right Clay for Your Projects
- Essential Tools and Materials for Pottery
- Step-by-Step Guide to Basic Pottery Techniques
- Creative DIY Pottery Ideas for Beginners
- Caring for and Finishing Your Clay Creations
When embarking on your pottery journey, selecting the right clay can make all the difference in your creative process. With various types of clay available, each comes with unique properties that lend themselves to different techniques and finishes. Whether you are drawn to the earthiness of stoneware, the delicate beauty of porcelain, or the approachable nature of earthenware, understanding these options will enable you to tailor your projects to your artistic vision.
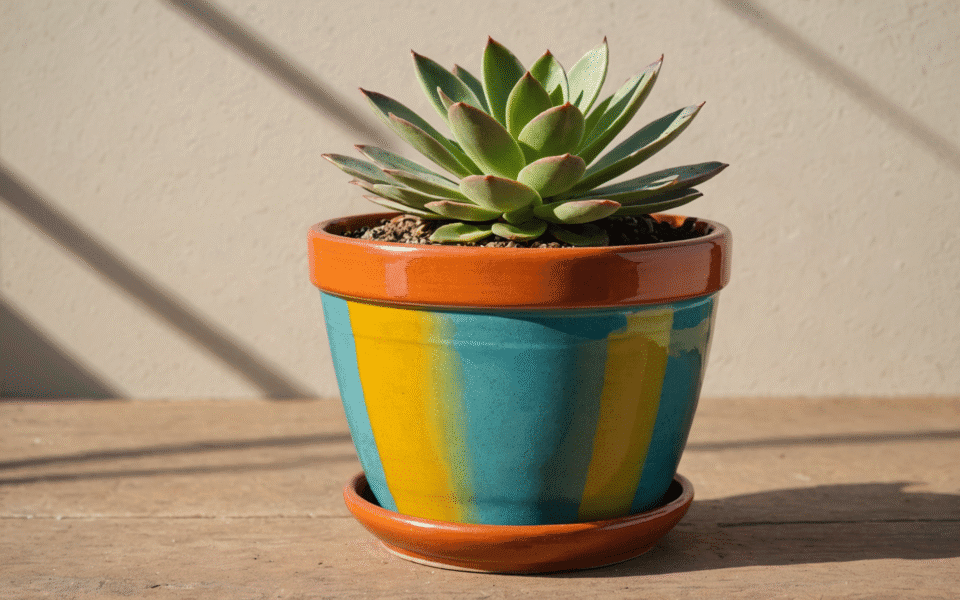
For beginners, earthenware is a fantastic choice. This type of clay is forgiving and easy to work with, perfect for those just starting out in the world of clay crafts. It fires at a lower temperature, typically between 1,830°F to 2,100°F, making it accessible if you’re working with a home oven or a basic kiln. Its porous nature allows for beautiful glazing effects, and the vibrant colors achieved with glazes can enliven your handmade art projects. You might consider crafting simple plant pots or decorative tiles to get your clay hands dirty!
On the other hand, if you’re looking to create more functional items like dinnerware or plan to explore decorative techniques, stoneware is the clay for you. It’s denser and less porous than earthenware, meaning that your creations will be more durable and less susceptible to moisture. Stoneware fires at higher temperatures, ranging from 2,190°F to 2,600°F, which makes it ideal for both functionality and artistry. Think of sculpture, sturdy bowls, or intricately designed mugs that withstand the test of time. The possibilities are limited only by your imagination!
Porcelain, celebrated for its elegance, is reserved for those aiming for a sophisticated finish. While it can be more challenging to work with—thanks to its smooth, often slippery texture—it rewards the potter with stunningly refined results. If you love delicate details and translucency, porcelain can produce beautifully thin pieces that are strikingly light. Projects like intricate vases or fine dinner sets can be elevated into works of art with this versatile medium.
When choosing your clay, it’s also important to consider the firing process. If you plan to venture into raku or pit firing, specific clays suited for those methods—like raku clay—should be your focus, as they can withstand those unique firing conditions. Remember, the best clay for your projects depends on what you envision creating. As you experiment with different types of clay, don’t hesitate to mix and match your crafting materials within a single project. This not only allows for creative exploration but also deepens your understanding of the clay’s properties.
Investing time to understand the nuances of various clays not only enhances the quality of your pottery but also enriches your experience as an artist. Let your choice of clay be as expressive as the designs you dream of crafting!
Essential Tools and Materials for Pottery
To successfully embark on your pottery endeavors, having the right tools and materials is essential. Every potter’s toolkit can vary, but there are fundamental items that are indispensable for both beginners and seasoned artisans alike. Here’s a rundown of vital tools and materials you’ll need to get started with your clay crafts.
First and foremost, selecting the appropriate work surface is crucial. A sturdy, flat surface covered with a canvas or a non-stick mat will help prevent the clay from sticking, making it easier to maneuver while you work. Ensure your workspace has ample lighting to allow you to see details clearly as you shape your creations.
You’ll also need basic hand tools, which include a variety of sculpting and shaping implements. A wire cutter is invaluable for slicing off sections of clay or cutting finished pieces off the wheel. A needle tool is perfect for detailing, piercing, and assessing the moisture content of your clay. Sponges and soft brushes will aid in smoothing surfaces and adding finishes to your pottery. For those looking to develop their skills further, investing in specialized tools such as ribs, loop tools, and texture stamps can provide exciting possibilities for texture and shape in your handmade art.
If you plan to work on the pottery wheel, ensure you have a functional wheel and a proper bat system for easy release and handling of your pieces. Bat systems will allow you to turn your work freely without needing to lift it off the wheel until you’re ready to trim or glaze it. Additionally, keep a spray bottle filled with water nearby to keep your clay moist and manageable during the crafting process.
Clay itself is one of the most significant materials you’ll need, and it’s best to choose high-quality clay suited to your projects, as discussed in the previous section. Ensure you also have access to decent glazing materials. A variety of glazes not only adds color but also helps seal and protect your pottery after it has been fired.
Finally, don’t overlook the importance of safety equipment. Whether you’re working with clay dust or glazing materials, a quality dust mask and safety goggles can protect your health while you explore the art of pottery.
- Always keep your tools clean; this prevents contamination of your clay and glazes and helps maintain the quality of your work.
- Have a designated area for drying and storing your pieces to avoid damage.
- Experiment with different glazes and finishes to discover what works best for your style and projects.
- Invest in a good quality pottery wheel if you intend to focus on wheel throwing, as this will enhance your pottery experience.
- Take the time to establish a routine for organizing your workspace; a tidy area can greatly enhance your creative flow.
Step-by-Step Guide to Basic Pottery Techniques
 When developing your pottery skills, it’s common to encounter a few obstacles along the way. Recognizing these mistakes and knowing how to avoid them can significantly enhance your crafting experience and the quality of your final pieces.
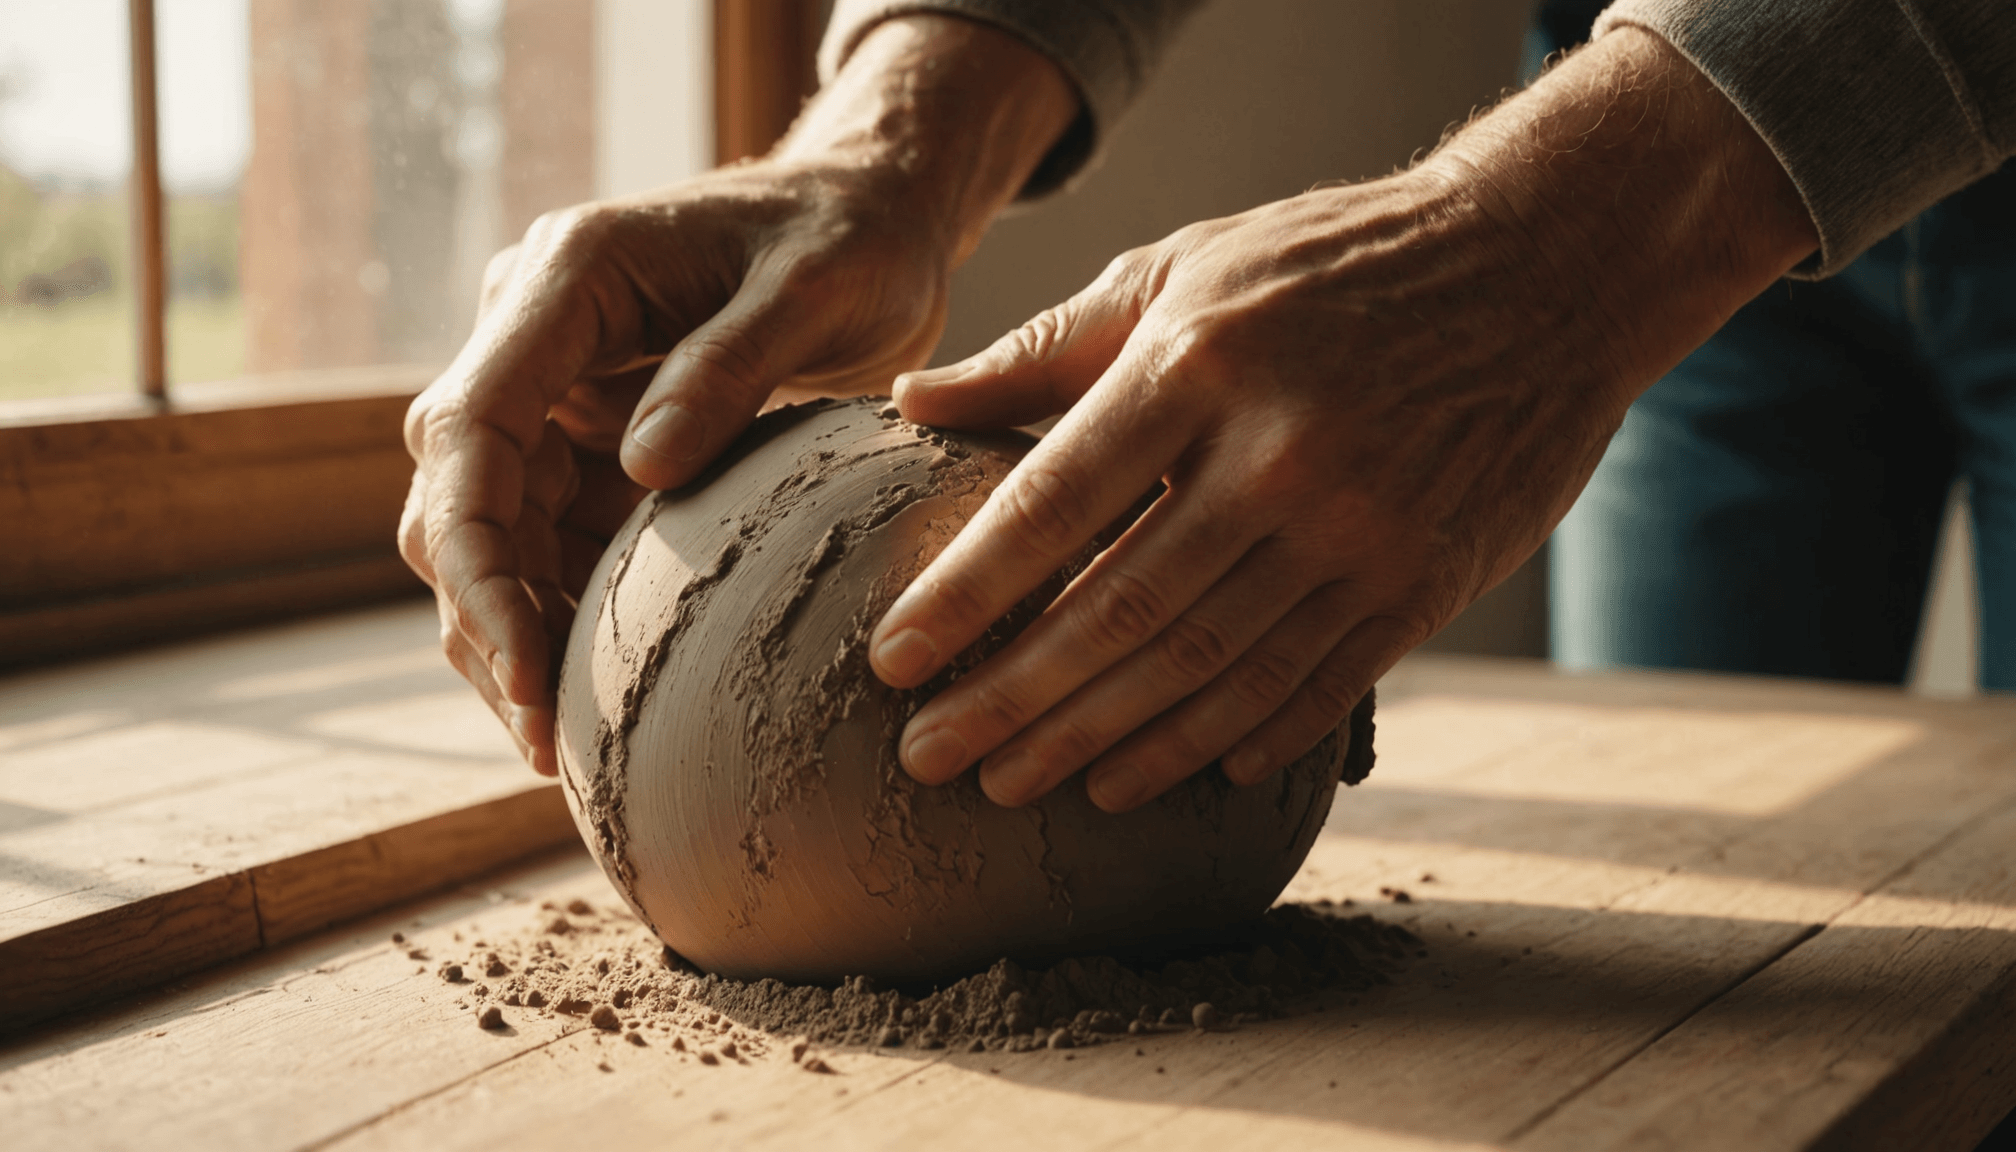
One frequent error is not preparing the clay properly before starting your project. Many beginners dive straight into molding without kneading the clay first, which can lead to air bubbles. These bubbles, if not removed, can cause cracks or breaks during firing. To avoid this, always take the time to wedge your clay thoroughly. This process eliminates air pockets and ensures that the clay has a uniform consistency, making it easier to work with and reducing the risk of defects.
Another common mistake is working with clay that is too dry or too wet. Too dry clay can be difficult to shape and may crumble, while overly wet clay can lead to sagging and unpredictable forms. To manage this, consistently check the moisture of your clay. A good rule of thumb is to keep a spray bottle with water nearby to periodically mist the clay, keeping it pliable. Additionally, you should practice the “touch test”—the clay should feel moist but not sticky to the touch.
Many potters, especially novices, neglect to plan their designs before starting. Jumping into creating without sketches or a clear vision can lead to frustration and unfinished projects. Instead, take the time to sketch your ideas and think about the forms and functions of your pottery. This planning phase can help streamline your crafting process and ensure that you stay focused on achieving your artistic goals.
Handling the clay incorrectly is another common pitfall. Beginners often use too much pressure when shaping, which can distort the piece. It’s important to remember that gentle, consistent pressure is key to crafting clean shapes. Practice will enhance your control, so take your time to refine your techniques. Watching tutorials or taking a class can also provide valuable insights on proper handling techniques.
Additionally, rushing through the drying process can lead to issues, especially when adding details or decorations. If your clay dries unevenly, it can crack or warp. Always let your pieces dry slowly and evenly, covered with plastic to maintain moisture. Monitor your work, and when it reaches a leather-hard state, this is the best time for carving or adding intricate designs.
Lastly, glazing mistakes can often make or break a piece. Many novice potters may apply glaze too thickly or uniformly, resulting in unsightly runs or unintentional texture. Practice applying glazes with a light hand, and experiment with different techniques such as dipping, brushing, or spraying to achieve desired effects. Always test glazes on small samples first to understand how they react during the firing process.
By keeping these common errors in mind and adopting preventative strategies, you will be better equipped to navigate the challenges that come with working in pottery. Embrace these learning opportunities, and remember that every mistake is a stepping stone towards improving your skills in clay crafts and handmade art.
Creative DIY Pottery Ideas for Beginners
Creating your own pottery pieces can be both rewarding and fun. As a beginner, you have a treasure trove of inspiring projects at your fingertips that can ignite your creativity. One exciting idea is crafting personalized planters. These not only serve a practical purpose but also allow you to infuse your personality into your work. Start by shaping the clay into various forms—round, square, or even animal-shaped pots—and consider adding drainage holes for your plants.
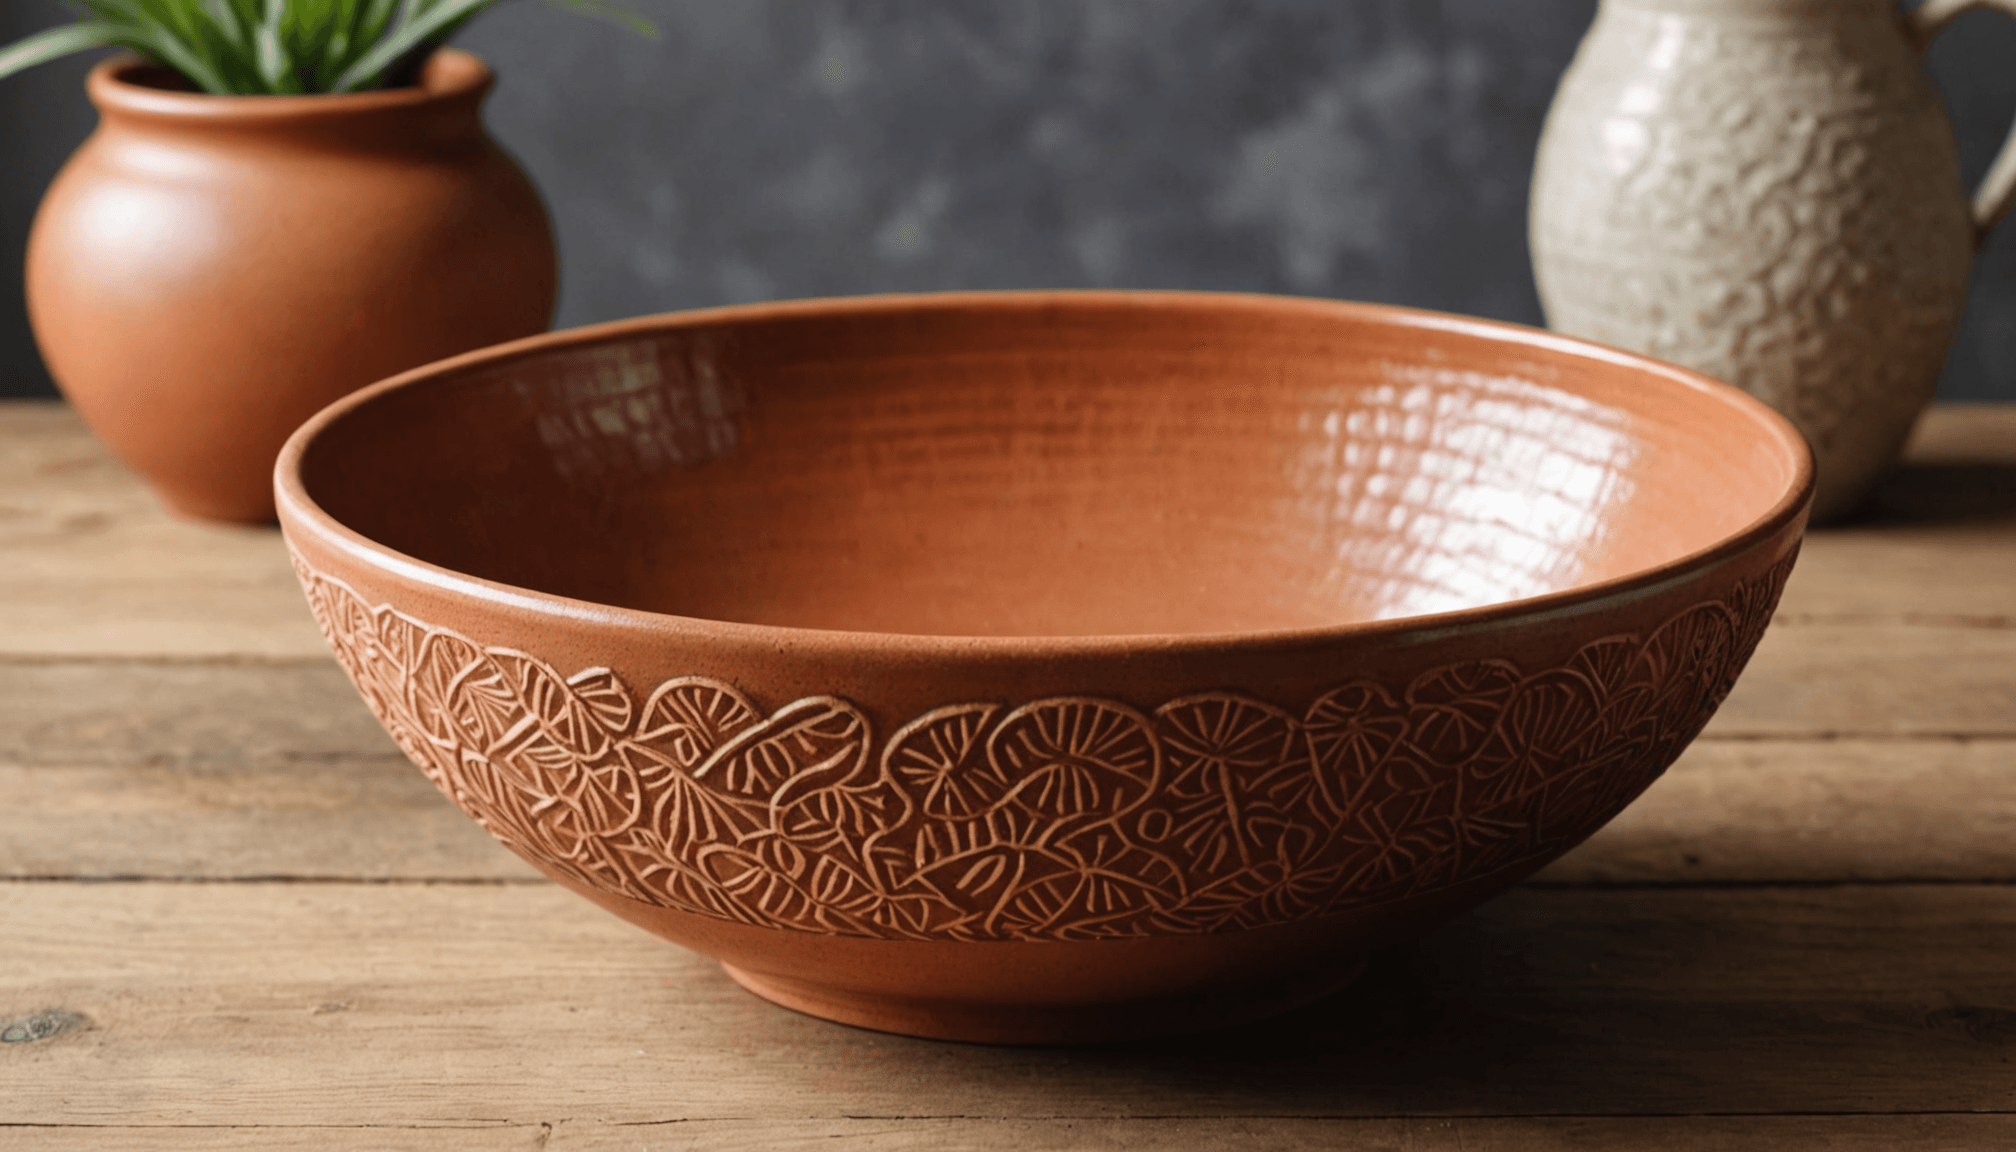
Another engaging project for beginners is to create textured tiles. Roll out a slab of clay and use stamps, leaves, or found objects to imprint designs onto the surface. Once fired, these tiles can be used as coasters, decorative accents, or wall art, adding a unique touch to any space. You can also explore making small bowls or dishware that reflect your style, utilizing basic hand-throwing techniques. Experiment with different shapes and sizes, and don’t shy away from personalizing them with your favorite colors or glazing patterns.
For those who enjoy a more playful approach, consider making whimsical clay figurines. Whether it’s an animal, a person, or an imaginary creature, the sculpting process lets your imagination run wild. Start with simple shapes and gradually add details to bring your figurine to life. Once complete, these can become fun decorative pieces for your home or gifts for family and friends.
Another delightful project is creating a unique wall hanging. Roll out a flat piece of clay and cut it into desired shapes, then attach them together or hang them using string. This not only gives you the opportunity to blend colors and textures but also results in a striking piece of handmade art that can brighten any entryway or living space.
As you embark on these creative endeavors, remember to embrace the messiness of the process. Each project presents an opportunity to learn and experiment. Consider keeping a sketchbook where you jot down ideas or document your progress—this will enhance your artistic journey and provide a source of inspiration for future clay crafts.
The most important sentiment is to enjoy the process of creating. Your first few pieces might not be perfect, and that’s okay! Each one carries a part of your artistic journey. Allow yourself the freedom to explore and express within your pottery practice, and don’t forget—your unique touch is what will make these pieces truly special. Keep pushing your creative boundaries, and let the joy of crafting with clay lead you to new artistic heights!
Caring for and Finishing Your Clay Creations
- What type of clay should I use for my first pottery project?
- For beginners, earthenware is an excellent choice due to its forgiving nature and low firing temperature. It’s versatile for simple projects, allowing you to experiment without the pressure of handling more complex types of clay.
- How do I prevent my clay creations from cracking?
- To minimize cracking, ensure that your clay is properly wedged to remove air bubbles and allow for even moisture content. Additionally, drying your pieces slowly and evenly helps prevent stress that can lead to cracks.
- Can I use a regular oven to fire my pottery?
- Most pottery requires high-temperature firing that typical home ovens cannot achieve. However, some low-fire clays can be baked in a conventional oven, but make sure to follow specific guidelines for the clay type you are using.
- What are some common mistakes to avoid when glazing pottery?
- One common mistake is applying glaze too thickly, which can lead to runs and uneven surfaces. It’s best to practice with test pieces and experiment with different application methods to find what works for your style.
- How can I add textures to my clay pieces?
- Textures can be added using various tools like stamps, combs, or found objects before the clay dries. You can also manipulate the surface with your hands or tools while sculpting to create unique patterns and designs.
- What should I do if my clay feels too dry?
- If your clay feels dry, you can mist it lightly with water using a spray bottle to rehydrate it. Be cautious not to over-wet, as this can lead to a lot of unwanted mess and make the clay difficult to handle.
- Is it important to create a sketch before starting a pottery project?
- Yes, sketching your ideas beforehand can provide a roadmap for your project and help you stay focused. It allows you to visualize your design and plan your techniques more effectively, leading to a more successful result.