

Embroidery and Sewing Crafts for Beginners
- Understanding Embroidery Techniques
- Essential Sewing Tools for Beginners
- Choosing the Right Fabrics
- Step-by-Step Projects for Practice
- Tips for Enhancing Your Skills
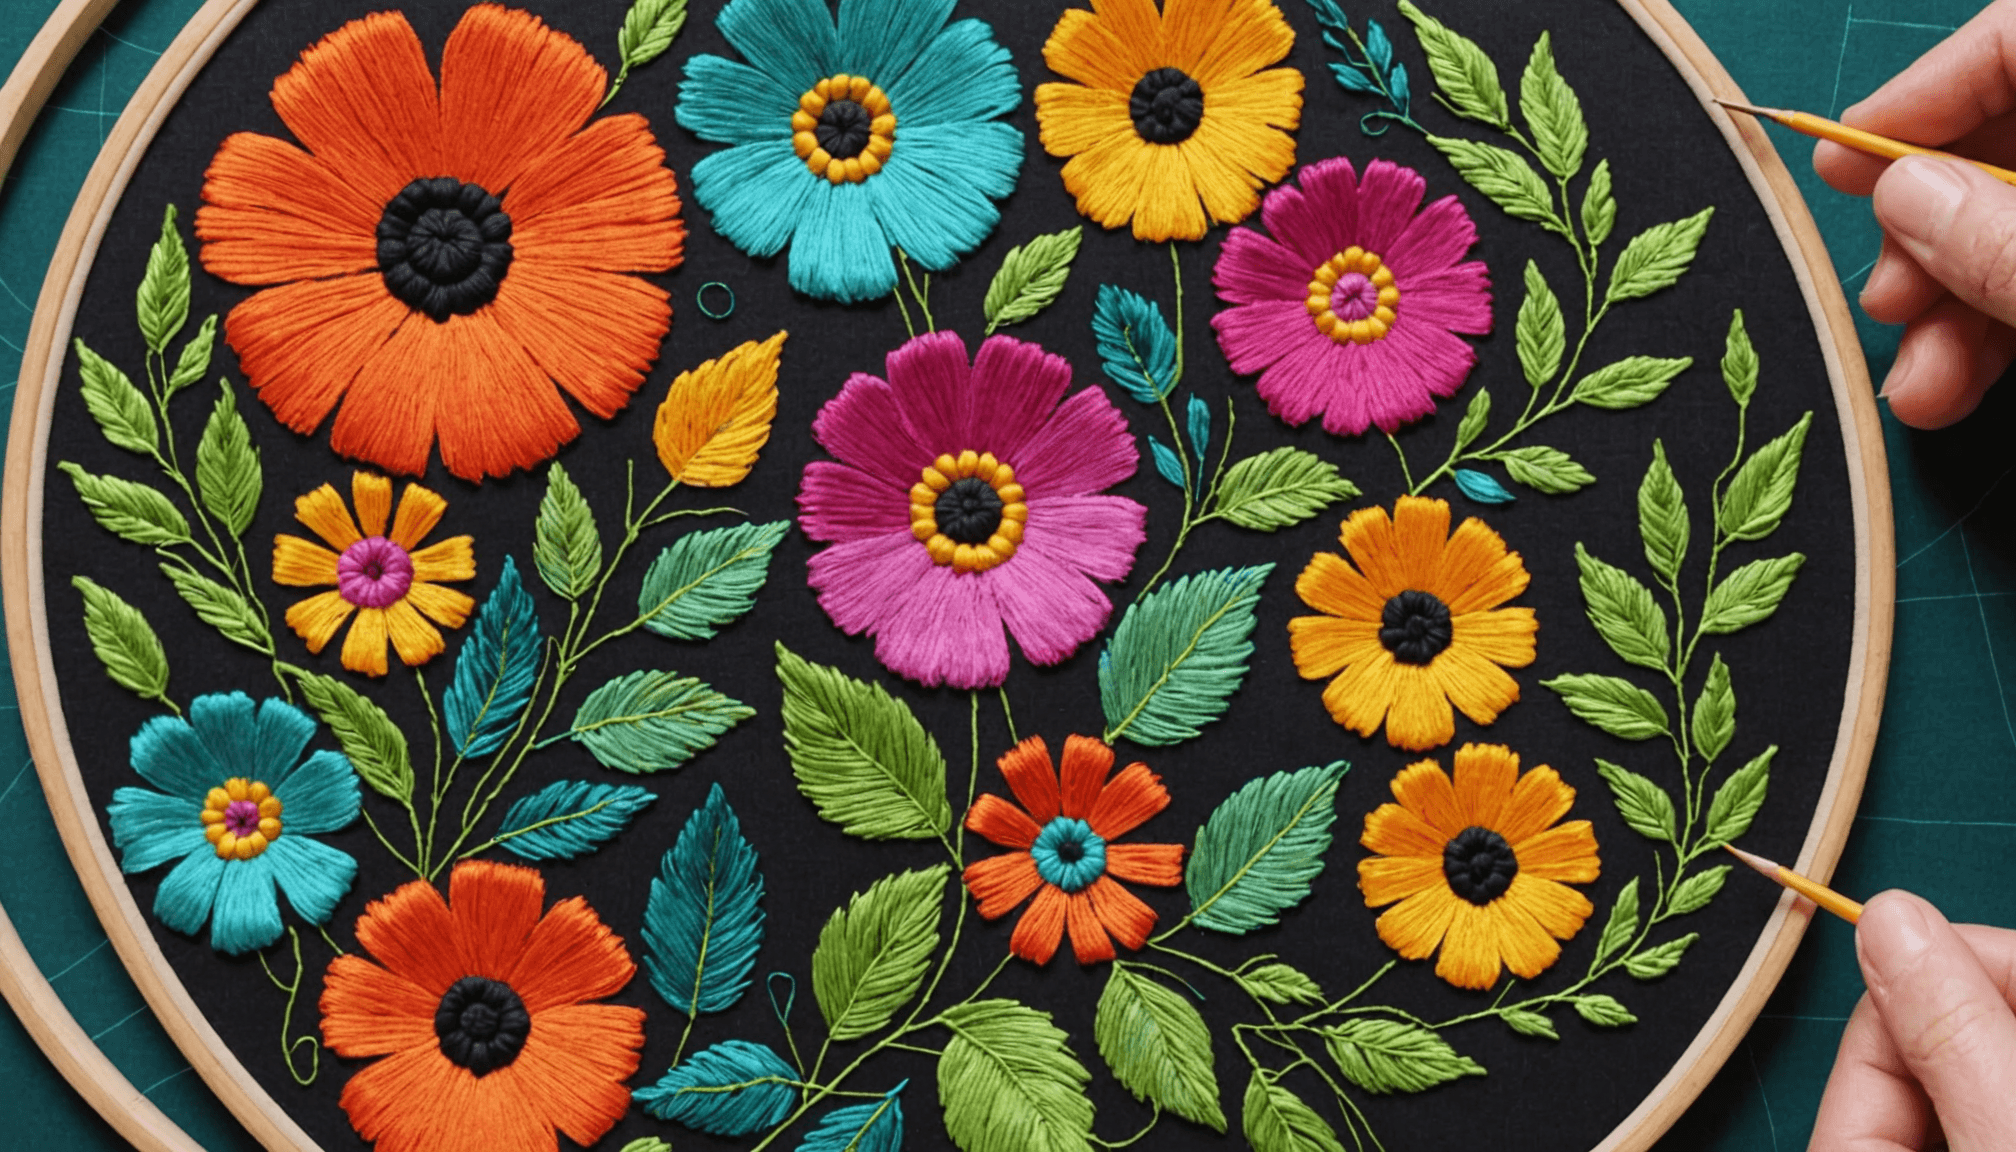
Embroidery is a technique that brings fabric to life with color, texture, and intricate designs. Understanding the various methods of embroidery can help beginners unleash their creativity and create beautiful, personalized pieces. At the core of embroidery lies a simple concept: using a needle and thread to create decorative stitches on fabric. These techniques can range from basic to complex, offering a vast playground for experimentation and expression.
One of the most popular embroidery techniques is the basic straight stitch. It is straightforward and ideal for beginners to master. Picture this: as you weave your needle in and out of the fabric, forming small, even stitches, you can create lines and shapes that can serve as the foundation for more complex designs. This technique can be utilized in various projects, from simple monograms to detailed floral patterns.
Another essential technique is the backstitch, which creates a defined line that is slightly thicker than the straight stitch. To execute a backstitch, you stitch backwards, filling in gaps left by your previous stitches. This creates a solid line crucial for outlining patterns or adding details to your designs. Imagine outlining a butterfly; the backstitch will give it a vibrant, bold appearance, enhancing its beauty.
Once you’re comfortable with the basics, you may want to explore more intricate methods, like satin stitch and French knots. The satin stitch involves covering an area with close, parallel stitches. This technique is magnificent for filling in shapes, creating a smooth finish that resembles satin fabric. Visualize stitching a flower petal; the satin stitch can give it a lush, elegant look.
French knots, on the other hand, introduce a playful texture to your projects. By wrapping the thread around the needle and pulling it through the fabric, you create tiny, elevated knots that add dimension. These are perfect for adding playful details like flower centers or whimsical accents to your designs.
To practice your skills, I recommend creating small sample swatches of each stitch. Choose a piece of scrap fabric, perhaps in a lively color or textured material, and dedicate a bit of time to explore each technique. This hands-on practice not only reinforces your learning but also allows you to see which stitches resonate with your style. Who knows, you might end up inventing your own unique twist on a classic stitch!
Finally, don’t hesitate to experiment with layering different stitches. Combining techniques can transform a simple design into something truly extraordinary. For instance, you might use the satin stitch for flower petals, the backstitch for outlining, and finish it off with French knots for added texture. Embrace the journey of learning these techniques, and let your creativity flourish through your handmade projects. By mastering these embroidery techniques, you will not only enhance your skills but also build a strong foundation for your future sewing endeavors.
Essential Sewing Tools for Beginners
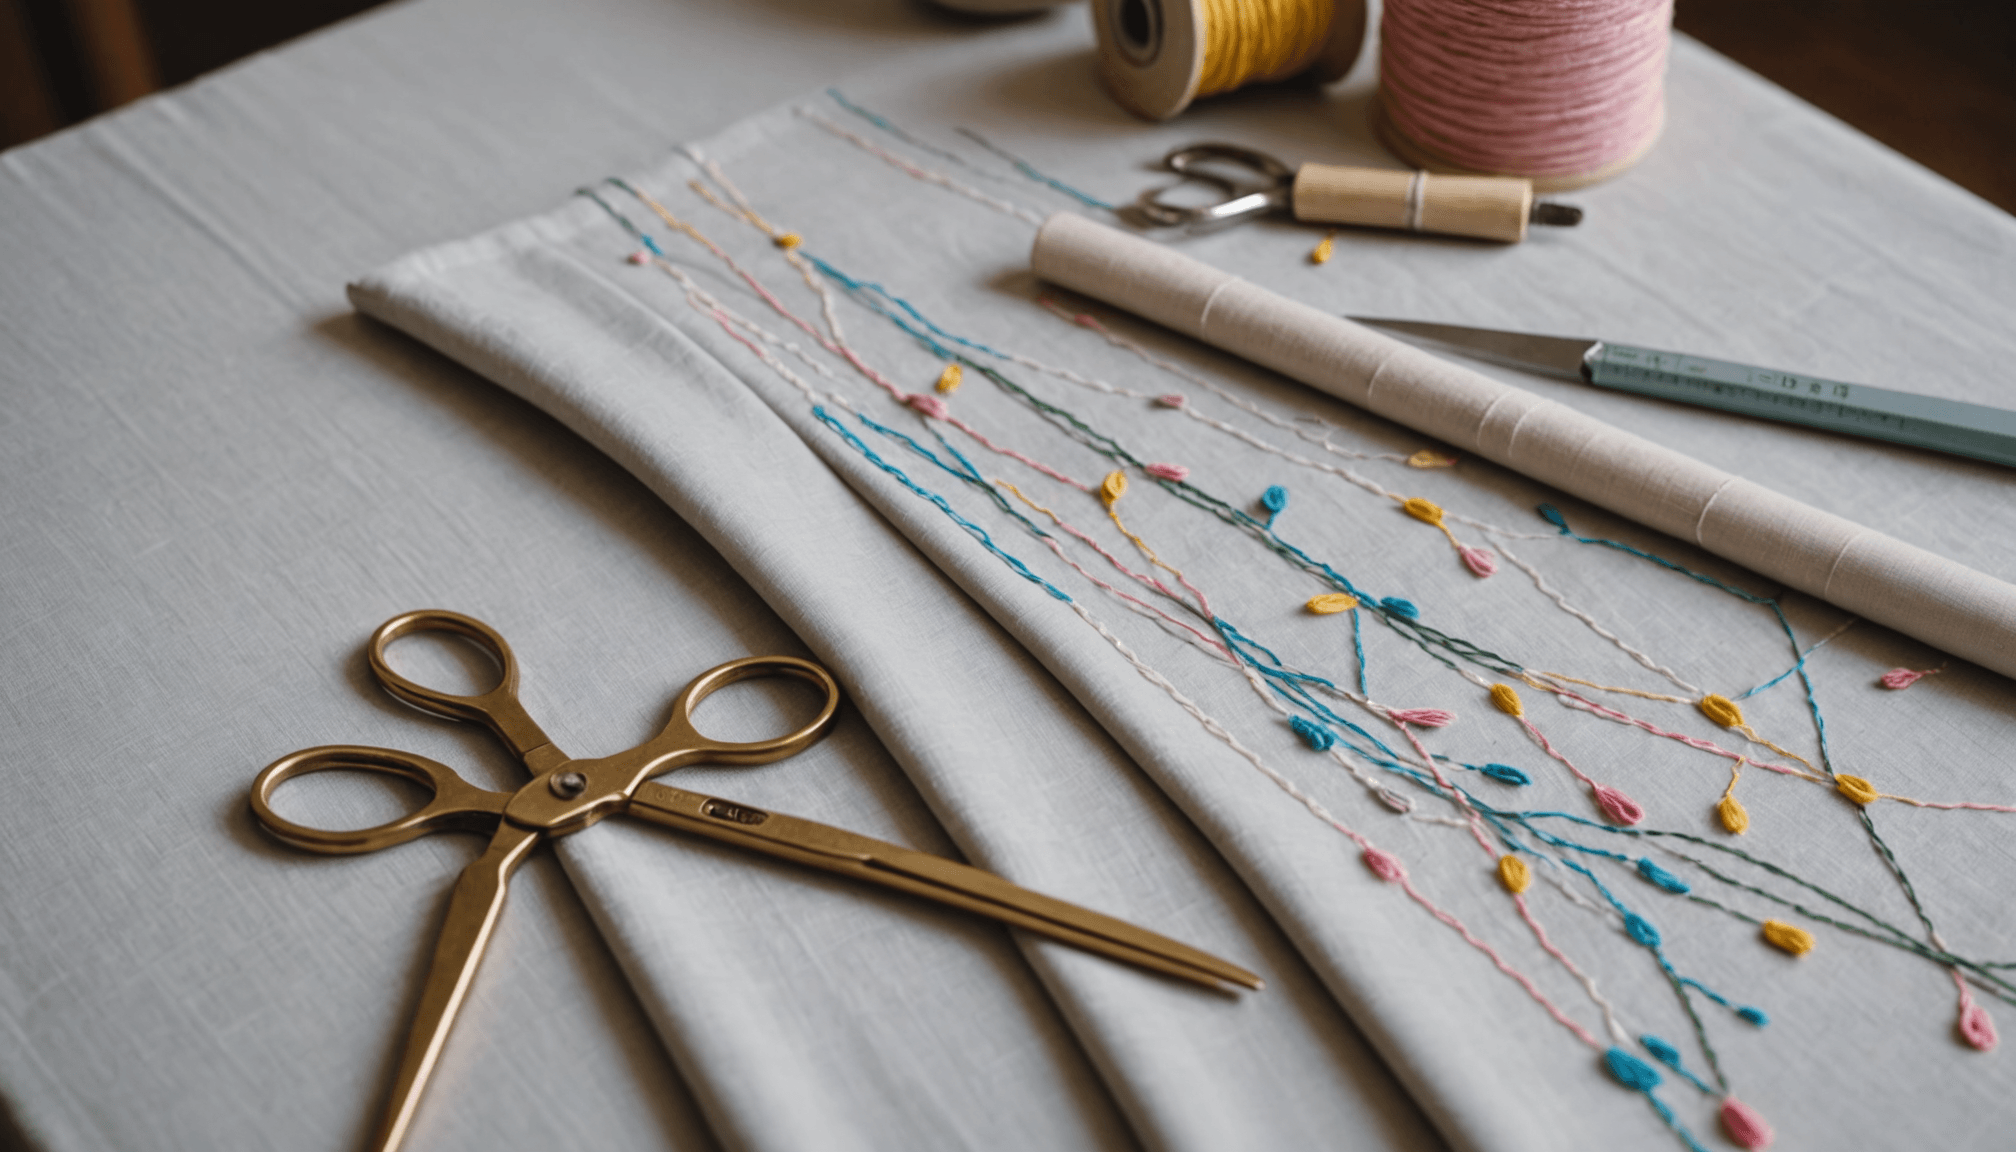
Having the right tools can significantly impact your sewing and embroidery experience, especially for beginners. Essential sewing tools are the foundation of your crafting journey, enabling you to execute projects with greater ease and precision. The first tool to consider is a good pair of fabric scissors. Sharp, reliable scissors are crucial for cutting fabric accurately. Investing in a quality pair ensures clean edges, which is essential for the final appearance of your handmade projects.
Next, a cutting mat is invaluable, providing a safe surface for cutting fabric and preventing damage to tables. Using a self-healing cutting mat allows you to make precise cuts without worrying about your blades dulling quickly. Pair your cutting mat with a rotary cutter for an efficient way to slice through multiple layers of fabric at once. This combination is especially beneficial when you are working on larger projects or when precise cuts are necessary, making your sewing process faster and more enjoyable.
Another essential tool is the sewing machine. While hand sewing is a valuable skill to learn, a sewing machine can significantly speed up your projects and is often necessary for more complex designs. Familiarize yourself with your machine’s various functions, such as stitch types and settings, and practice threading it to ensure a smooth start. Don’t forget to keep essential machine accessories like a seam ripper on hand, as mistakes are a part of the learning process, and being able to correct them swiftly will save you time and frustration.
Additionally, a good selection of needles is essential for both sewing and embroidery. Different projects may require different needle types and sizes to achieve the best results. For example, use universal needles for general sewing, while embroidery needles have a larger eye to accommodate thicker embroidery threads. Having the right needle can make a notable difference in your stitching quality and can help prevent issues like fabric snagging or skipped stitches.
Lastly, measuring tools, such as a tape measure and a quilting ruler, are important for achieving accurate dimensions in your projects. Measuring correctly ensures that your pieces fit together beautifully, whether you’re working on clothing, home décor, or any other type of sewing project.
- Invest in sharp fabric scissors to ensure clean cuts and achieve neat edges on your projects.
- A cutting mat protects your work surface and prolongs the life of your scissors and blades.
- Familiarize yourself with your sewing machine’s functions; practice threading and basic stitches to avoid issues later.
- Keep a variety of needles handy to suit different fabric types and thread thicknesses for better results.
- Use measuring tools consistently to guarantee precision in your handmade projects.
Choosing the Right Fabrics
 Choosing the right fabric is a crucial step in embroidery and sewing projects, yet many beginners make common mistakes that can hinder their progress and enjoyment. One frequent error is selecting fabrics that are too heavy or sturdy for the types of stitches and techniques planned. For instance, trying to do delicate embroidery on thick canvas can result in frustration as the needle struggles to penetrate the fabric, leading to uneven stitches or even broken needles. To avoid this, start with lighter, more forgiving fabrics like cotton or linen. These materials are easier to work with and help your stitches lay smoothly.
Another mistake is overlooking the fabric’s weave. Fabrics with a loose weave may cause the stitches to pull through or the fabric to fray during the process, making it challenging to execute clean lines. Choosing tightly woven fabrics will provide a more stable base for your needlework. Always check the fabric’s description and ideally test a small patch to see how it interacts with your stitches.
Beginners often also misunderstand the importance of pre-washing fabrics, especially those intended for sewing projects. Failing to wash fabric can lead to unexpected shrinkage or color bleeding once your project is complete. Pre-washing ensures that any dyes or finishes are removed, allowing for the best possible outcome when stitching.
Another common oversight is neglecting to consider the fabric’s color and texture. Using dark colors on intricate designs can make it difficult to see your stitches, while shiny fabrics might reflect light in ways that hide your work. Opt for mid-tone fabrics or those with subtle textures to highlight your designs effectively.
Furthermore, many beginners are tempted to purchase fabric without thinking about how it fits into their overall project. It’s important to consider not just the aesthetic appeal but also how the fabric will behave with various techniques. For example, a stretchy fabric may not hold up well under embroidery unless specific stabilizers are used. Investing time in understanding fabric types and how they respond to different stitching techniques will ultimately lead to more successful handmade projects.
In addition, remember that not all fabrics are created equal when it comes to compatibility with certain threads. Using heavier embroidery threads on lightweight fabrics may create puckering or distortion in your work. Make sure to match the thread weight to the fabric type for the best results, allowing your embroidery to shine through.
To sum up, by selecting the right materials, considering the fabric’s weight, weave, washing practices, color, and compatibility with threads, you can prevent common pitfalls and set yourself up for a successful and enjoyable sewing and embroidery experience. Take the time to explore and test different fabrics, and you will discover which combinations work best for your unique style and projects.
Step-by-Step Projects for Practice
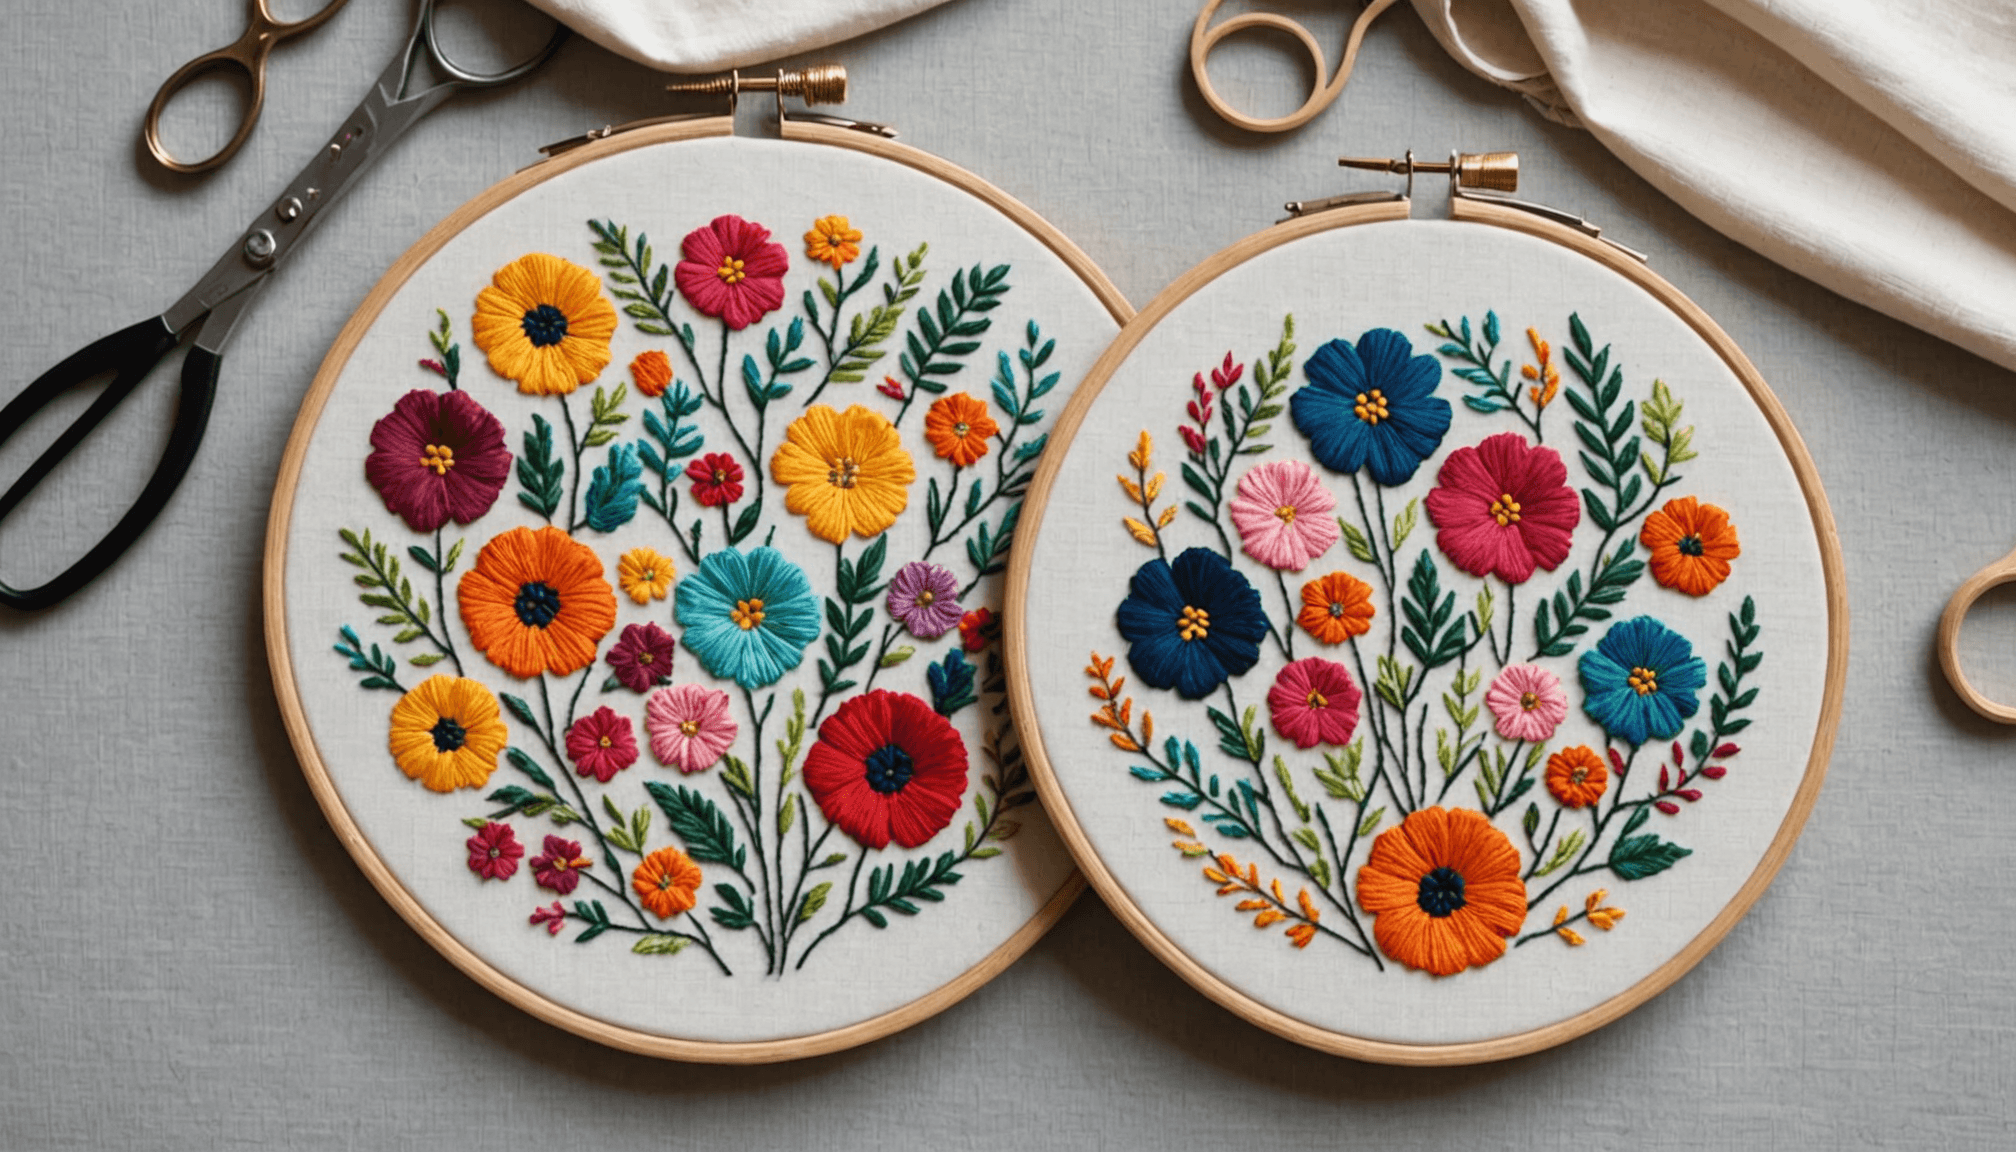
Starting with simple and manageable projects is key to building your skills in sewing and embroidery. A beginner-friendly option is the embroidered hoop art, which allows you to practice various stitches while creating a decorative piece for your wall. Select a design that resonates with you—whether it’s a floral pattern, a motivational quote, or abstract shapes. Use an embroidery hoop to keep your fabric taut as you stitch, making it easier to work and giving your final project a polished look.
Another excellent practice project is a fabric bookmark. This project allows you to combine multiple techniques—such as straight stitches for the background and French knots for embellishment—providing a perfect canvas for experimentation. Choose a lightweight cotton fabric and a coordinating thread to create a unique bookmark that reflects your personal style. As you sew, remember to measure the fabric to ensure it fits comfortably between the pages of your favorite book.
If you’re feeling adventurous, consider making a small pouch or bag. This project incorporates sewing techniques along with embroidery elements, providing a comprehensive practice experience. You can personalize the pouch with your name or a small design, showcasing both your sewing and embroidery skills beautifully. This way, you’ll not only learn how to construct a functional item but also practice integrating different techniques into a cohesive project.
For those who enjoy a bit of challenge, try creating a simple pillow cover. This project requires you to apply sewing techniques, select fabrics, and potentially use hints of embroidery for decorative touches. By following a pattern, you’ll gain insights into measurements, seam allowances, and finishing techniques. Plus, the end result will be a lovely handmade pillow to adorn your living space, giving you a tangible sense of accomplishment.
As you dive into these projects, remember to document your progress. Take notes on what techniques worked well and any challenges you faced. This reflection process is invaluable for improvement. Don’t hesitate to revisit projects; repetition will help solidify your skills and give you confidence as you progress to more complex designs.
Be patient with yourself and enjoy the journey. Each stitch brings you closer to mastering the art of sewing and embroidery. Embrace imperfections as part of the learning process, and celebrate every completed project—no matter how small. Start stitching and let your creativity shine through in your handmade projects!
Tips for Enhancing Your Skills
- What is the best way to start learning embroidery for beginners?
- The best way to start is by practicing basic stitches on a piece of scrap fabric. Consider using an embroidery sampler to try various techniques, which will help you build skills and gain confidence as you create your handmade projects.
- How do I choose the right thread for my embroidery projects?
- Choosing the right thread depends on the fabric and the effect you want to achieve. Cotton threads are great for beginners, while specialty threads like silk or metallic can add dimension to your projects, but they may require more care.
- Do I need a special sewing machine for embroidery?
- While you can do hand embroidery with a regular sewing machine, a dedicated embroidery machine offers features that simplify the process, such as automatic thread tension and built-in designs. For beginners, starting with hand embroidery is often recommended before investing in a machine.
- How do I prevent my fabric from slipping while I sew?
- Using a hoop or stabilizer can help keep your fabric in place while you sew or embroider. If you’re sewing multiple layers, consider using a walking foot on your machine, as it helps feed the fabric evenly and prevents slipping.
- What type of fabric is best for beginner embroidery?
- Cotton is ideal for beginner embroidery as it’s easy to work with and holds stitches well. Fabrics like linen or canvas can also be used but may require more skill and technique to handle effectively.
- Is it necessary to use an embroidery pattern when starting out?
- Using a pattern is not necessary, but it can provide guidance and structure, especially for beginners. Patterns can help you visualize the final project and give you a clear outline for practicing different stitches.
- How can I enhance my sewing and embroidery skills over time?
- Continued practice is key to enhancing your skills. Try challenging yourself with new techniques or more complex projects, and consider joining a sewing or embroidery group for support and inspiration from fellow crafters.